
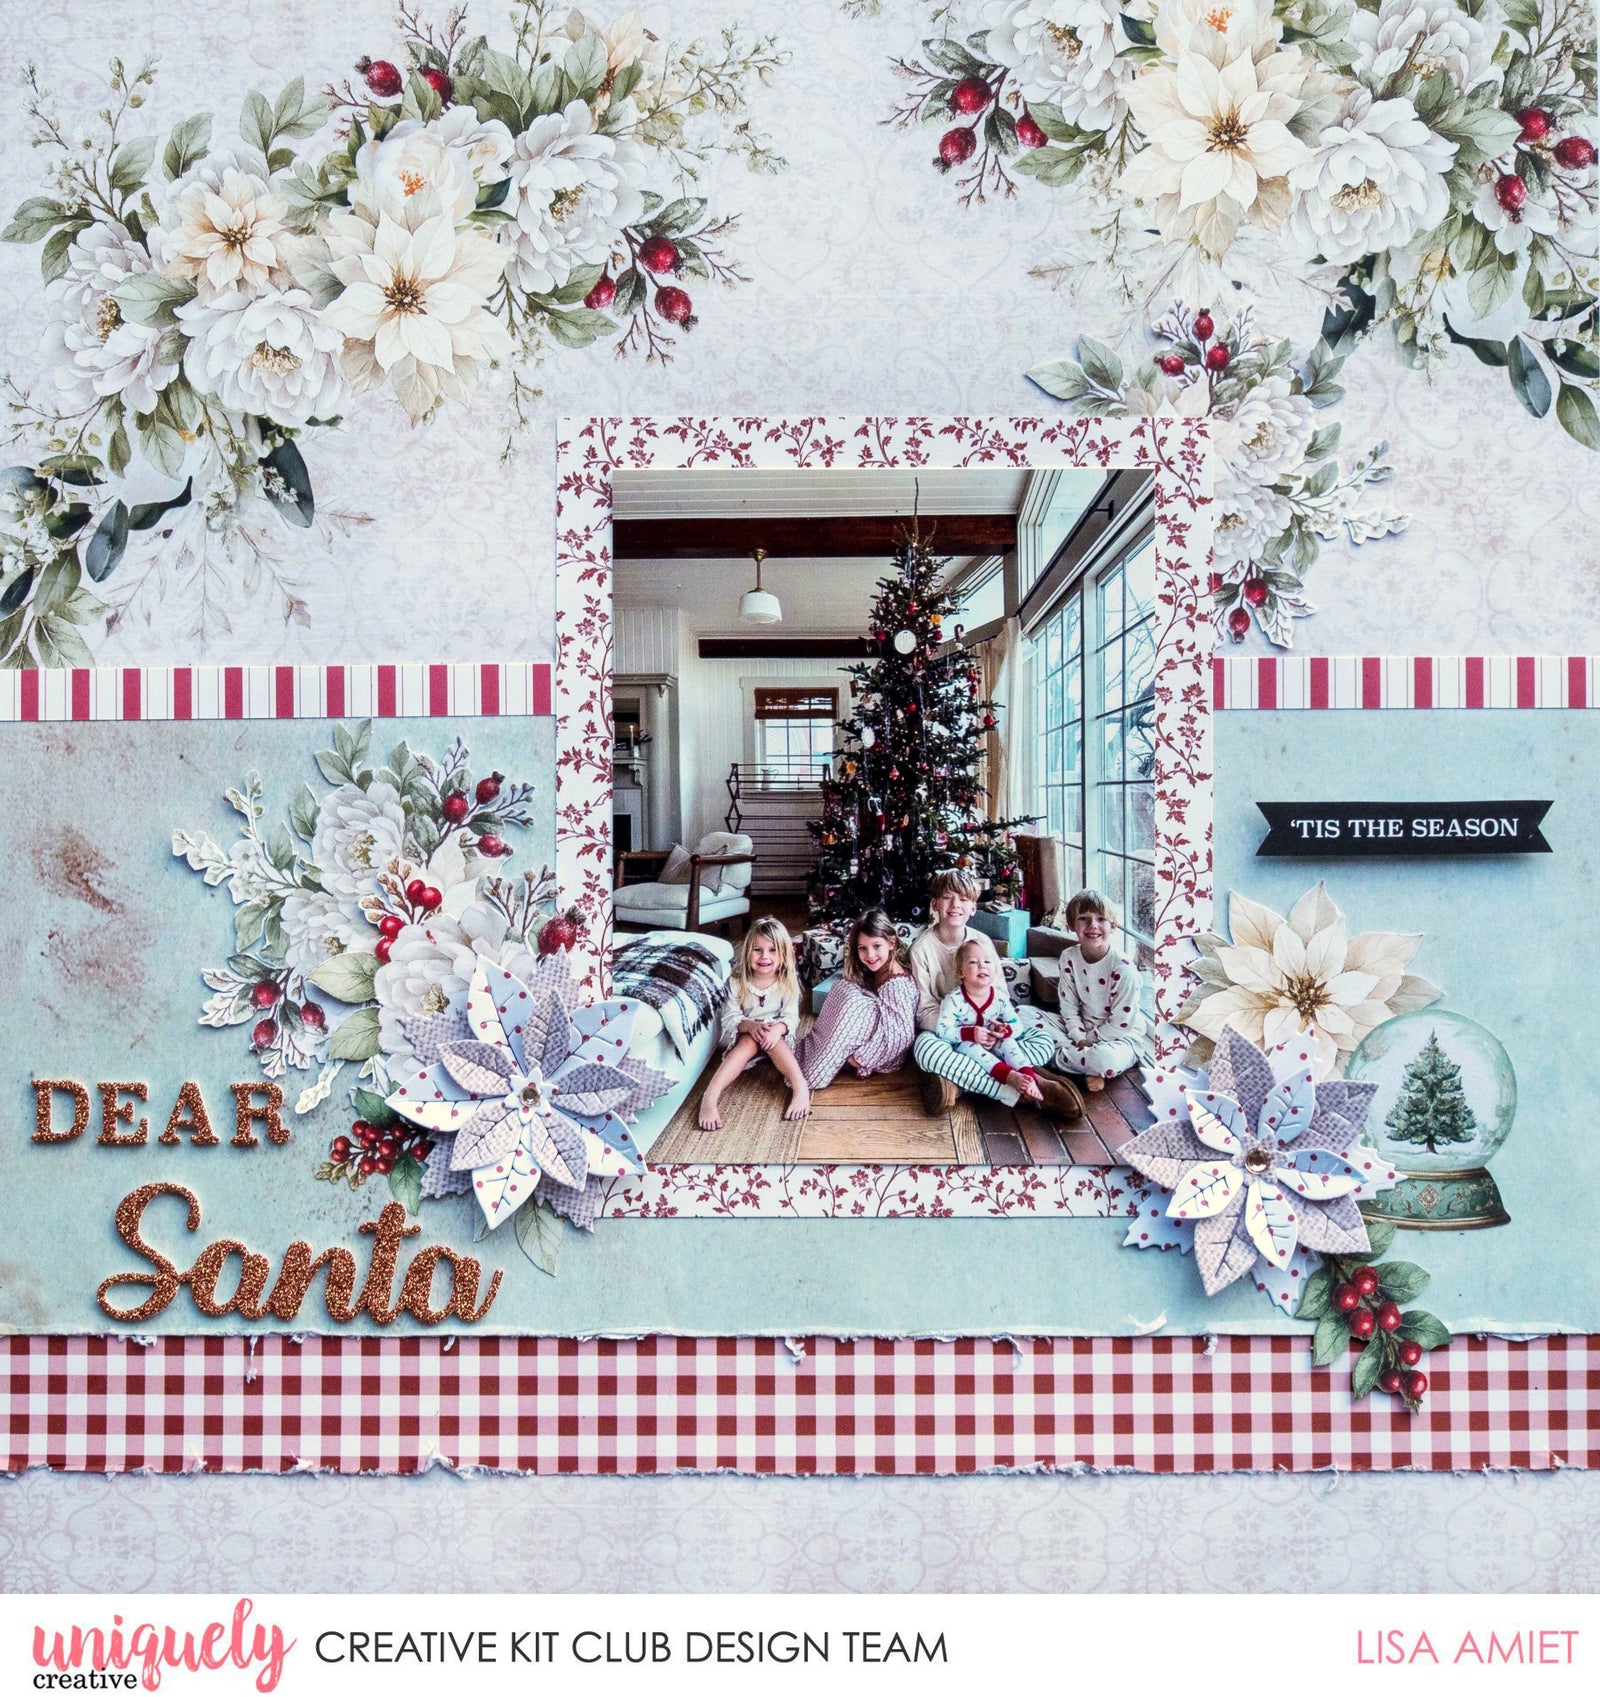

To recreate this sweet layout created by Design Team member Lisa Amiet, you can follow the steps below:
Uniquely Creative Products Used:
· UCP3206 Evergreen Lane Paper
· UCP3208 Letters to Santa paper
· UCP3209 The Nutcracker paper
· UCP3210 Treasured Trinkets paper
· UCP3211 Home for the Holidays paper
· UCP3212 Festive Memories paper
· UCP3213 Good Tidings paper
· UCP3216 Christmas Keepsakes Creative Cuts
· UCD2243 Layered Poinsettia die
· UCE2241 Glitter Dimensional Stickers
· UCE1750 Champagne Rhinestones
· Cut-a-part sheet
· UCE1872 Fussy Cutting Scissors
· UC Foam Mounts
Other Products Used:
· Trimmer, Die Cutting Machine, Edge Distressing tool
· Double-Sided Tape, glue
Photo size: 4 x 5"
Step 1:
Cut a 30cm x 14.5cm piece of Festive Memories paper and a 30cm x 12.5cm piece of Letter to Santa paper, distress one long edge on each, then adhere the Festive Memories piece to the bottom of the Evergreen Lane paper with its distressed edge facing down, and layer the Letter to Santa piece on top of it the same way (distressed edge down), so each layer's distressed edge peeks out below the one above it – See image 1
Step 2:
Cut a strip off the bottom of Good Tidings paper and adhere it to the page, covering the join of the previous pieces. Cut a 12.5cm x 15cm piece of Home for the Holidays paper and adhere your photo to its centre. Fussy cut florals from Treasured Trinkets paper and adhere to the page where the photo will sit, so the top right and bottom corners tuck underneath it. Then adhere the mounted photo to the page, overlapping the florals — see image 2.
Step 3:
Using the Layered Poinsettia die, cut all four flower sizes from both Treasured Trinkets and The Nutcracker papers. Curl and shape the petals on each piece, then stack and adhere them together from biggest to smallest, alternating between the two patterned papers as you go — see image 3.
Step 4:
To the right of your photo, adhere a fussy cut white poinsettia from Treasured Trinkets paper. Layer it with the snow globe and berry Creative Cuts die cuts, plus one of the flowers you made in step 3, to build the embellishment cluster — see image 4.
Step 5:
To the left of your photo, adhere the other flower you made along with a berry Creative Cut, overlapping the previous florals. Tuck the "Dear Santa" Glitter Dimensional Sticker underneath this cluster — see image 5.
Step 6:
Fussy cut the sentiment from the Cut-Apart sheet and adhere it to the page above the snow globe using foam mounts. To finish, adhere Champagne Rhinestones to the centre of each flower — see image 6.