
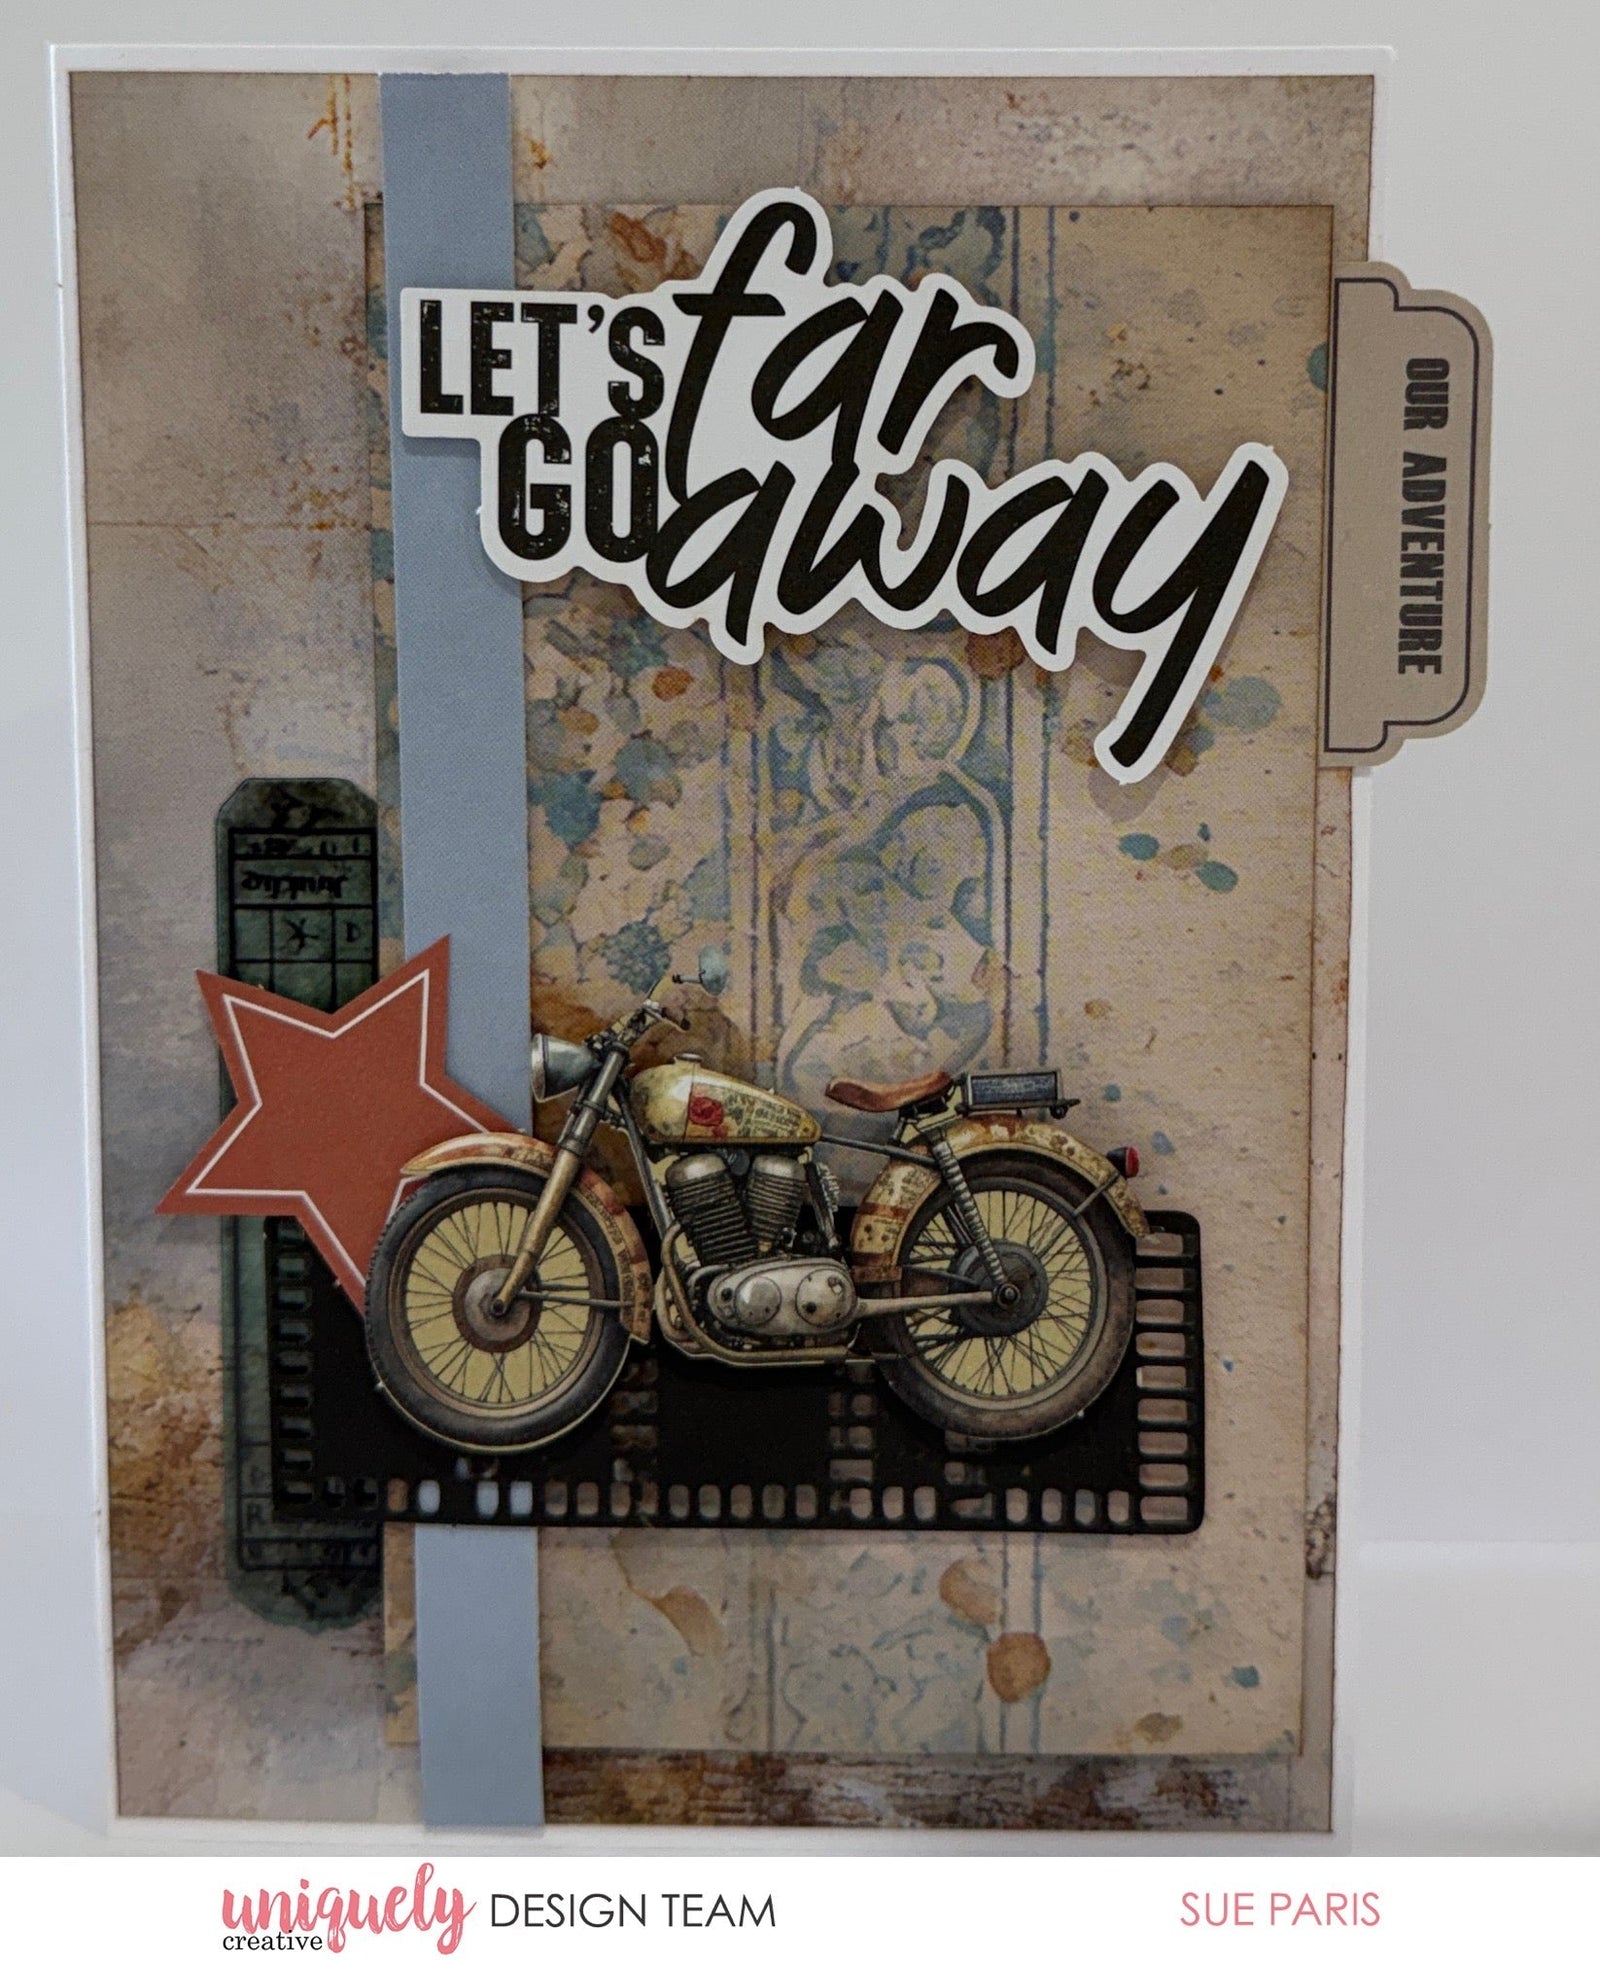

To recreate this great masculine card created by Design Team member Sue Paris you can follow the steps below:
Uniquely Creative Products Used:
· UCE1811 Rectangle Cards & Envelopes
· UCE2223 Acetate Rustic Ephemera
· UCP3150 Across the Sea Paper
· UCP3152 Auto Shop Paper
· UCP3160 Creative Cuts
· UCP3161 Coordinating Cardstock Bundle
· UCE1878 Black Pearls
· UCD2242 Cog Texture Die
· UCE1978 Foam Mount Dots & Strips
· UCE2192 Paper Perfect Quick Dry Glue
· Paper Perfect Trimmer
Other Products Used:
· Tim Holtz Oxide Ink Ground Espresso
Card size: 10.5cm x 14.8cm
Step 1:
Using Across the Sea B side cut a piece 10cmx14cm, ink all edges. Adhere centred to the top of your card. Cut a piece of Auto Shop B side 7.5cm across and 12.5cm down, ink edges and foam mount, adhere to the right of the card. Cut a piece of barcode from Auto Shop 14.5cm, foam mount and adhere to the left side of Auto Shop. See image 1. Step 2:
From the Acetate Rustic Ephemera use the green ticket, adhere to the lower left edge of Auto Shop. Use the solid negative piece, a motorbike, and an orange star from the Ephemera pack. Foam mount and adhere as per image 2
Step 3:
Use the Cog Texture Die and black cardstock, diecut and adhere to the left of the card. You will need to trim the diecut to fit. Using different size black pearls add them to under the cluster. See image 3.
Step 4:
From the Ephemera pack use the Let’s Go Far Away title and the Our Adventure tab. Foam mount and adhere title. Adhere the tab to the right side of the card. Using the Black Pearl dots add one under the title. See image 4.