
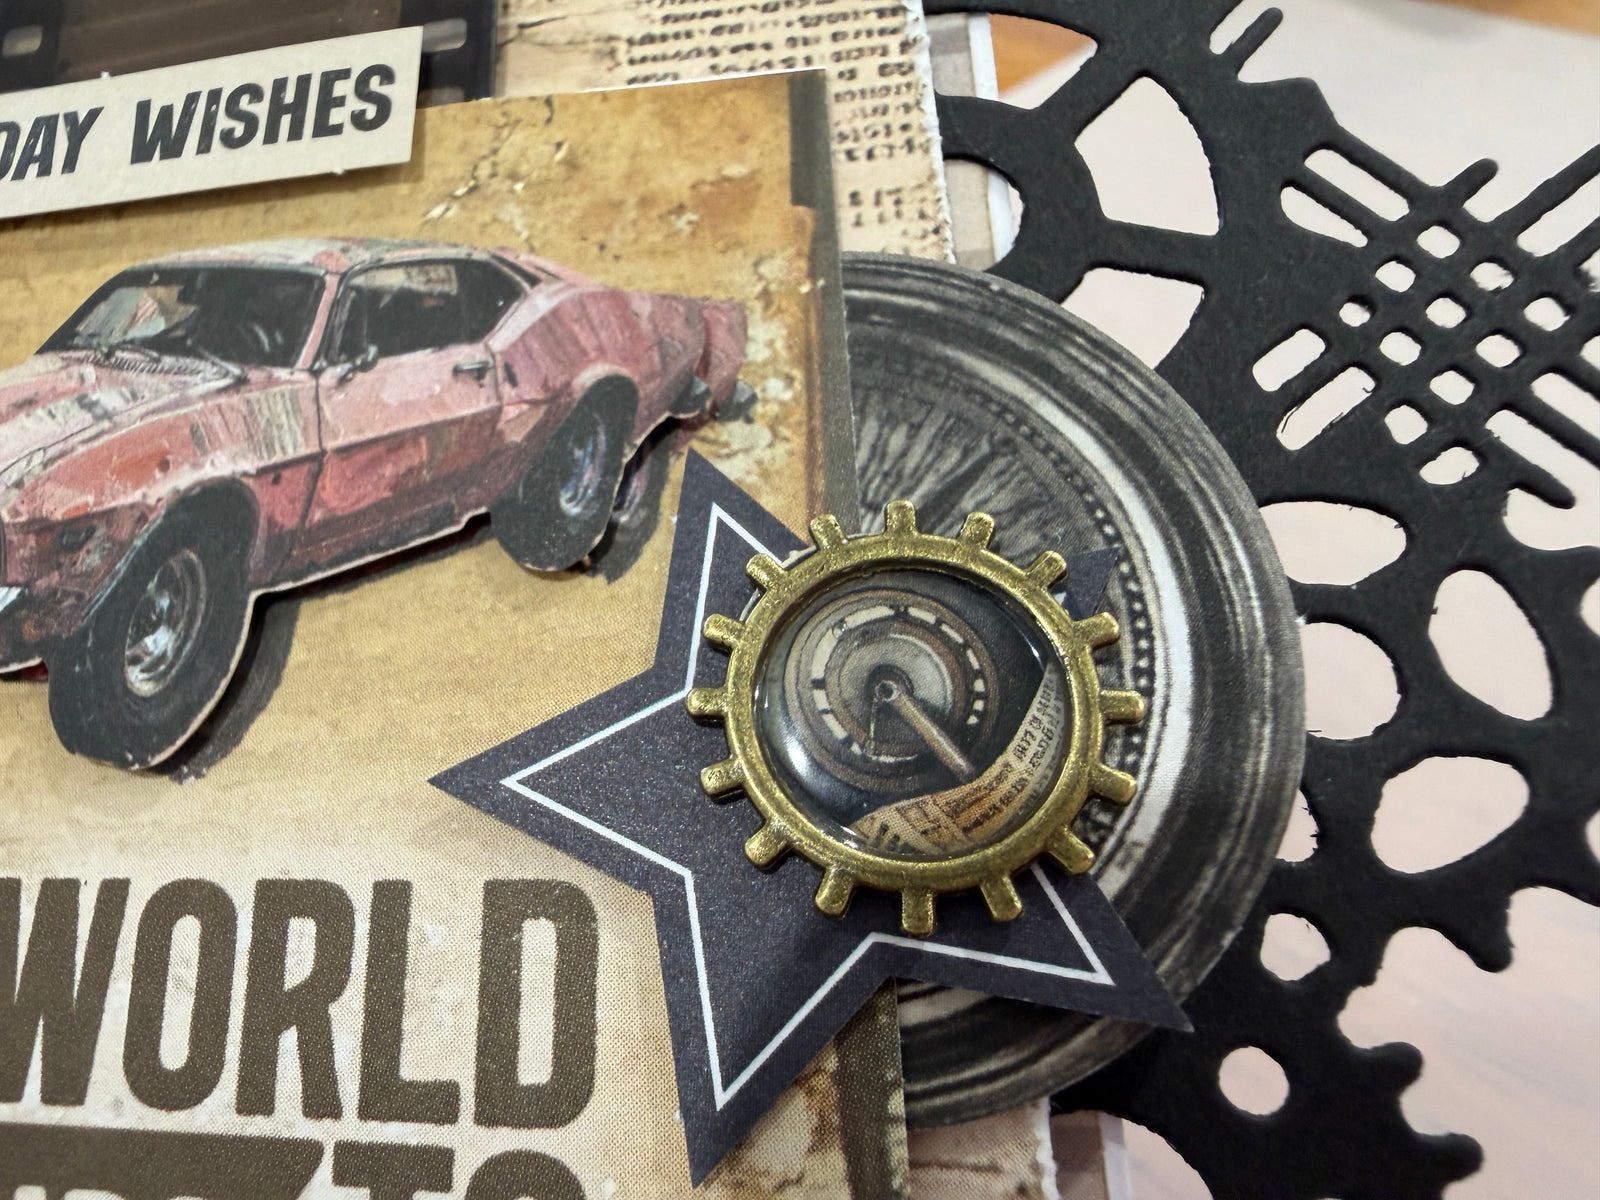

To recreate this great masculine card created by Design Team member Sue Paris you can follow the steps below:
Uniquely Creative Products Used:
· UCE1809 Corrugated Card
· UCE1812 Slimline Cards & Envelopes
· UCE2223 Acetate Rustic Ephemera
· UCP3150 Across the Sea Paper
· UCP3156 Ticket to Ride Paper
· UCP3160 Creative Cuts
· UCP3161 Coordinating Cardstock Bundle
· UCE1822 Mixed Metal Cogs
· UCD2242 Cog Texture Die
· UCE1978 Foam Mount Dots & Strips
· UCE1986 Edge Distressing Tool
· UCE2192 Paper Perfect Quick Dry Glue
· Paper Perfect Trimmer
Other Products Used:
· Tim Holtz Oxide Ink Ground Espresso
Card size: 8.8cm x 21cm
Step 1:
Using Across the Sea B side cut a piece 8.5cmx20.5cm, ink all edges. Adhere centred to the top of your card. Using the barcode from this paper, cut a piece 8.5cm, foam mount and adhere to the bottom of your card. See image 1.
Step 2:
Cut a piece from the B side of Ticket to Ride, 8cmx18cm, distress all edges, foam mount and adhere to background paper. See image 2
Step 3:
From the Corrugated sheet, cut a piece 5cm across and 6.5cm down, tear both long edges. See image 3.
Step 4:
Using the Acetate Rustic Ephemera, use a large negative frame. Place over the corrugated piece. Then from Ticket to Ride sheet cut one of the cards to suit your project (I used the red car), adhere using foam mount. See image 4.
Step 5:
From the Creative Cuts, foam mount the red car (or what suits the card you choose), adhere on top of the card. Foam tape a wheel, two stars, birthday wishes and adhere. See image 5.
Step 6:
Cut a piece of black cardstock using the Cogs Texture Die. Place to the right side of the card between the background paper and the top piece. Add a metal cog of your choice (I’ve added a wheel cut from the small motorbike in the Creative Cuts. See image 6.