
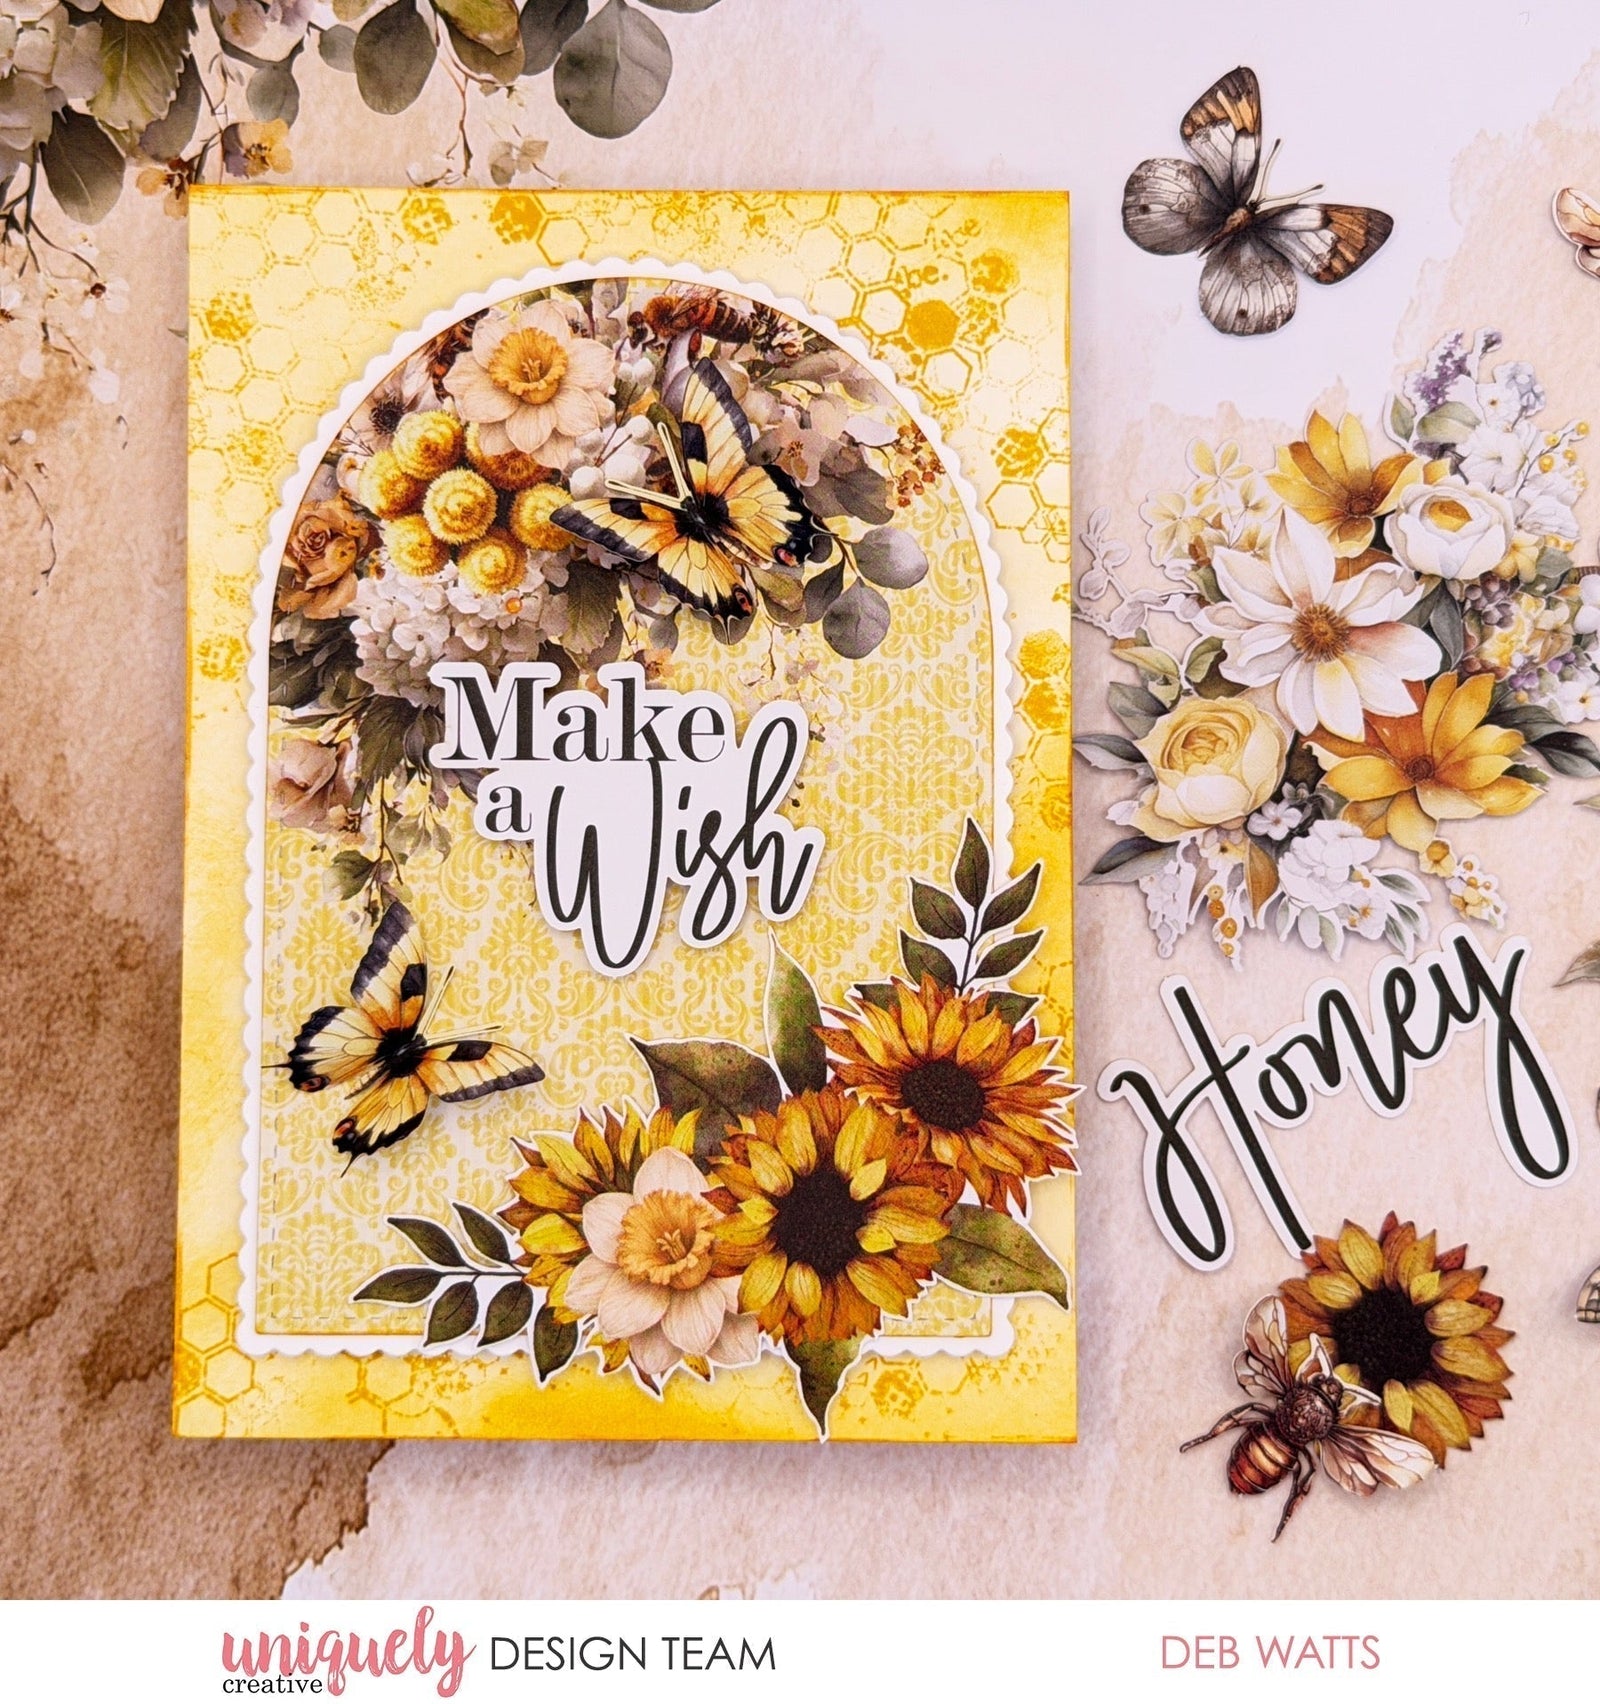

To recreate this beautiful card created by Design Team member Deb Watts you can follow the steps below:
Uniquely Creative Products Used:
· UCP3168 The Sweet Life
· UCP3172 Creative Cuts
· UC1936 Botanical Honeycomb Stamp
· UCD2070 Stitched Arches Die
· UCD2205 Scalloped Arches Die
· UCE1778 Blending Brush
· UCE1811 Cards & Envelopes
· UCE1859 6mm Double Side Tape
· UCE1872 Fussy Cutting Scissors
· UCE1903 Foam Mounts Squares & Strips
· UCE2192 Paper Perfect Quick Dry Glue
· UCE2194 Paper Perfect Trimmer
Other Products Used:
· Tim Holtz Distress Ink Pad – Fossilized Amber
· White Cardstock
Card size: 10.5cm x 14.8cm
Step 1:
From white cardstock, cut a 10.5cm x 14.8cm panel using the Paper Perfect Trimmer. Create a background using the Botanical Honeycomb Stamp and Fossilized Amber Distress Ink. Randomly stamp across the cardstock, using both full strength and second generation stamping for variation in colour.
Step 2:
Blend Fossilized Amber Distress Ink onto the cardstock with Blending Brush, starting on scrap paper and blending onto the card for a smoother finish. Use Paper Perfect Quick Dry Glue to adhere cardstock to card base.
Step 3:
From The Sweet Life, use the largest Stitched Arches die to cut out the arch image. Use the largest Scalloped Arches die to cut a mat from white cardstock. Use Paper Perfect Quick Dry Glue to adhere pieces together.
Step 4:
From The Sweet Life, fussy cut the floral piece.
Step 5:
Using Foam Mounts, adhere arch piece to card front.
Step 6:
Using Foam Mounts, adhere floral pieces and Creative Cuts sentiment in place. Adhere Creative Cuts butterflies to complete.
