
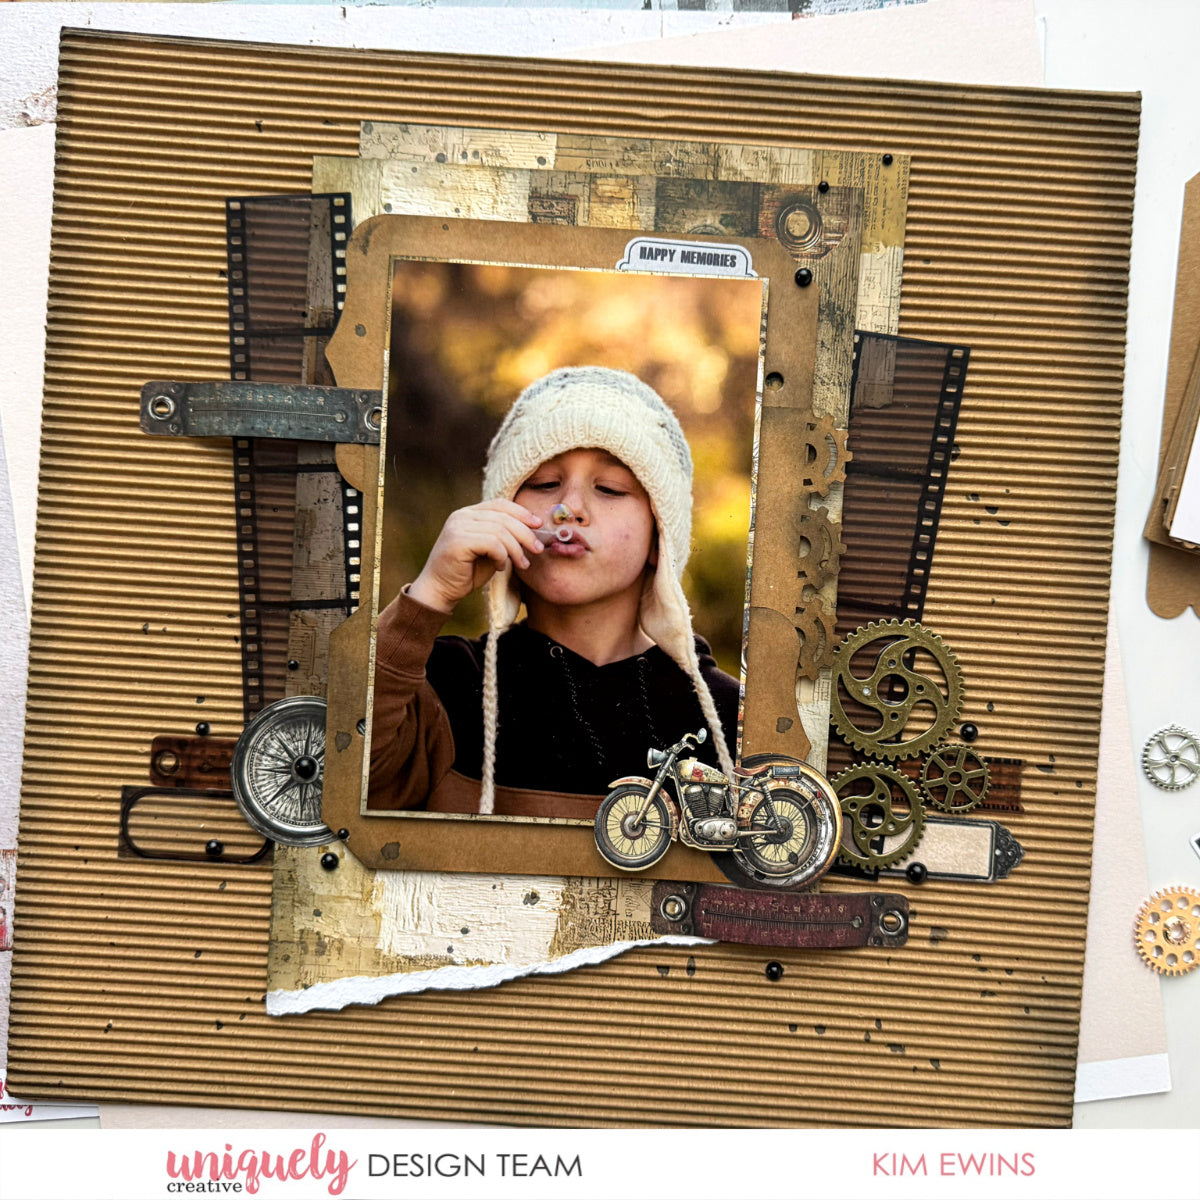

Welcome to our August Collection - Wings & Wheels!
To recreate this fantastic layout created by Design Team member Kim Ewins you can follow the steps below:
Uniquely Creative Products Used:
· UCP3155 Ride On Paper
· UCP3160 Wings & Wheels Creative Cuts
· UCE1809 12”x12” Corrugated Card
· UCE2223 Acetate Rustic Ephemera
· UCE2226 Blank Canvas Tag Pad – Kraft
· UCE1878 Black Pearls
· UCE1822 Mixed Metal Cogs
· UCE2194 Paper Perfect Trimmer
· UCE2192 Paper perfect Quick Dry Glue
· UCE1961 Foam Mount Strips
· Uniqolour Waterbrush
· Uniquely Creative Blending Brush
· Tim Holtz Distress Ink – Black Soot
· Tim Holtz Distress Ink – Vintage Photo
Other Products Used:
· Water
Photo size: 6"x4"
Step 1:
Take Ride On paper, measure in 15cm from left side, and cut. Using righthand section of Ride On paper, roughly measure 10cm up from bottom right of section and tear on a slight diagonal. – See image 1
Step 2:
Using Black Soot Ink and blending brush go around straight edges of both pieces cut from righthand side of Ride On paper.
1 Step 3:
Take smaller section of Ride On paper and adhere in place, roughly 2cm from top edge and 7cm in from the righthand side of 12”x 12” Corrugated sheet. Adhere cardboard or foam mounts to the reverse side of the larger section of Ride On and position in place on layout allowing a border of stuck down section to show. – See image 2
Step 4:
Select 3 Kraft Tags, using blending brush and Vintage Photo Distress Ink, ink around edges of tags, let dry, then repeat using Black Soot Distress Ink.
Step 5:
Adhere tags together using Paper Perfect Quick Dry Glue, making a large photo mat. – See Image 3
Step 6:
Cut a piece from remaining Ride On paper 10.5cm x 15.5cm, ink edges with Black Soot Distress Ink. Adhere photo to centre of piece.
Step 7:
Adhere foam mounts to back of matted photo and adhere to centre of Kraft Tags.
Step 8:
Adhere Kraft and mat photo onto to layout base.
Step 9:
Take a selection of Acetate Rustic ephemera, Wings and Wheels Creative Cuts and Metal Cogs and adhere in place around photo and in between layers. Gently bending the Creative Cut tags and secure with glue. This adds a little interest. Adhere a few Black Pearls also at random spots.
Step 10:
Using Black Soot Distress Ink and blending brush, softly ink the edges of the corrugated 12”x 12” sheet, to give a soft edge. – See Image 4
Step 11:
Press Black Soot Distress Ink into plastic packaging, add a few drops of water. Using a waterbrush or paintbrush, splatter around layout, making sure to cover photo, let dry.