Aussie Christmas - Jenny Dix

Card Size 9 ½ ” x 5 ½" scored 4 6/8" side folding white card base
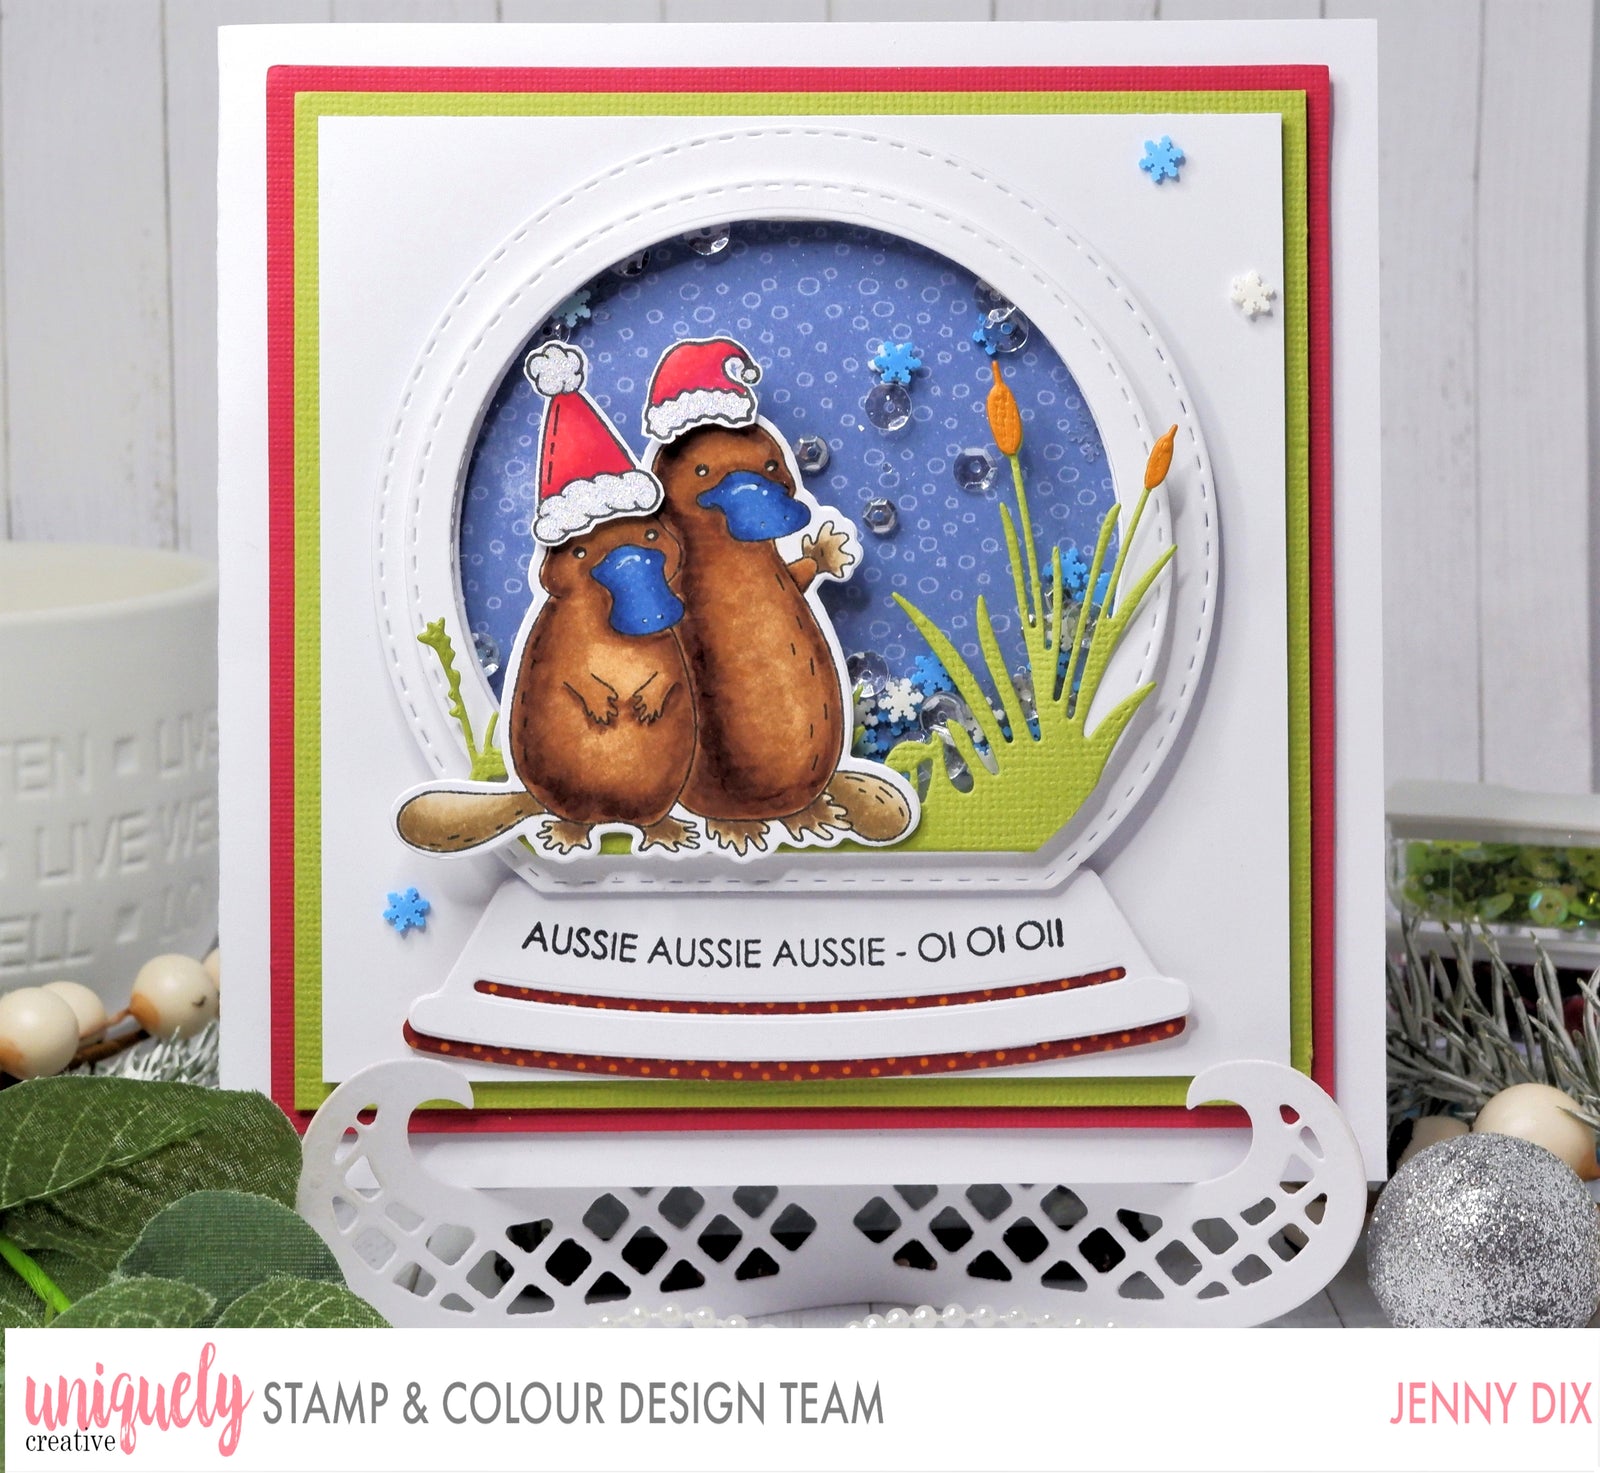
Uniquely Creative Products Used
My Platypus Stamps and Dies, Billabong Die, Love You Deerly Stamp and Die Set, Good Onya Aussie Stamp and Die Set, Winter Snowflakes Craft Sprinkles, Stitched Arches Die, Ice Sequins
Other Products Used
White, Green and Red Card Stock, Acetate, 3D Tape, Tape Runner,
Colours Used
Copic Markers:
Platypus – E23, E25, E27, E42, E43, E44
Bill – B34, B37, B39
Santa Hats – R24, R27, R29
Instructions
1. Cut a base 11'' x 5 1/2'' in White, Red 5’’x 5’’, Green 4 6/8'' x 4 6/8'' White 4 4/8'' x 4 4/8''. Layer them using 3D tape

2. Die cut out 2 Arches - one using the largest and smallest, and one using the 2 smallest. I also cut out a piece of acetate and blue patterned paper using the largest arch. For the base of the Snowglobe, die cut out one white and one brown Patterned Paper . On the white base, stamp the sentiment. Colour up the Platypus and Santa Hats

3. 3D the hats on the Platypus. Create a shaker with the Arches and layer the smaller arch on top of the bigger one. Fill it with the Ice Sequins and Snowflakes. Layer the 2 bases together. Die cut out a Billabong in green and the reeds in orange and glue across the front of the Snow Globe.

4. Arrange and adhere the pieces to complete the card.
