Hello Succulent Card - Ashleigh Freeston

Card Size: 8.8cm x 21cm – UC Slimline Card
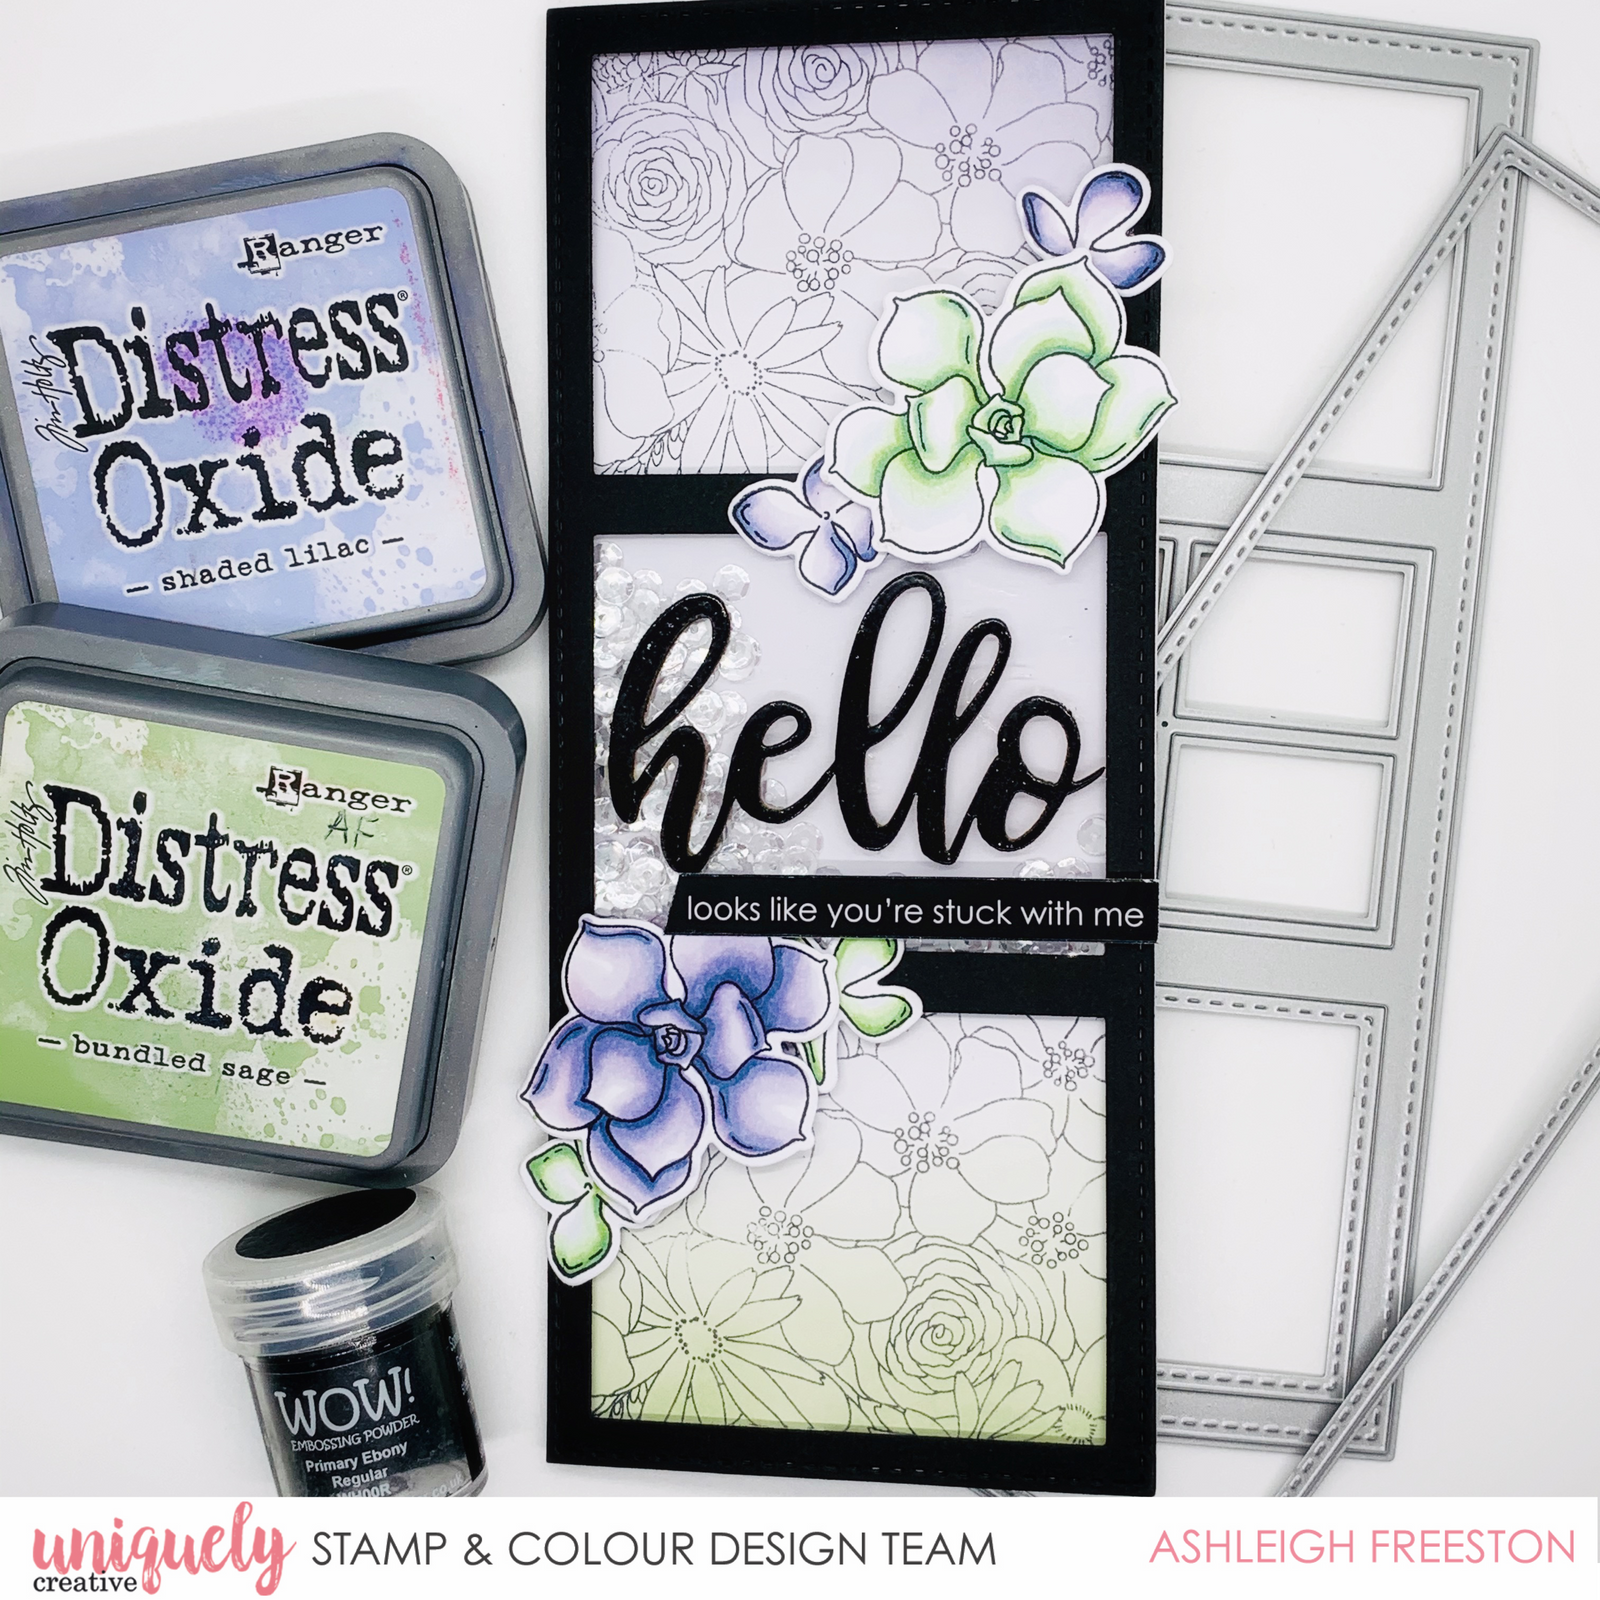
Uniquely Creative Products Used:
UC1837 Succulents Stamp, UCD1957 Succulents Die, UCD1964 Slim 3 Window Die, UCD1972 Slim Stitched Nesting Rectangle Dies, Succulents Cut-a-Part Sheet, Succulents Laser Cut, Cut-a-Part Essentials #5 Die, UC1803 Floral Bunch Stamp, Ice Sequins
Other Products Used:
Smooth white cardstock, Black cardstock, Blending Card, Distress Oxide: Bundled Sage & Shaded Lilac, Blending Tools, Grey Archival Ink, WOW! Ebony Embossing Powder, Acetate, Adhesives, Die Cutting Machine, Black Ink.
Colours Used
Copic Colours:
Light Green – BG70, G40, G43, BG72
Purple – BV0000, BV000, BV01, BV17
Instructions:
1. Die cut largest Slim Stitched Nesting Rectangle Die from white cardstock.
2. Mask off top third of rectangle and stamp Floral Bunch stamp in grey ink. Repeat on bottom third.
3. Gently ink blend Shaded Lilac Distress Oxide from the top third. Repeat with Bundled Sage at the bottom third of the piece.

4. Die cut Slim 3 Window Die from black cardstock

5. Cut a small piece of acetate and adhere to centre window of black die cut. Add foam tape to this section and create a shaker with ice sequins. Adhere foam tape all around the edge of the frame and adhere the background piece from step 3 to close the shaker.
6. Ink ‘Hello’ laser cut with Versamark embossing ink and heat emboss with ebony embossing powder. Die cut the sentiment with the Cut-a-Part Essentials #5 die and trim down.

7. Stamp succulents and colour with the colouring medium of your choice (I used Copic Markers). Die cut with matching fussy cutting dies.

8. Assemble the card by adhering the shaker portion onto the Slimline card base. Adhere the laser cut to the centre window and foam mount the sentiment. Add the coloured images with a mixture of foam mounts and double sided tape for added dimension.
