BEST DAY EVER CARD TUTORIAL - MARIA ALOISI
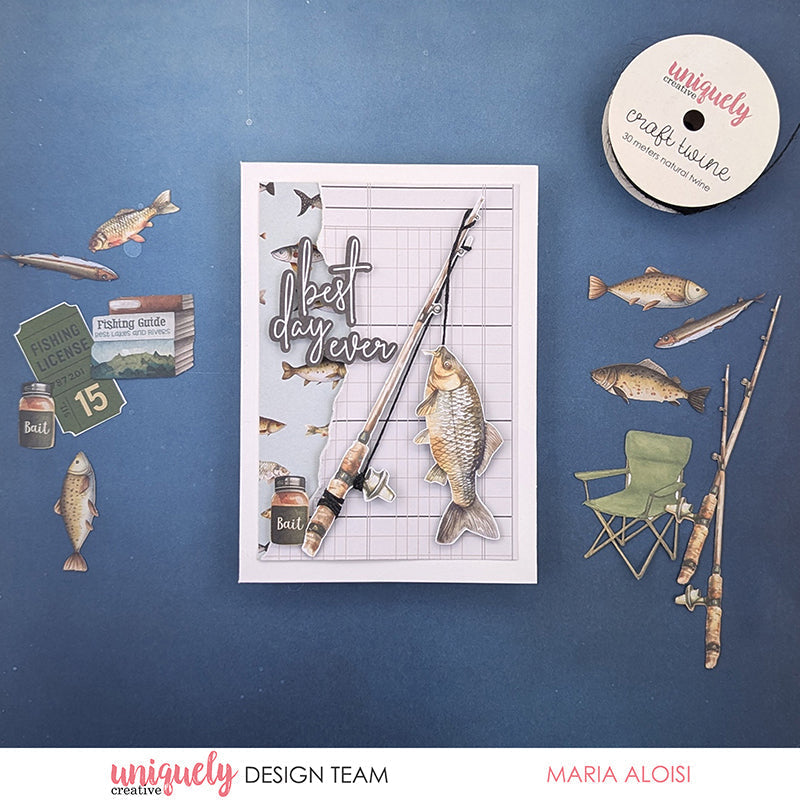

To recreate this amazing card created by Design Team member Maria Aloisi you can follow the steps below:
Uniquely Creative Products Used:
UCP2956 Longitudes Paper
UCP2958 Northline Paper
UCP2962 Coordinates Paper
UCP2965 Field Notes Creative Cuts
UCE1862 Black Twine
UCE1872 Fussy Cutting Scissors
UCE1811 Rectangle Cards & Envelopes
UCE1803 Foam Mounts Squares & Strips
UCE1859 6mm Double Sided Tape
Other Products Used:
Paper Trimmer
Glue
Card Size: 10.5cm x 14.8cm
Step 1:
Cut a 2” x 5¼” piece from the Longitudes (reverse) paper and adhere ¼” from the left edge of the card – See image 1
Step 2:
Cut a 3½” x 5¼” piece from the Northline (reverse) paper. Tear the left side. Using foam mounts, adhere to the card – See image 2
Step 3:
Fussy cut the fishing rod image and the large fish image from the Coordinates paper – See image 3
Step 4:
Cut a 15” piece of black twine. To prevent the twine from fraying, coat the twine with glue. Once the glue has dried, loop the twine around the bottom of the fishing rod in two spots. Extend the twine towards the top of the fishing rod. Loop it around in a couple more spots. Extend the twine down from the rod to your desired length and cut. Adhere the fish image to the end of the twine with double sided tape – See image 4
Step 5:
Using foam mounts, add the fishing rod and fish to the card – See image 5
Step 6:
To finish, using foam mounts, add the ‘best day ever’ creative cut to the card – See image 6