Celebrate the Good Times - Samantha Klaebe

Card Size 4 ¼” x 6 ¼”
Uniquely Creative Products Used
Good Times stamp set, Good Times die set, Cardstock, pattern paper, Peach pearls
Other Products Used
Ruler, paper trimmer, scissors, pencil, stamping block, tape runner, foam adhesive, black ink, Cuttlebug, sewing machine, black pen
Instructions:
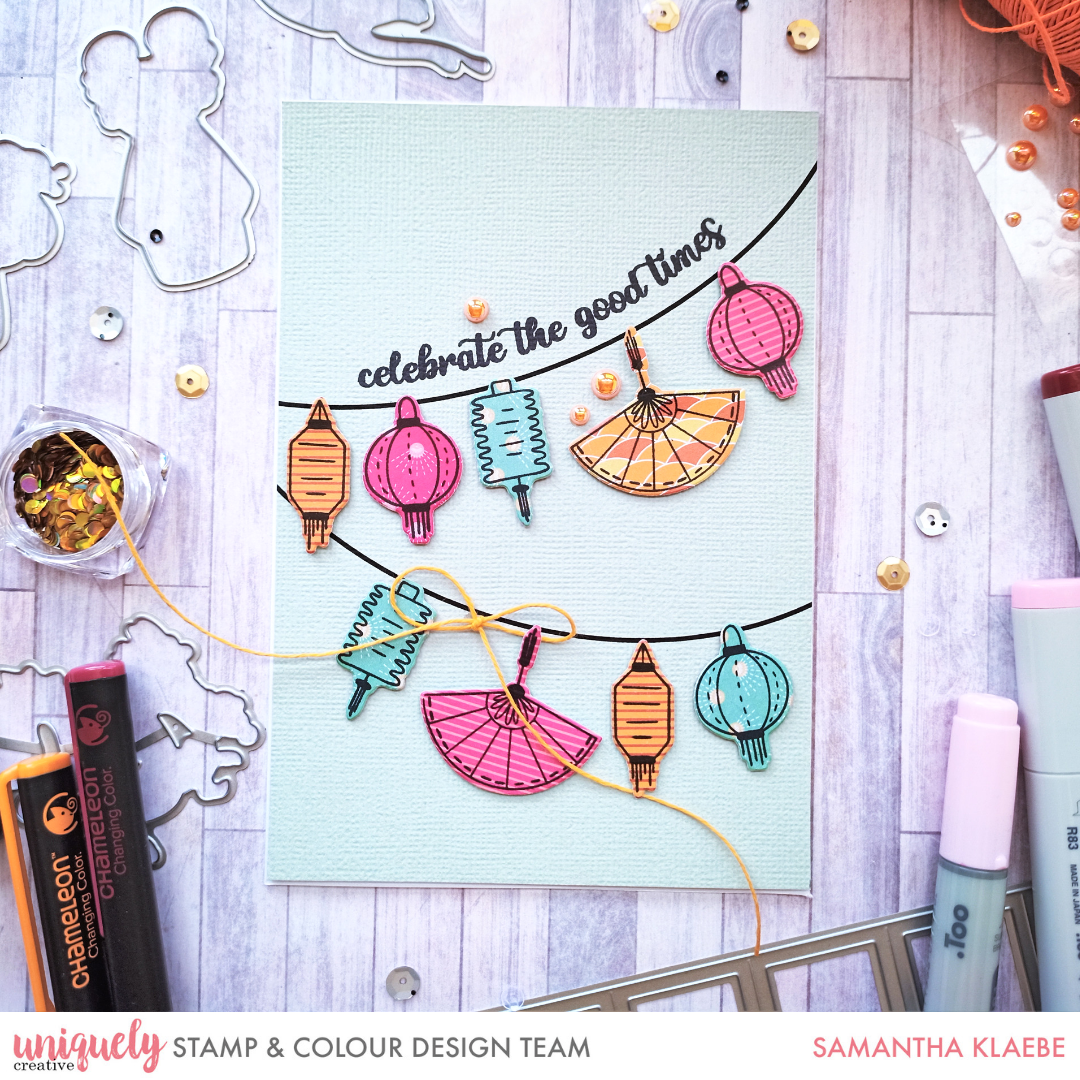
Step 1 - Cut out a card front using card stock (measurements: 10.5 cm X 15.5 cm)
Step 2 - Use a black texta/pen (e.g. Sharpie pen) to create two curved lines on your card front. TIP: Use a medium sized plate to trace, or any item/tool available with a curved line.
Step 3 - Using pattern paper, stamp the lanterns. Die cut them out with the matching fussy-cutting die.
Step 4 - Adhere these to the card front as shown.
Step 5 - Stamp the sentiment.
Step 6 - Embellish card with embellies - Peach pearls and a twine bow.
Step 7 - Adhere card front to an A6 card base.