
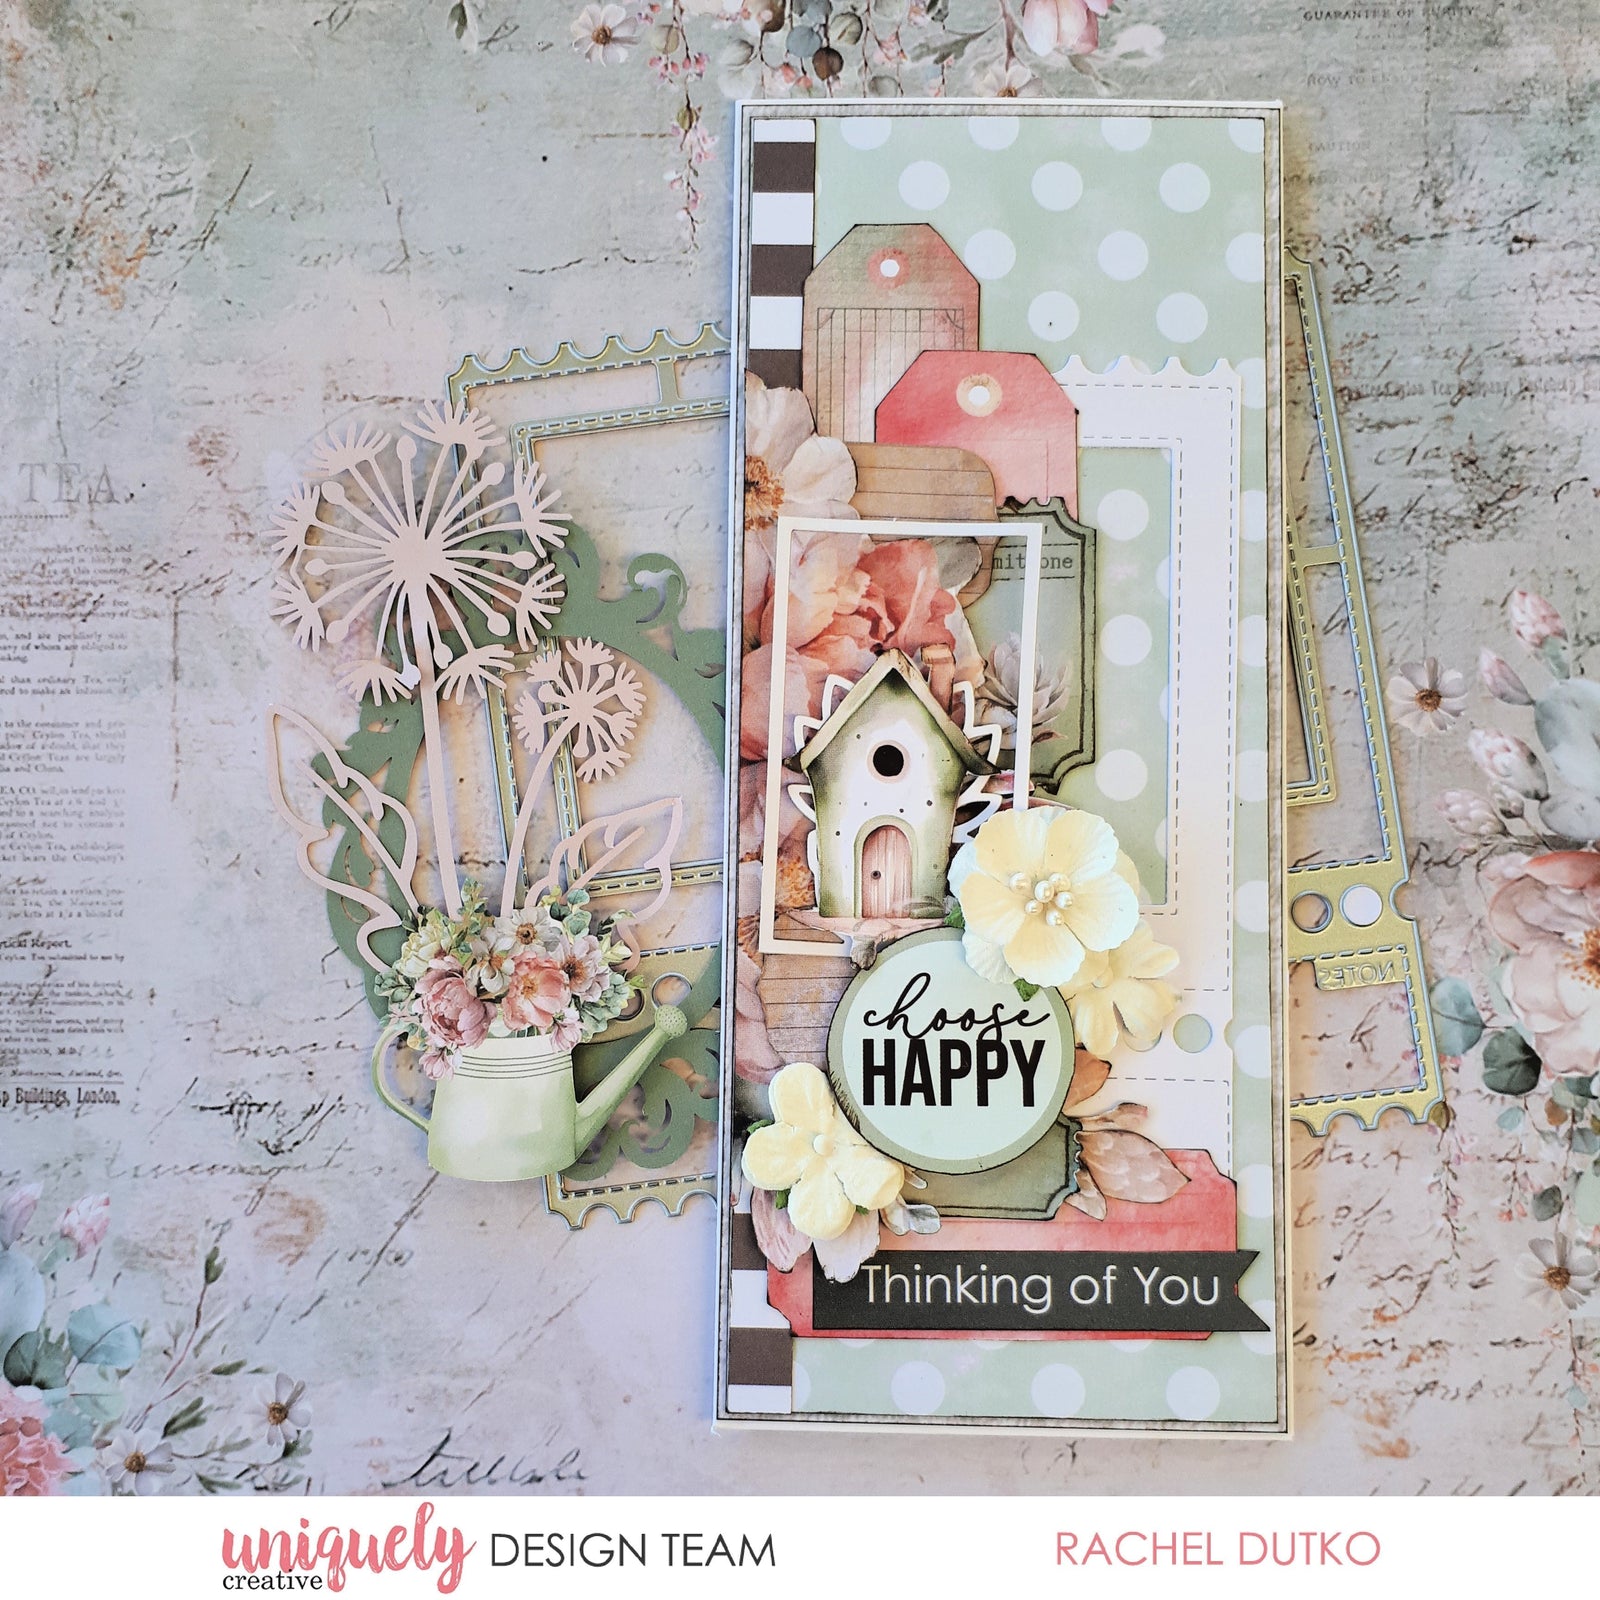

To recreate this beautiful card created by Design Team member Rachel Dutko you can follow the steps below:
Uniquely Creative Products Used:
· UCP3112 Moments Of Stillness paper
· UCP3113 Rest and Relaxation paper
· UCP3117 Afternoon Breeze paper
· UCP3118 Garden Sanctuary paper
· UCP3122 Tea & Tranquility Creative Cuts
· UCE2204 Bloom & Brew Ephemera
· UCE1817 White Flowers
· Cut-A-Part Sheet
· UCD2230 Folding Ticket Frame Die
· UCCA1797 Cloud Cardstock
· UCE1804 Foam Mounts Circles
· UCE1812 Slimline Cards & Envelopes
Other Products Used:
· Manual Die-cutting Machine
· Brown Ink
Card size: 8.8cm x 21cm
Step 1:
Fussy cut the image from the right-hand-side of the Rest & Relaxation paper, then fussy cut into 3 pieces – large floral cluster, birdhouse, and small floral around the birdhouse. Ink the edges with brown ink. – See image 1
Step 2:
Trim a piece of the Rest & Relaxation paper (B-side) to 3 3/8” x 8 1/8”. Trim a piece of the Moments Of Stillness paper (B-Side) to 3 ¼” x 8”. Ink the edges with brown ink and adhere to a slimline card base. – See image 2
Step 3:
Trim the branding strip (B-side) from the Steeped In Blooms paper to 8”, ink the edges then adhere to the left-hand-side of the card. – See image 3
Step 4:
Die cut a folding ticket from Cloud cardstock then trim in half to have just one side of the ticket. – See image 4
Step 5:
Fussy cut 5 tickets and tags from the Garden Sanctuary paper and the ‘Choose Happy’ circle from the Afternoon Breeze paper. Ink the edges. – See image 5
Step 6:
Adhere the die-cut ticket to the card base, slightly below centre. – See image 6
Step 7:
Next adhere the fussy cut floral pieces as shown (don’t add adhesive right to the edges). Tuck the tags in underneath, then glue down the florals if needed. – See images 7 and 8

Step 8:
Choose a small frame from the Bloom & Brew Ephemera pack (I have used the white side) and adhere to the back of the birdhouse. Adhere the birdhouse and the ‘Choose Happy’ piece with foam mounts. – See image 9
Step 9:
Add a ‘Thinking Of You’ banner and a tag from the cut-a-part sheet and 3 small white flowers – see main image