CHRISTMAS MORNING CARD TUTORIAL - NATALIE ELPHINSTONE

To recreate this amazing card created by Design Team member Natalie Elphinstone you will need the products listed below:
Shop the products
Uniquely Creative Products Used:
- UCP2799 Making a List Paper
- UCP2800 Peace on Earth Paper
- UCP2801 Decorations Paper
- UCP2802 Presents Paper
- UCP2803 Wishes Paper
- UCE2025 Christmas Wishes Glitter Dimensional Stickers
- UCE1750 Champagne Rhinestones
Other Products Used:
- UCE1811 Uniquely Creative Rectangle Card 10.5cm x 14.8cm (white)
- UCD1975 Scalloped Nesting Rectangle Dies
- UCD1974 Stitched Nesting Rectangle Dies
- UCD2064 Stitched Nesting Oval Dies
- UCD2065 Scalloped Nesting Oval Dies
- Foam Mounts Squares & Strips
Instructions:
-
Use the largest Scalloped Nesting Rectangle die to cut a piece of the pink ‘Peace on Earth’ paper, and the coordinating Stitched Nesting Rectangle die to cut a slightly smaller piece of the ‘Making a List’ paper - See Image 1

-
Similarly, use the Stitched and Scalloped Nesting Oval Dies to cut a pink oval from ‘Peace on Earth’, and a slightly smaller green oval from ‘Decorations’ - See Image 2

-
Layer up the rectangle pieces, adhering them together and then attaching them to the card. Also layer up the oval pieces and adhere them together. - See Image 3

-
Cut 4 or 5 repeats of the Christmas Decorations Die from the ‘Presents’ paper and then glue them together – one on top of the other so it forms a really thick and sturdy piece - See Image 4

-
This can then be glued to the oval pieces, and then attached to the centre of the card - See Image 5

-
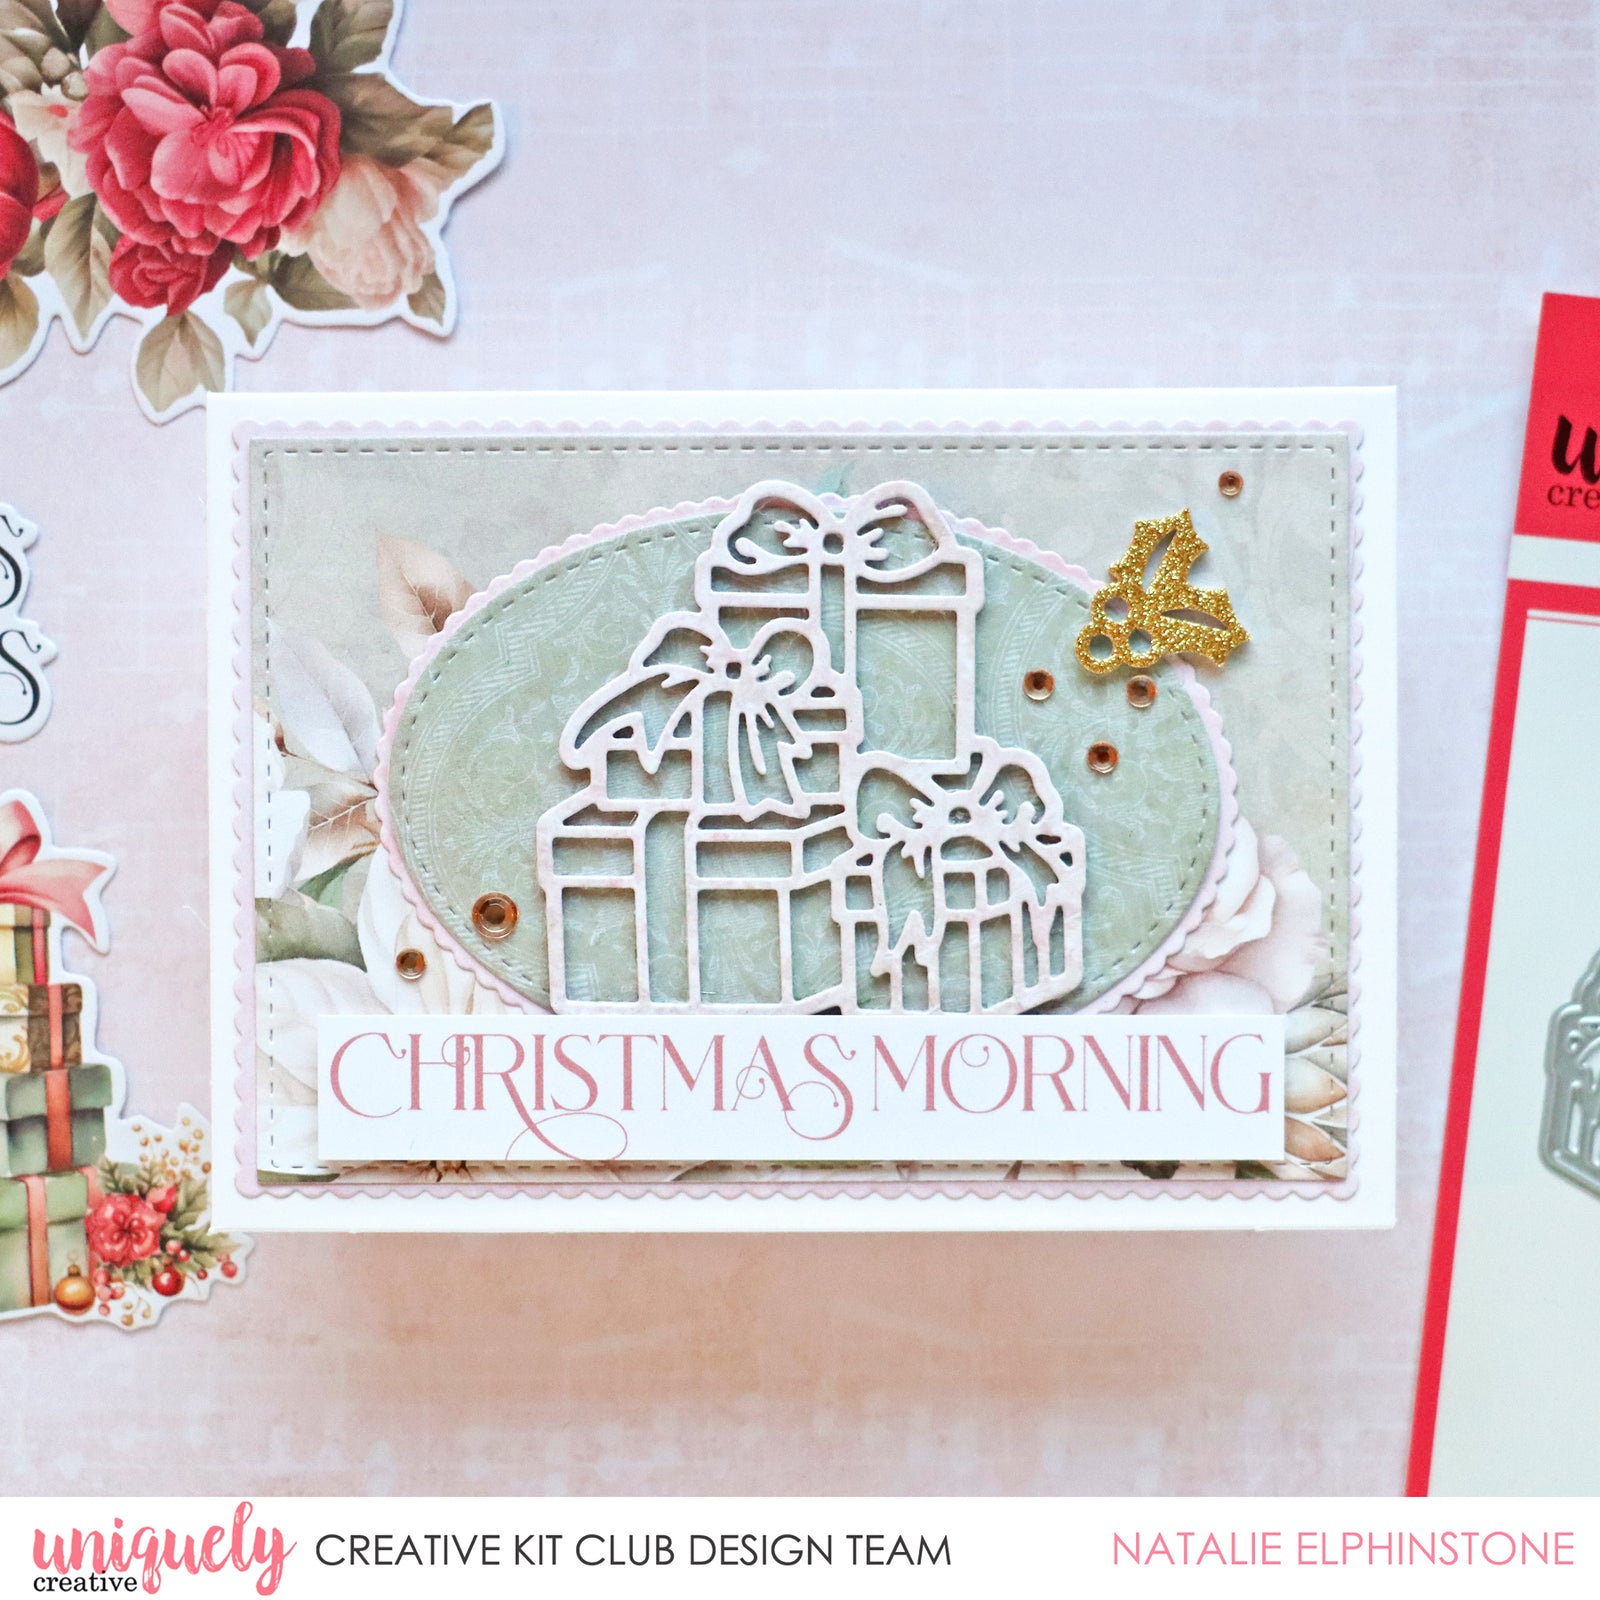
Cut one of the sentiments from the ‘Wishes’ paper – I chose ‘Christmas Morning’ as it will fit nicely along the bottom edge of the card - See Image 6

- Finish off with some extra bling in the form of a holly Glitter Dimension Sticker, and some Champagne Rhinestones - See Image 7


