Congratulations Tutorial - Yvette Fanciulli

Uniquely Creative Products Used:
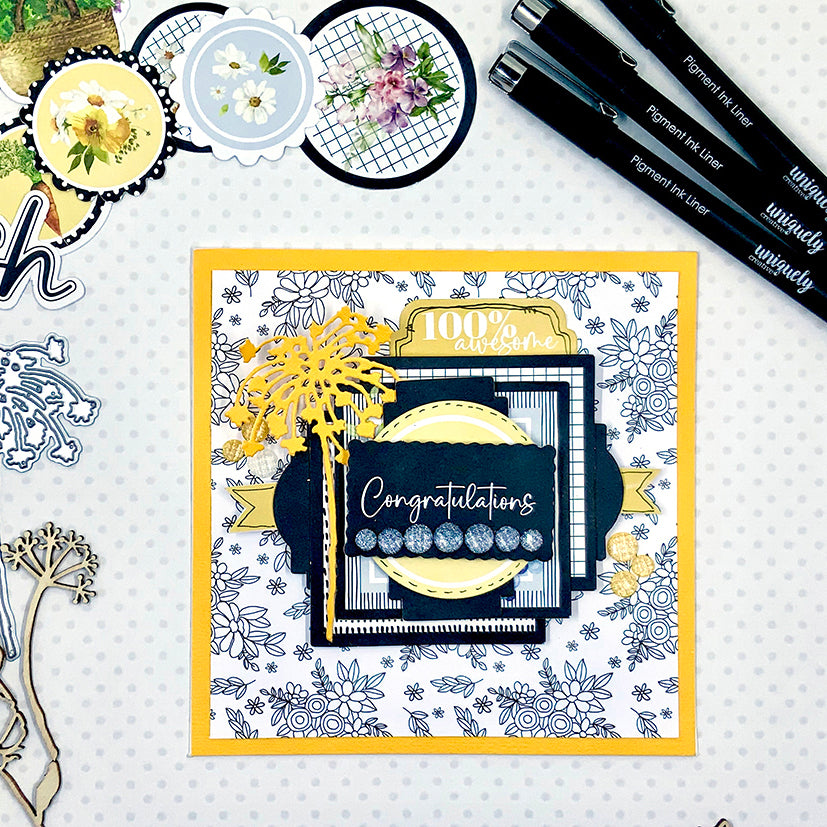
- UCAA1724 Sunny Days Cardstock
- UCP2487 Green Thumb paper
- UCP2490 Garden Path Creative Cuts
- UCE1945 Fineliner Pens
- UCE1954 Shimmer Crystal Stickers
- UCE1860 Cut-a-part sheet
- UCD2081 Dandelion die
Other Products Used:
- Trimmer, scissors
- Double-sided tape, foam tape
- Die cutting machine
- White square card blank
Instructions:
1. Cover the card front with a piece of Sunny Days Cardstock. Then a piece of Green Thumb paper a little smaller. Layer together and attach to the card front.
2. Gather all the Creative Cuts you need and fussy cut the other pieces from the Cut-a-part sheet.

3. Cut some of the creative cuts in half for the layering.


4. Die cut a piece of Sunny Days Cardstock using Dandelion die.
5. Use foam adhesive on the Creative cuts to add dimension to the cluster.

6. Add the cluster to the front of the card and add some Shimmer Crystal Stickers.

7. Use the 01. Fineliner pen to add some line work to the creative cuts and the cut-a-part pieces.
