DAYS LIKE THIS LAYOUT TUTORIAL - LISA AMIET

To recreate this sweet layout created by Design Team member Lisa Amiet you will need the products listed below:
Shop the products
Uniquely Creative Products Used:
- UCP2832 Blissful Day
- UCP2833 Lost in the Sand
- UCP2835 The Sea is Calling
- UCP2836 Waves for Days
- UCP2837 Days Like This
- UCP2838 To the Beach
- UCP2840 Creative Cuts
- UCP2841 Vellum Creative Cuts
- UCP2844 Coastal Ephemera
- UCP2042 Natural Muslin
- UCP2043 Dimensional Stickers
Other Products Used:
- Glue, double sided tape, foam tape
- Scissors, paper cutter
Photo Size: 4 x 5 ½”
Instructions:
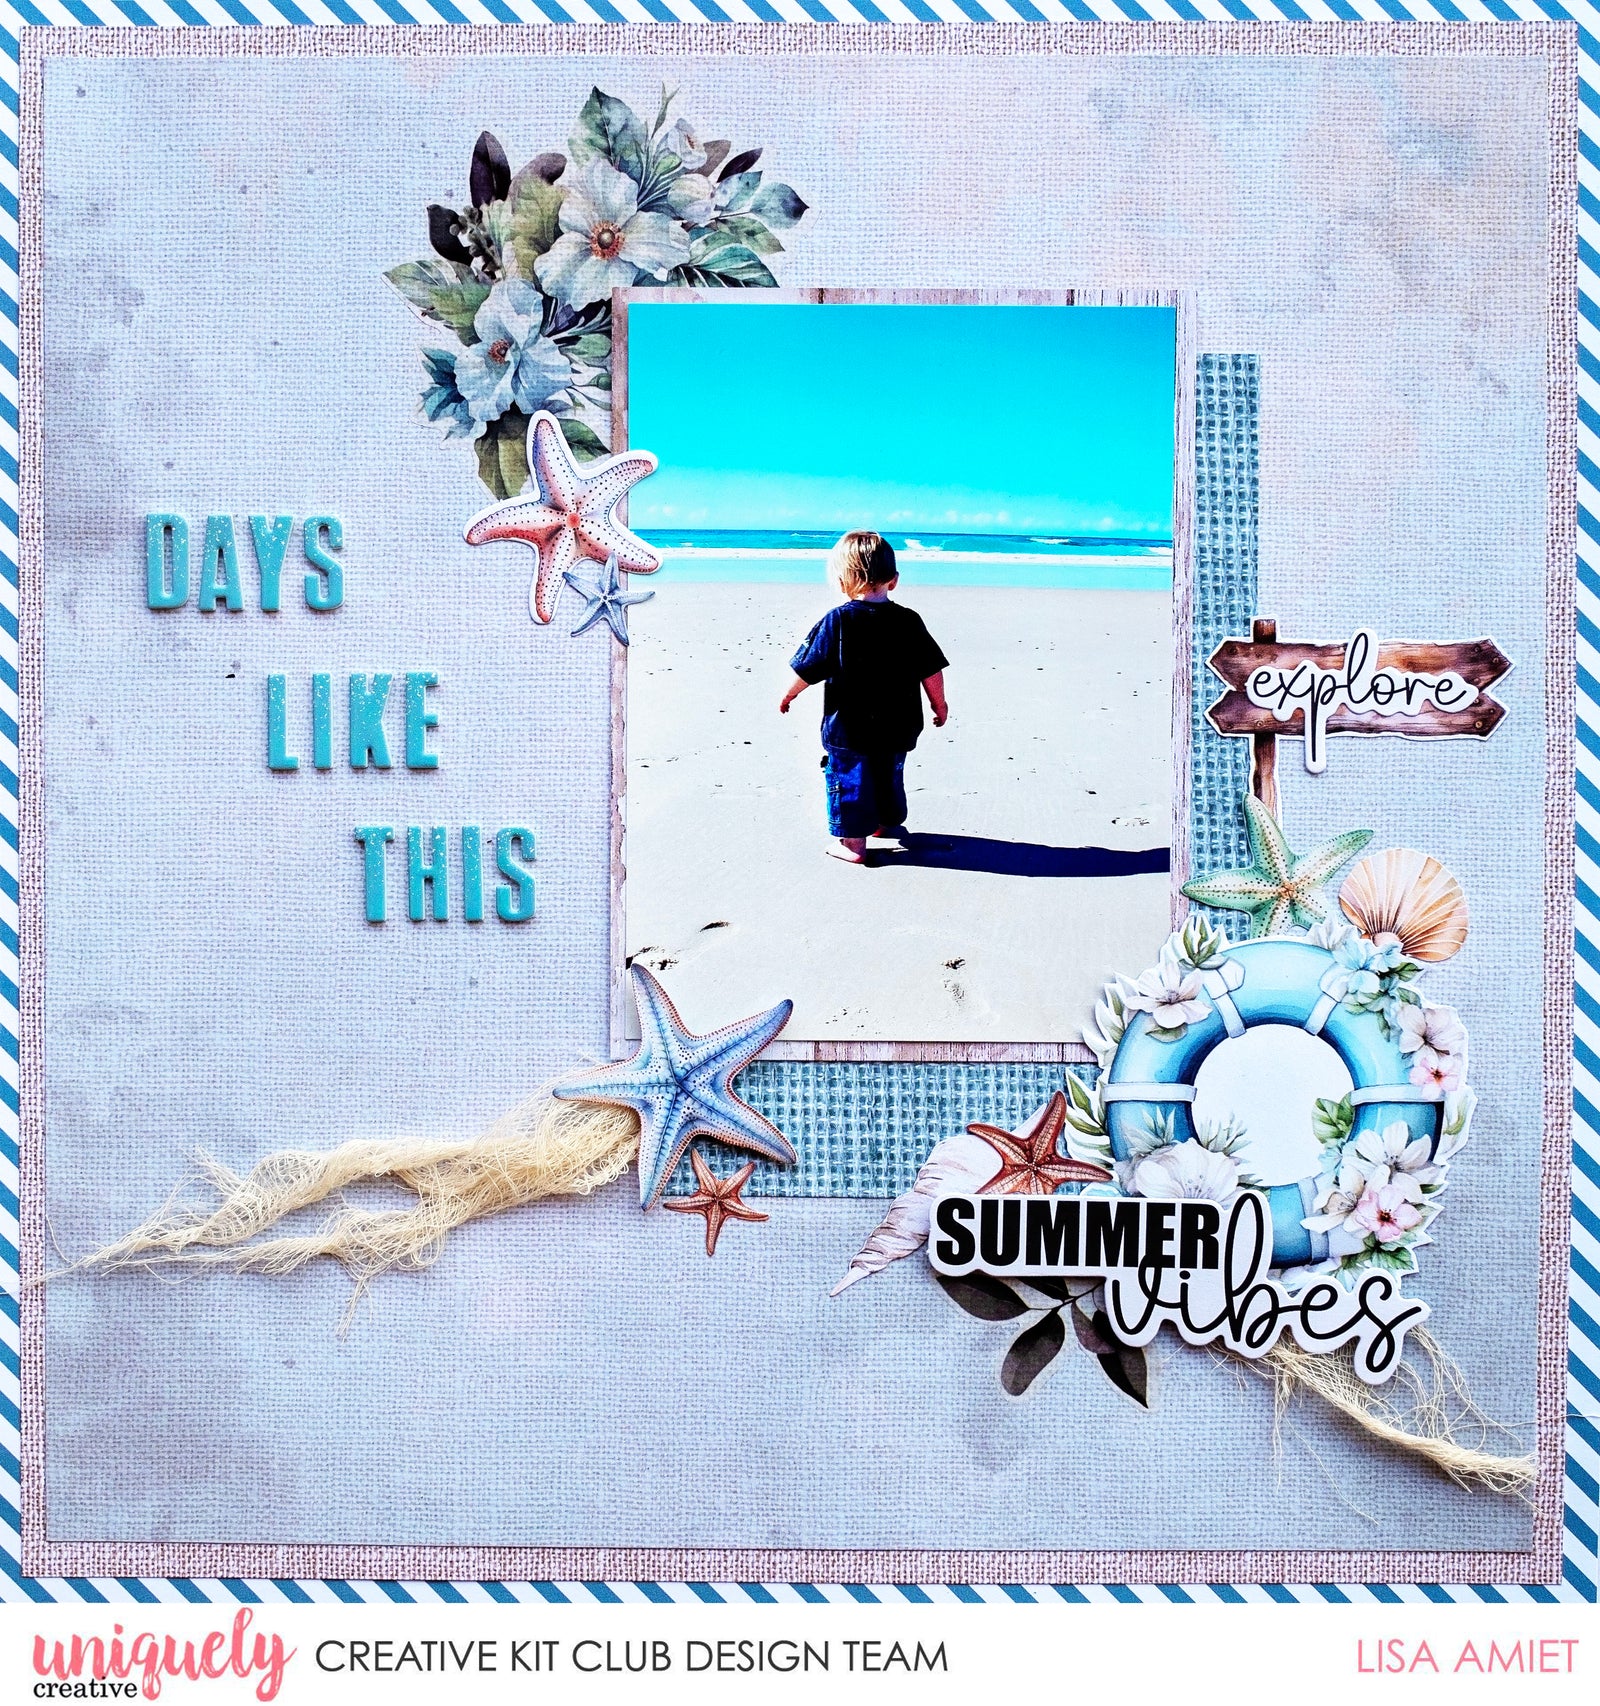
- Cut a 2cm frame from the outside of To The Beach paper (reverse), removing the centre. Trim 1cm from both the height and width of The Sea Is Calling Paper (reverse). Cut a 2cm frame from the outside of this paper, removing the centre. Adhere the second frame to the centre of the first frame.
- Cut 2cm from both the height and width of the Lost In The Sand paper (reverse) and adhere this piece to the centre of both frames. Cut an 11x16cm piece of Blissful Day paper (reverse) and adhere to the right side of you page - See image 1.

- Adhere floral Vellum Creative Cut to the top left corner of your previous piece. Cut an 11x14.5cm piece from Waves For Days paper (reverse) and use this to matt your photo.
- Adhere your photo to your page, overlapping previous pieces - See image 2.

- Cut two pieces of Natural Muslin and pull at some loose threads to make it wispy. Adhere one piece to the bottom right corner of your photo stack.
- Fussy cut life buoy and signpost from the Days Like This paper. Adhere a starfish and shell from the Coastal Ephemera and adhere the buoy to the bottom right corner of your photo stack, over muslin piece, overlapping the shell. Adhere signpost above, tucking it in slightly - See image 3.

- Tuck in and adhere two more shells from the Coastal Ephemera to the left of the buoy. Adhere Vellum Creative Cut leaves under the buoy and then adhere the Creative Cuts title, with foam tape, layering over previous pieces - See image 4.

- Adhere your second piece of muslin to the bottom left corner of your photo and adhere two starfish from the Coastal Ephemera to the bottom left of your photo with foam tape for the larger one - See image 5.

- Adhere two more starfish from the Creative Cuts and Coastal Ephemera to the top left corner of your photo, overlapping them slightly. Adhere sentiment from the Creative Cuts to the signpost. To finish, adhere Dimensional Sticker title to the left side of your photo - See image 6.
