
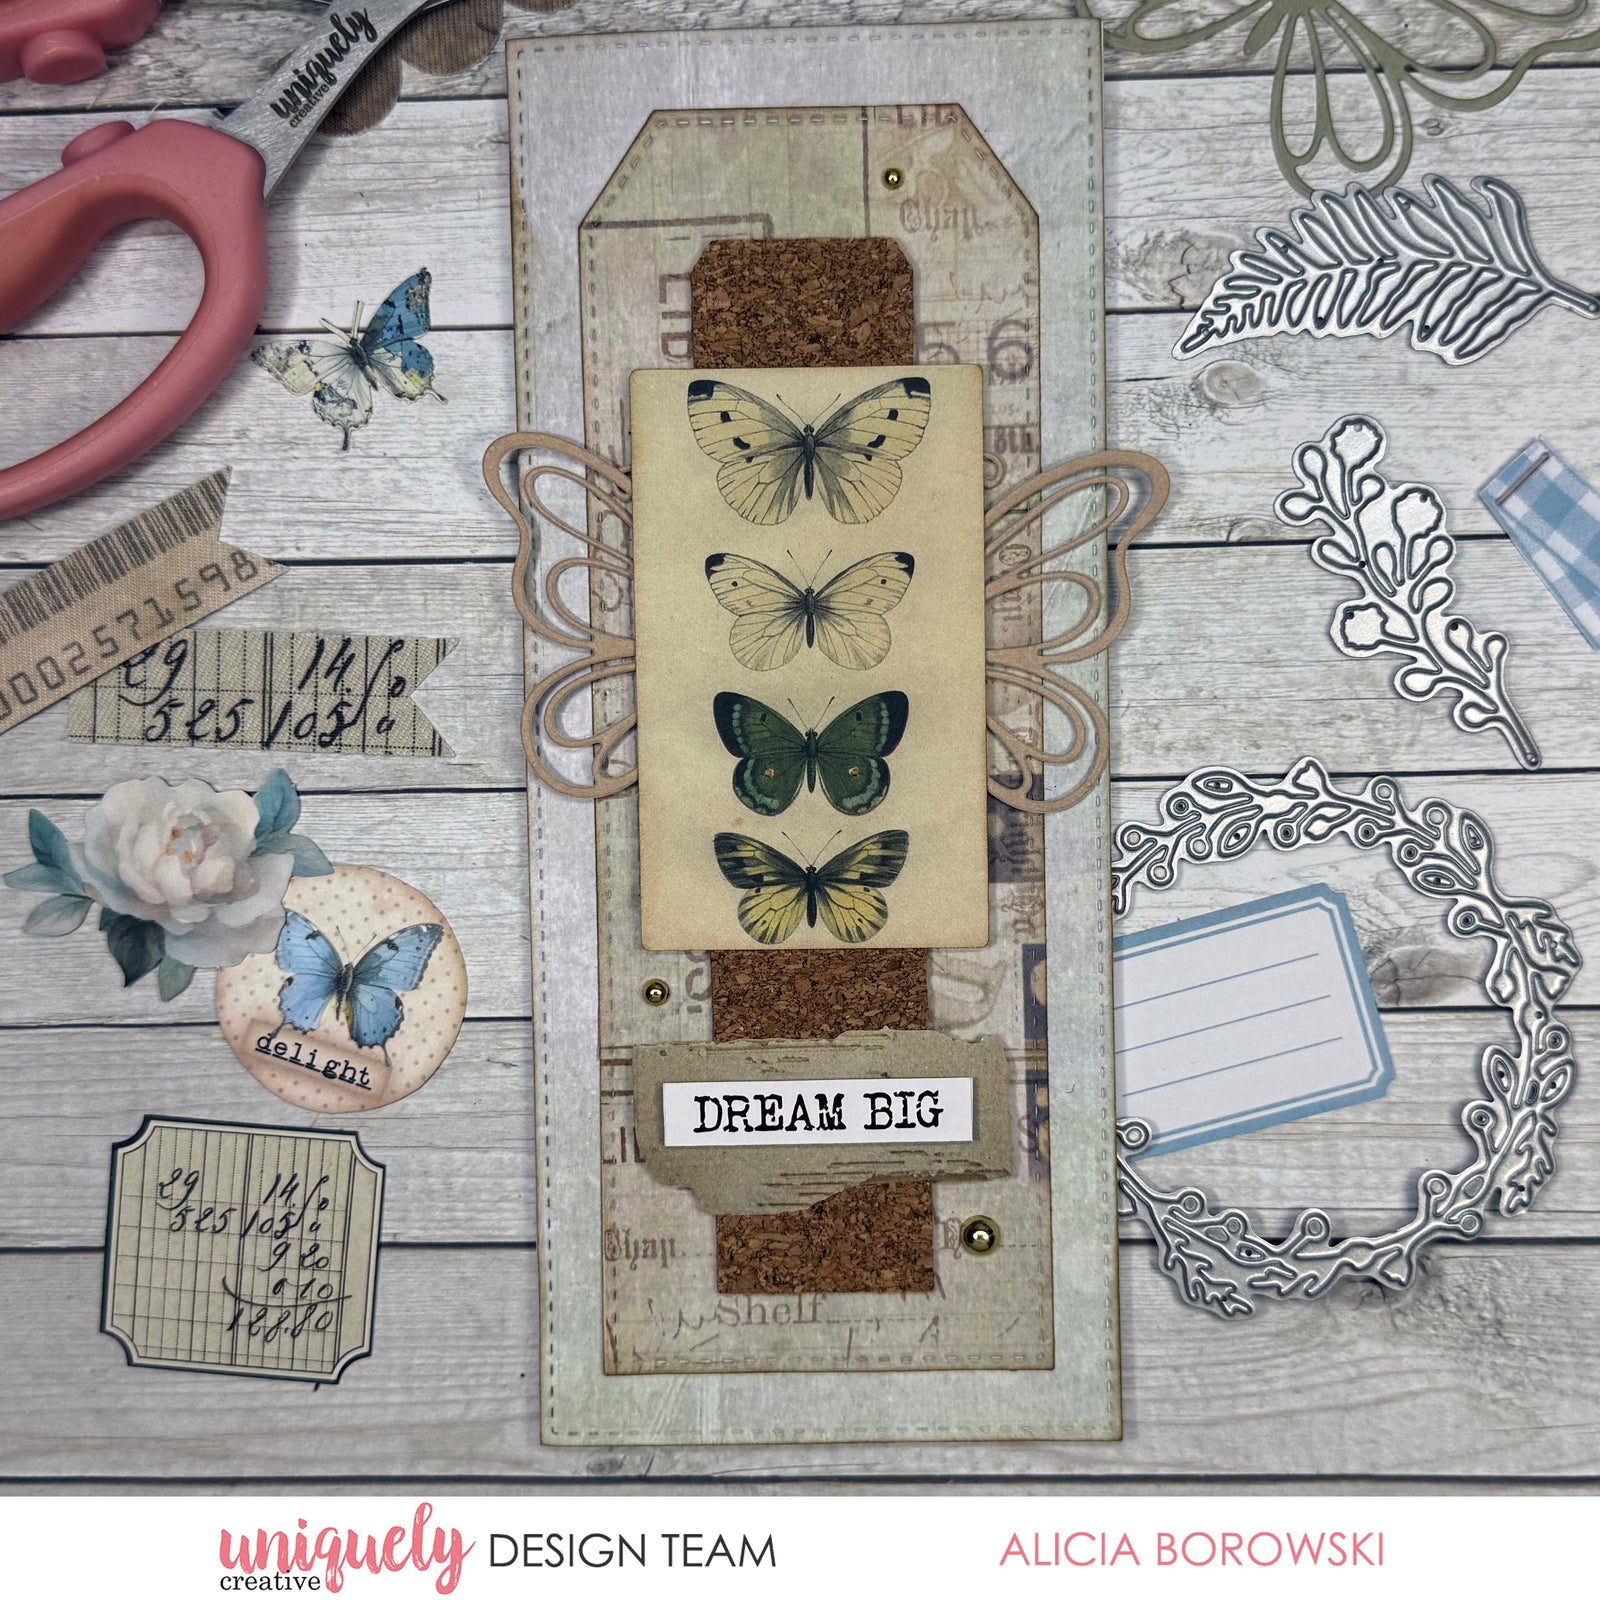

To recreate this beautiful card created by Design Team member Alicia Borowski you can follow the steps below:
Uniquely Creative Products Used:
· UCP3128 Foliage Whispers (reverse)
· UCP3133 Forgotten Treasures
· UCP1744 12 x 12 Cork Sheet
· UCP3136 Creative Cuts
· UCD2234 Delicate Butterfly Die
· UCAA1791 Mocha Cardstock
· UCD1972 Slim Stitched Nesting Rectangle Die
· UCE2134 Slim Stitched Nesting Tag Die
· UCE1729 Gold Pearls
Other Products Used:
· Trimmer, scissors
· Die cutting machine
· Double-sided tape, glue, foam mounts
· Distressing tool
Card size: 8.8cm x 21.0cm
Step 1:
Die cut the Forgotten Treasures with the Slim Stitched Nesting Tag Die.
Step 2:
Die cut a piece of Foliage Whispers (reverse) with the Slim Stitched Nesting Rectangle Die. Die cut the Cork Sheet with the small Slim Stitched Nesting Tag Die
Step 3:
Edge both pieces of die cut paper with brown ink. Layer and adhere to the card front as per photo.
Step 4:
Die cut the Mocha Cardstock with the Delicate Butterfly Die. Cut die cut in half.
Step 5:
Cut the sentiment from Forgotten Treasures. Collect the other elements and edge with brown ink.
Step 6:
Layer remaining elements on the card front. Finish off with Gold Pearls.