
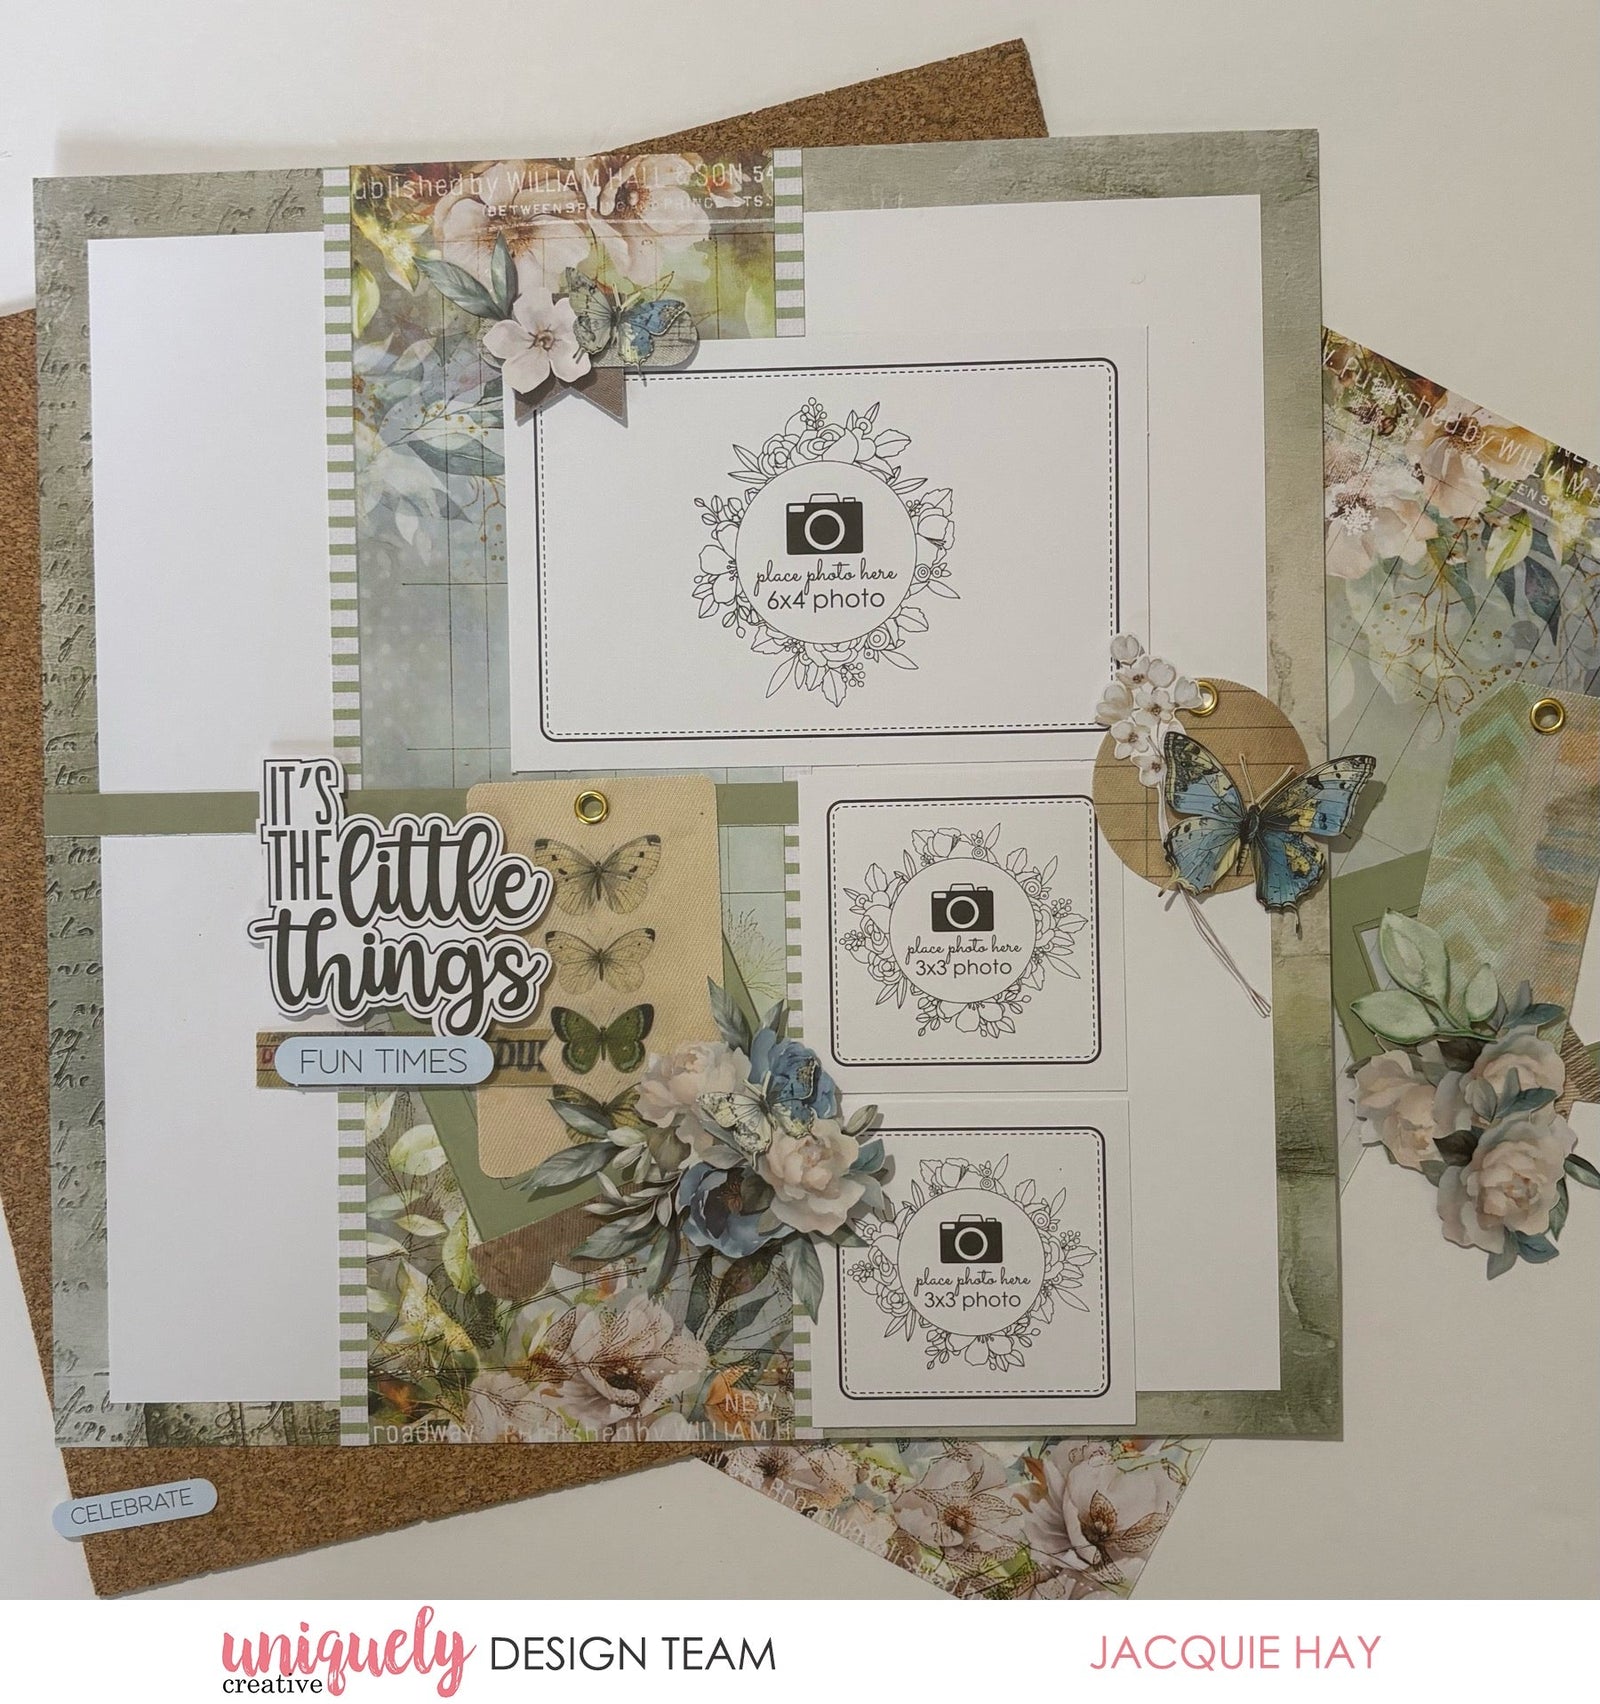

To recreate this lovely layout created by Design Team member Jacquie Hay you can follow the steps below:
Uniquely Creative Products Used:
· UCP3126 The Collector's Ledger Paper
· UCP3130 The Botanist's Journal Paper
· UCP3136 Creative Cuts
· UCE2222 Vintage Canvas Elements
· UCE1803 Foam Mounts Squares & Strips
· UCE1872 Fussy Cutting Scissors
· UCE2192 Paper Perfect Quick Dry Glue
· UCE2194 Paper Perfect Trimmer
Other Products Used:
· White Cardstock
Photo size: (one) 4” x 6” landscape, (two) 3” square
Step 1:
Trim the branding strip from a sheet of The Botanist's Journal for the base. Cut an 11” square of White Cardstock and attach to the centre of the base – See image 1
Step 2:
Cut one 4” x 12” piece of The Collector's Ledger paper, and then two ¼” x 12” pieces.
Step 3:
Attach the 4” x 12” piece 3” from the left of the layout. Attach the two ¼” x 12” pieces (reverse) either side of that piece. Attach the branding strip from The Botanist's Journal paper across the layout, 6” from the top – See image 2
Step 4:
Attach the 4” x 6” landscape photo 4 ½” from the left and 1 ¾” from the top.
Step 5:
Attach the two 3” square photos 7 ¼” from the left, below the previous photo – See image 3
Step 6:
Embellish with Creative Cuts and Vintage Canvas Elements, layering using Glue and Foam Mounts – See image 4