
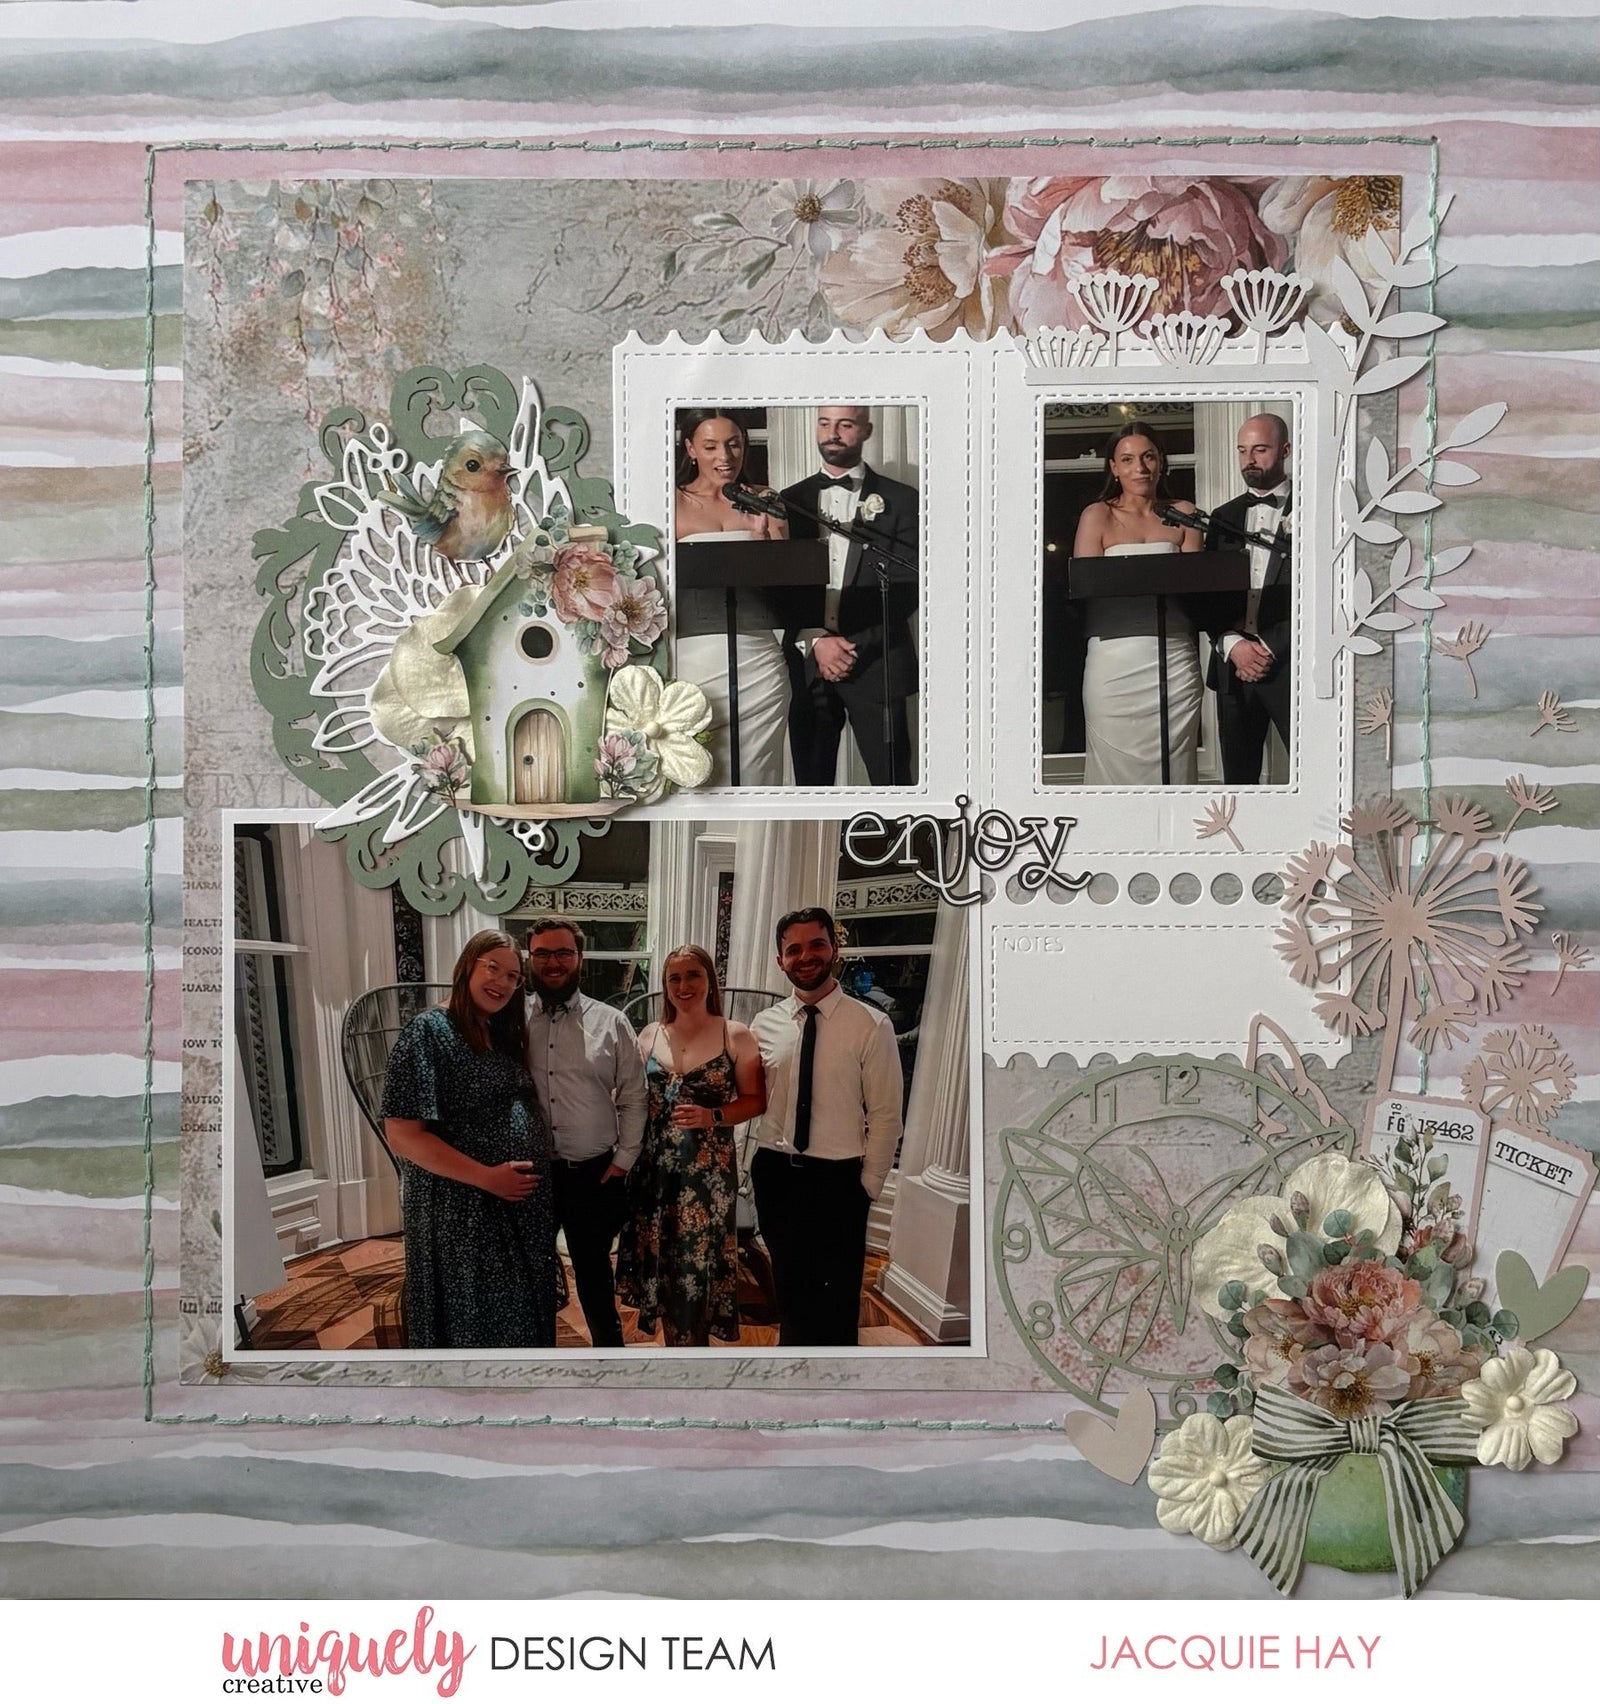

To recreate this sweet layout created by Design Team member Jacquie Hay you can follow the steps below:
Uniquely Creative Products Used:
· UCP3112 Moments of Stillness Paper
· UCP3115 Quiet Daydreams Paper
· UCP3122 Creative Cuts
· UCE2204 Bloom & Brew Ephemera
· UCD2229 Protea Posy Die
· UCD2230 Folding Ticket Frame Die
· UCE1804 Foam Mounts Circles
· UCE1817 White Flowers
· UCE1859 6mm Double Sided Tape
· UCE1872 Fussy Cutting Scissors
· UCE1981 Die Release Tool
Other Products Used:
· Embroidery Thread
Photo Sizes: (one) 4” x 6”, and (two) 2” x 3”
Step 1:
Trim the branding strip from the Quiet Daydreams paper (reverse) and use as your base page.
Cut a 9” square from the Moments Of Stillness paper and attach to the centre of the base page – See image 1
Step 2:
Using the Folding Ticket Frame Die, cut some White Cardstock. Attach two photos behind, then attach this to the base page, 1 ¾” from the right edge and 2 ½” from the top.
Step 3:
Add a landscape photo 1 ¾” from the left edge and 1 ¾” from the bottom of the base page – See image 2
Step 4:
Add some Bloom & Brew Ephemera around the photos.
Step 5:
Using the Protea Posy Die, cut from some White Cardstock and attach over the frame – See image 3
Step 6:
Finish your layout using White Flowers and Creative Cuts, adhering using Foam Mounts. You may also like to stitch around the square using embroidery thread – See image 4