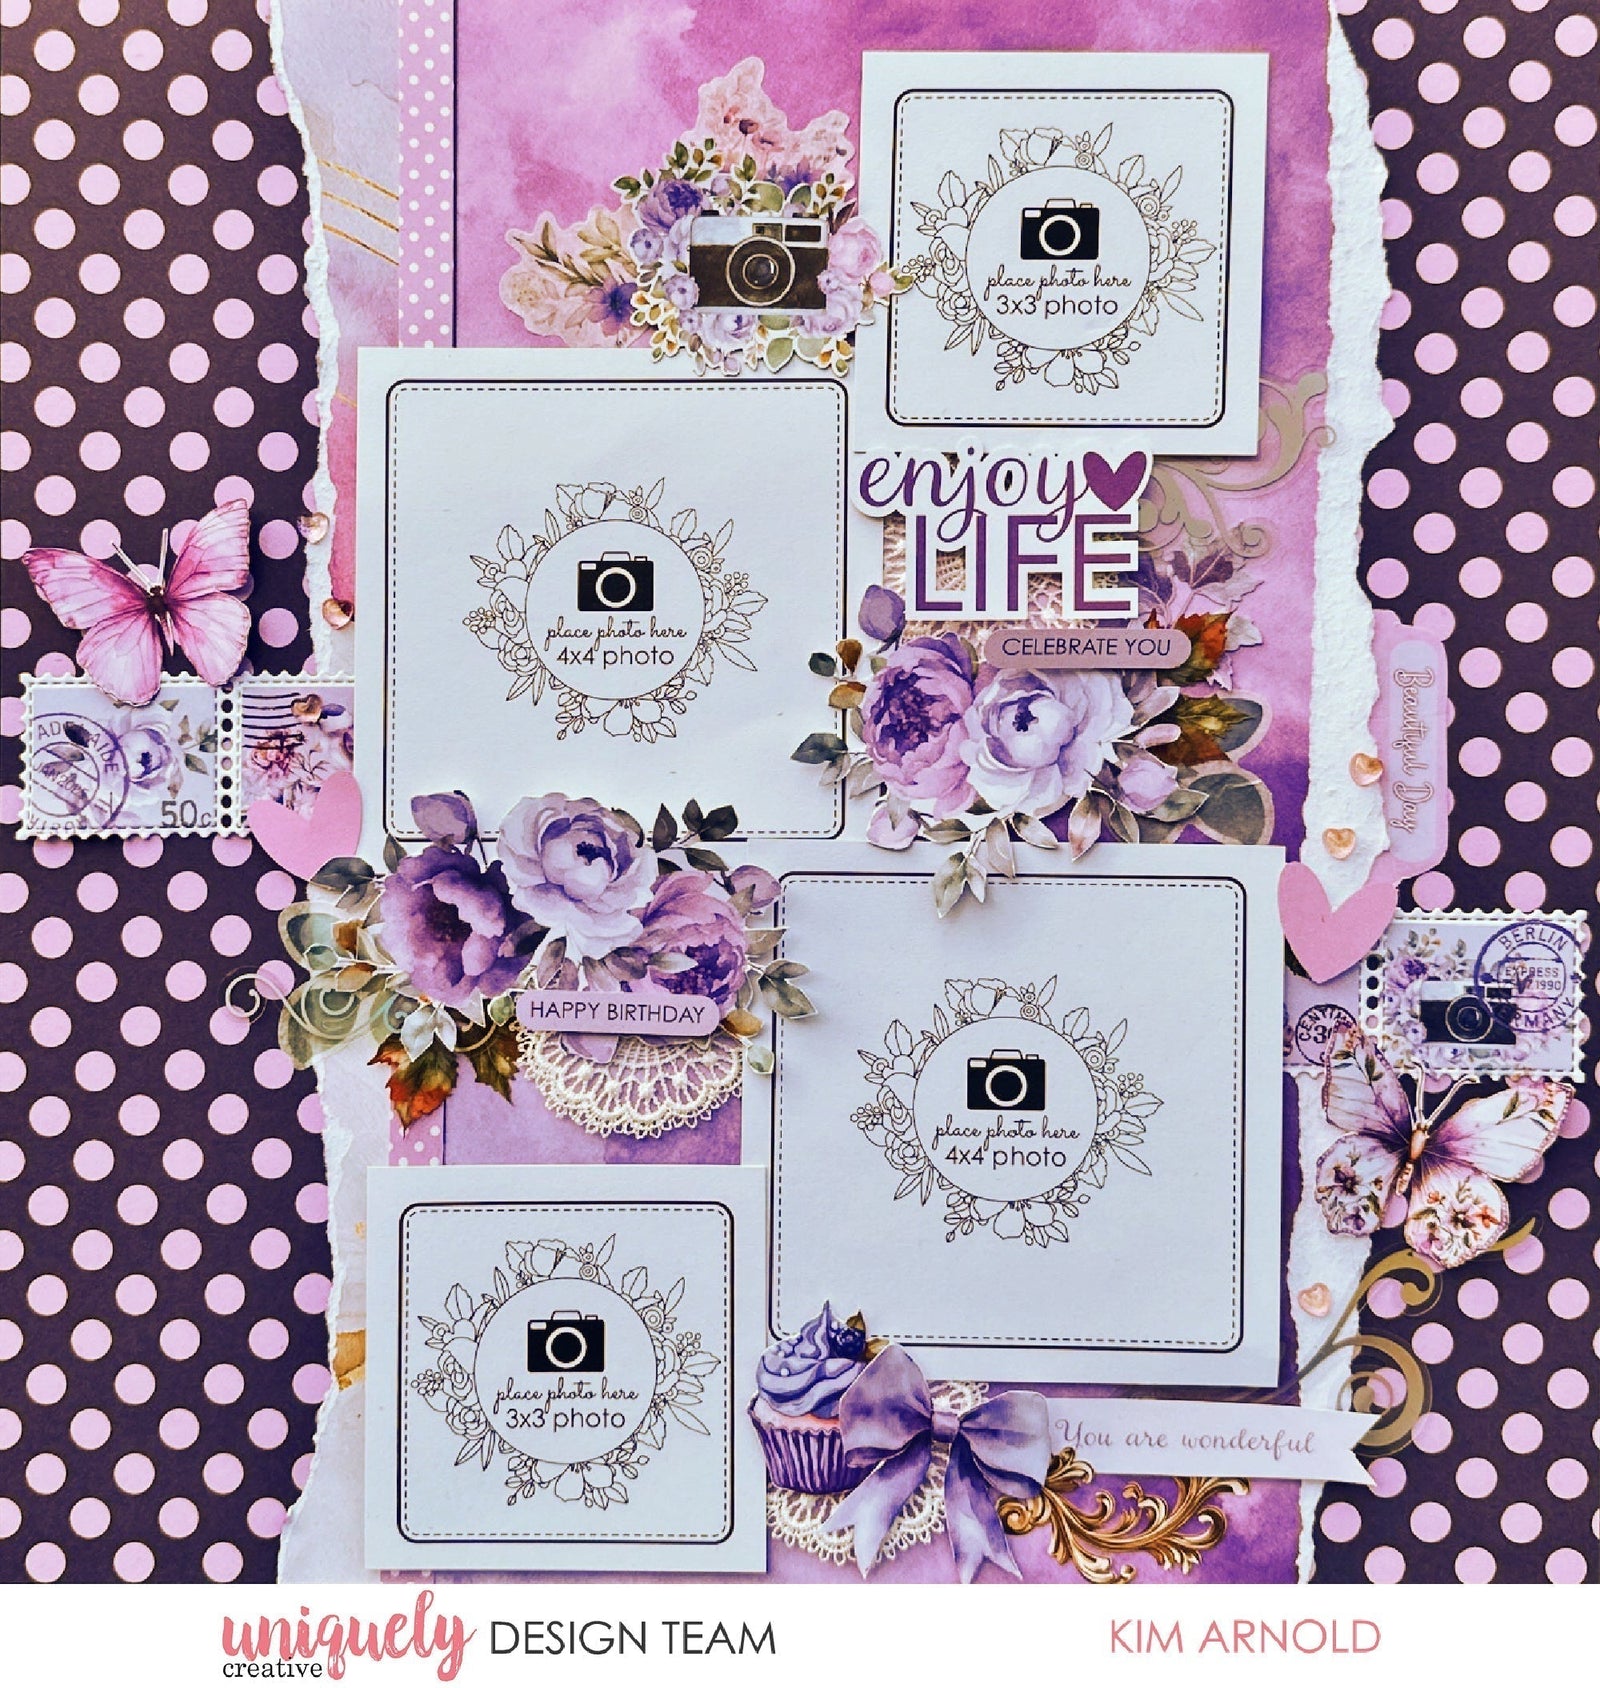
ENJOY LIFE, CELEBRATE YOU LAYOUT TUTORIAL - KIM ARNOLD

To recreate this sweet layout created by Design Team member Kim Arnold you can follow the steps below:
Uniquely Creative Products Used:
· UCP3066 Magical Mauve paper
· CUP3068 Lavender Breeze paper
· UCP3069 Gold & Amethyst paper
· UCP3071 Simple Life paper
· UCCS229 Ultraviolet Delight Cut-a-part
· UCP3074 Ultraviolet Delight Creative Cuts
· UCP3075 Ultraviolet Delight Vellum Creative Cuts
· UCD2226 Postage Stamp Strip Die
· UCE2185 Dew Drop Heart Stickers – Romantic
· UCE1803 Foam Mounts Squares & Strips
Photo size: two 4x4" and two 3x3"
Step 1:
Using a 9” strip of Gold & Amethyst paper, tear a strip approximately 1½” from the side. Flip the small piece over and then attach both pieces to the Magical Mauve paper with the straight edges together. Cover the join with a patterned salvage strip piece – See image 1.
Step 2:
Attach the photo mounts with foam tape squares making sure that you keep them away from the edge – this will allow you to tuck embellishments under as you build the layout – See image 2
Step 3:
Attach photo mounts in a grid design down the strip of Gold & Amethyst paper overlapping edges slightly – See image 3.
Step 4:
Create a base layer for your clusters using Lace Pieces. Cut stamps shapes from Simple Life paper using Postage Stamp Die and add two stamps from each piece to layout – See image 4
Step 5:
Fussy Cut two large florals from the Lavender Breeze paper. Using the two florals, Creative Cuts, Vellum Creative Cuts create clusters over the base layer. Use foam tape for some to give dimension. Attach title with foam tape. Add a phrase from the Cut-a-part sheet to the bottom cluster– See image 5.
Step 6:
When you attach the florals with foam tape squares, make sure the squares don’t overlap the photo mats so you can easily add photos to the photo mats – See image 6.
Step 7:
Finish layout with heart Creative Cuts, Dew Drop Heart Stickers and flourishes from the Ultraviolet Delight Holographic Stickers.

