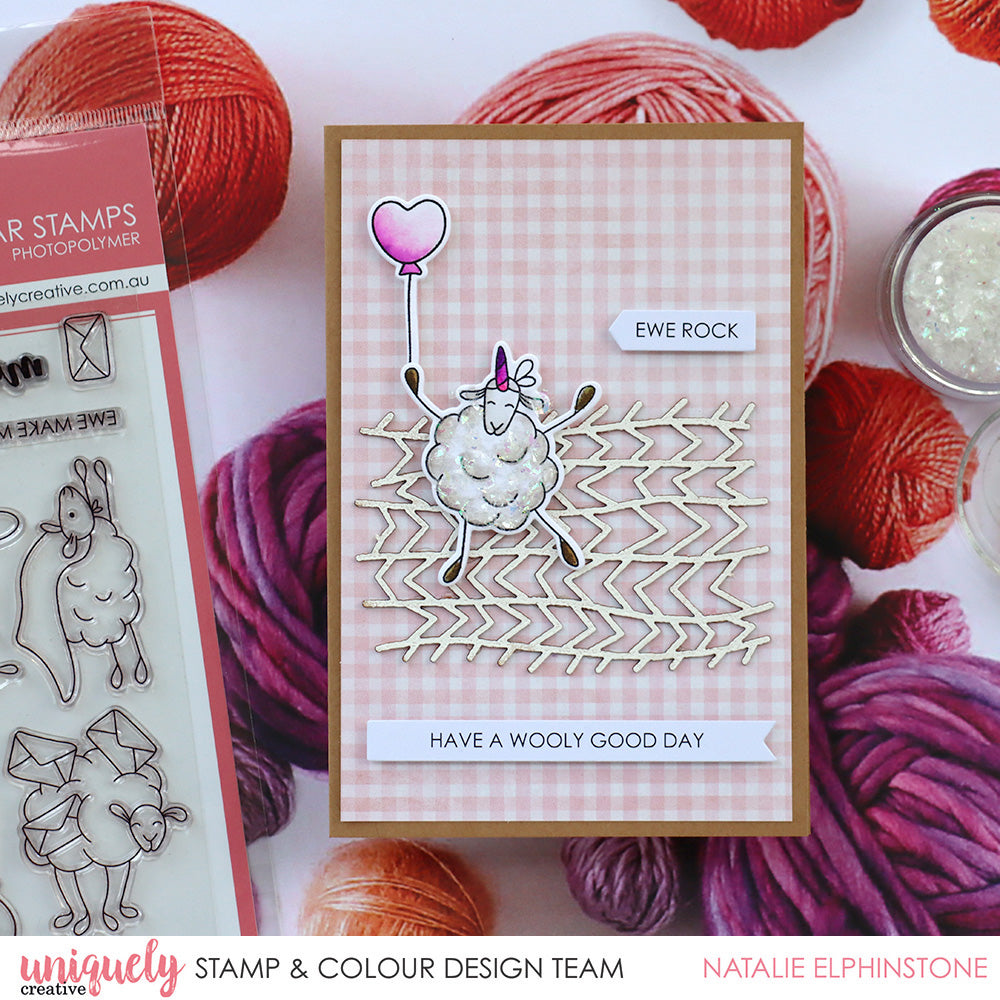
Ewe Rock - Natalie Elphinstone

Card Size: 6" x 4" Kraft Cardstock
Uniquely Creative Products Used
Special Delivery Stamp Set, Special Delivery Die Set, Happy Mail Laser Cut, Happy Mail Cut-a-Part Sheet, UNIQOLOUR Markers, Foam Mounts - Squares and Strips, Watercolour Paper
Other Products Used
White embossing powder, patterned paper, glitter
Instructions
1. We are making a clean and simple card – but one that packs a whole lot of texture into it! Stamp the image with black Staz On ink onto UC Watercolour Paper and colour the image from the Special Delivery stamp set with UNIQOLOUR Markers. Once dry, die cut with the matching dies.

2. I’m one of those crafters who believes you can never go wrong with glitter, so add a generous amount of it to the sheep to make it look like it’s got sparkly wool!

3. A quick and easy way of colouring these intricate Laser Cut pieces isn’t to colour them at all, but to emboss them. Take some Versamark ink and dab it all over the top of the piece, then tip white embossing powder on it. Heat set with a heat tool for a lovely glossy finish.

4. Start with a kraft card, and layer some pink gingham patterned paper on the top. Adhere the laser cut piece in the centre towards the bottom, add some sentiments with foam tape, and stick the glittery sheep on the top – holding his happy balloon above him!
