Fairytale Collection Card - Vicki Poulton
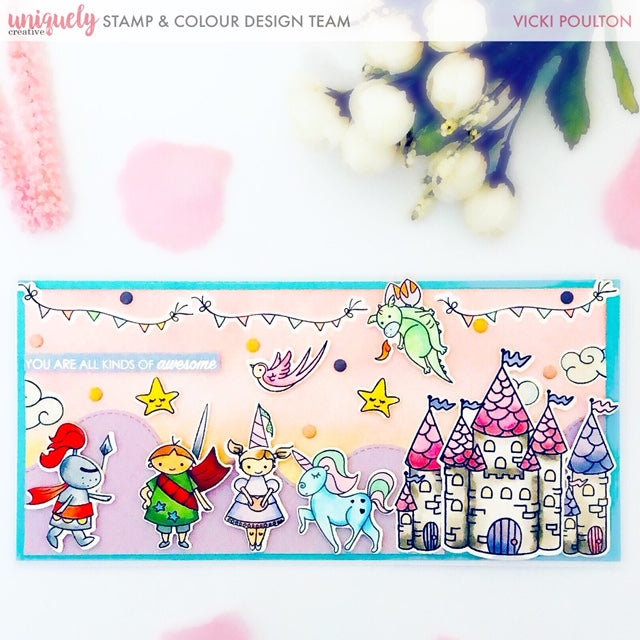

Card size: 8 ¾” x 4”
Uniquely Creative Products Used
Fairytale Princesses stamps and dies, Fairytale Princes stamps and dies, Fairytale Castle stamps and dies, Inspirational Sentiments stamps, blue card, Fairytale Scene builder dies, metal caps
Other Products Used
Pink pigment ink, orange pigment ink, sponge, white cardstock, lilac cardstock, Versamark Ink, white embossing powder, heat tool, double sided tape,
foam adhesive
Colours Used
Copic markers:
Skin: E00, E02, E51
Greys: W0, W2, W5, C4, C2, C6
Pinks: RV02, RV23, RV21, R20
Greens: G00, G02, G12, BG23, YG41, YG17, YG67
Purples: BV000, BV00, BV04
Yellows: Y08, Y17, YR15
Reds: R20, R24, R39

Steps:
1: Using a piece of white cardstock score at 4” and fold in half. Then trim the card length ways to 8 ¾”. Trim a piece of blue card from the kit a bit smaller than the card and adhere to the white card base with double sided tape. Trim another piece of white card a bit smaller than the blue and this is the one you will ink blend on.
2: Using the pink pigment ink apply the sponge into the ink and gently start adding colour to the card. Then do the same at the bottom of the card using the orange pigment ink.
3: Using the scene dies I die cut a hill out of lilac cardstock and adhered to the card.
4: Stamp and colour all your images from the kit and colour them in. Using the dies, cut them out and place onto your card. I added some foam pads for extra dimension.
5: On another piece of lilac card I stamped the sentiment using the Inspirational stamp set. I stamped this with Versamark ink and sprinkled white embossing powder over the top. I then heat set this with my heat gun. Adhere to your card with some foam pads.
6: To finish the card off I added some metal caps from this month’s kit.