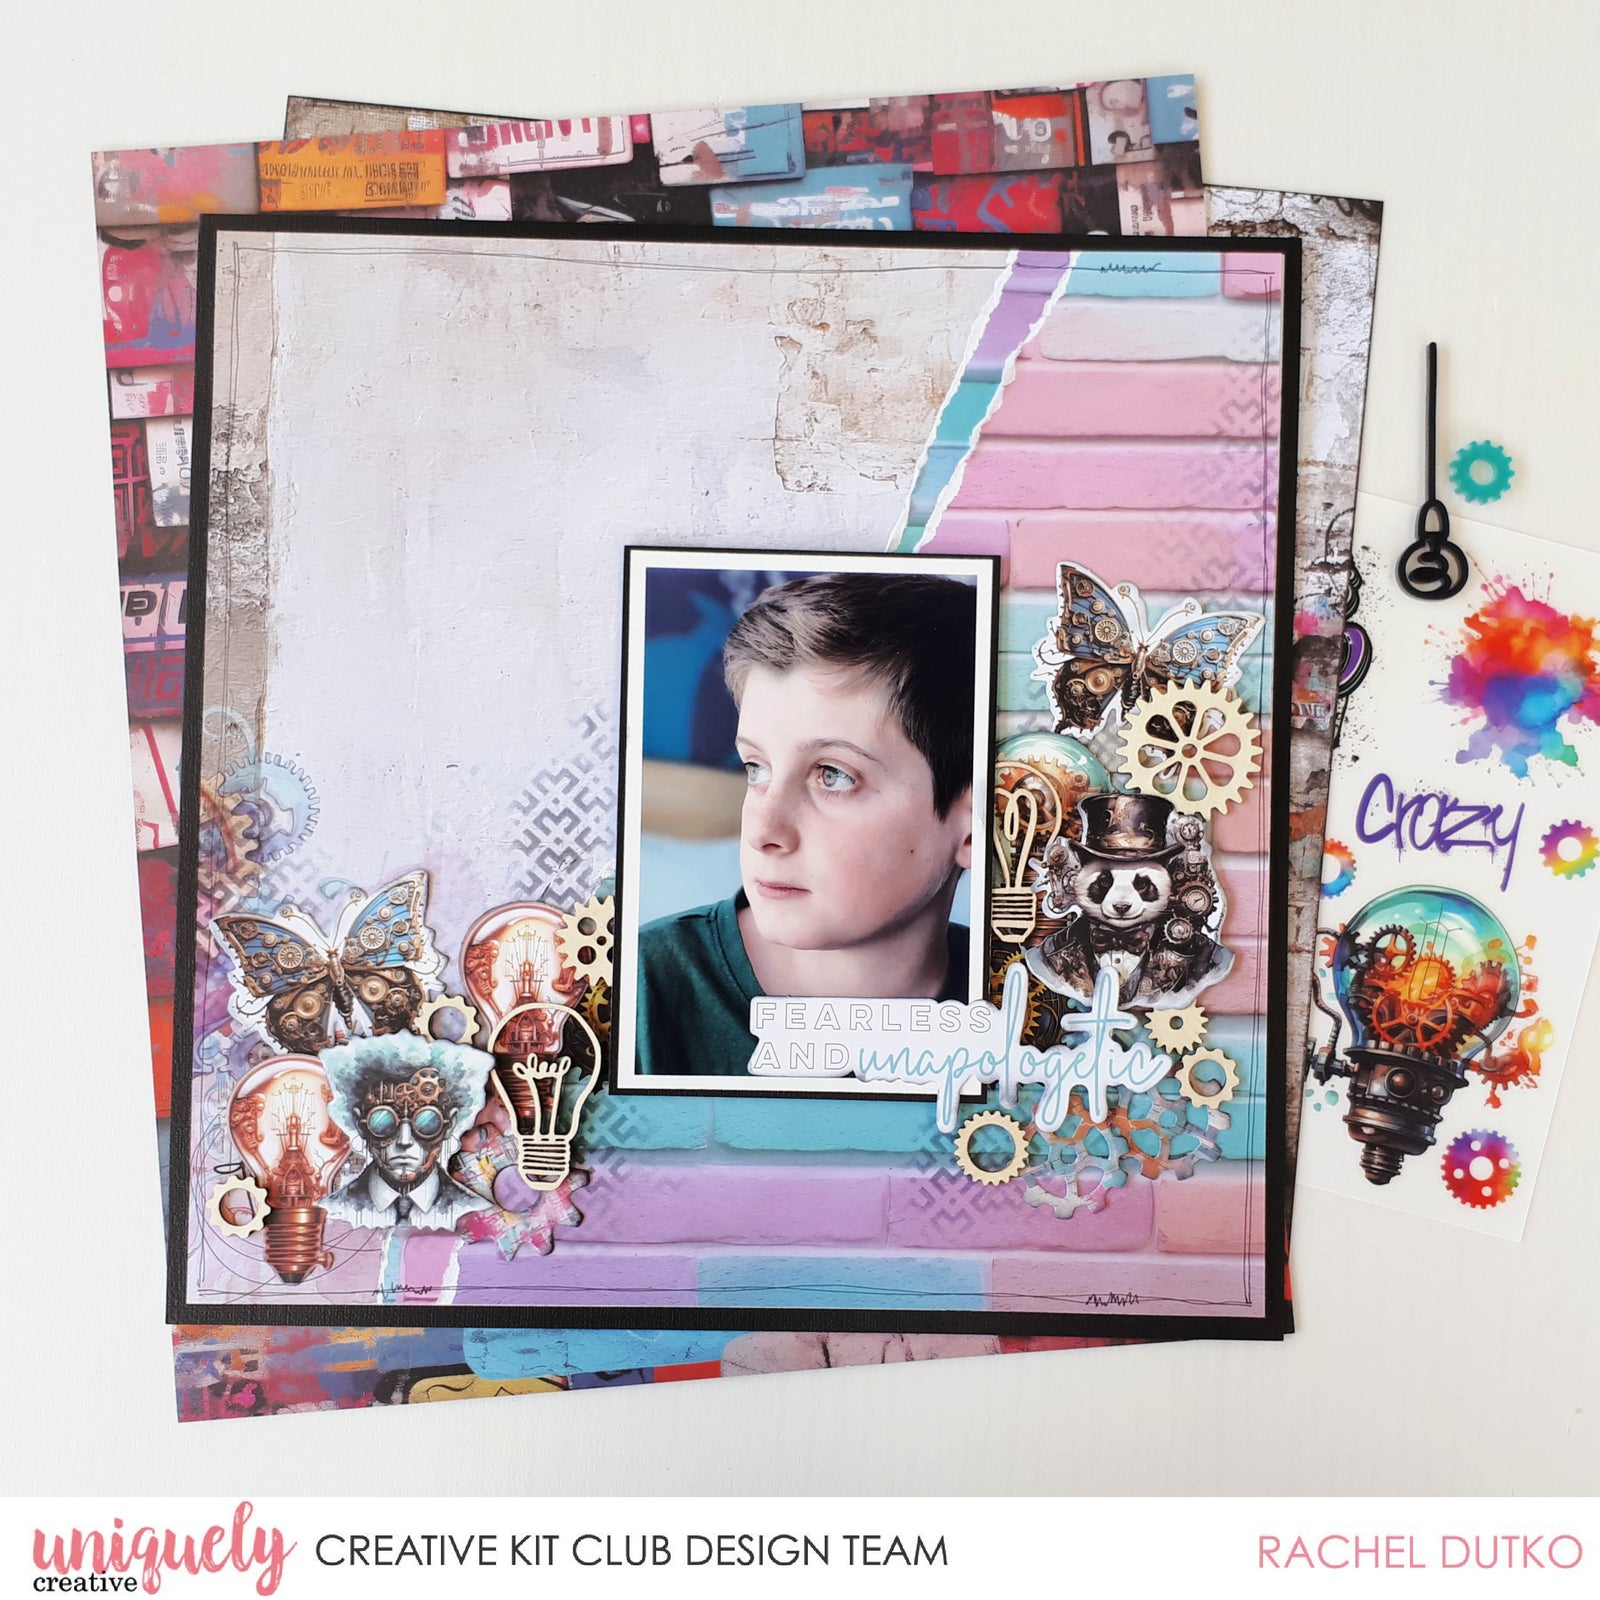
FEARLESS AND UNAPOLOGETIC SCRAPBOOKING LAYOUT - RACHEL DUTKO

Shop the products
Uniquely Creative Products Used:
- Shadow cardstock
- UCP2771 Urban paper
- UCP2772 Cyberpunk paper
- UCP2773 Steampunk Graffiti Creative Cuts
- UCMM1779 Blaze stencil
- UCE2018 Steampunk Rub-Ons
- UCL1768 Steampunk Graffiti laser cut
Other Products Used:
- Double-sided tape
- Glue
- Ruler
- Scissors
- Foam mounts
- Black ink
- Black pen
Instructions:
-
Trim an (approx.) 10" x 10" square from the centre of the Shadow cardstock – See image 1.

- Trim a piece of Urban paper to 11 1/2" x 11 1/2", keeping the design in the bottom left hand side. Matte with the Shadow frame. – See image 2.

-
Trim the branding strip from the Cyberpunk paper, then carefully tear it diagonally right to left. You will need to tear one of the sides again to make sure both pieces have a white edge – See image 3.

-
Turn the left-side piece and attach under the right side piece (trim off the excess paper underneath if you want to keep it). Trim the longest edge to 11 1/2"– See image 4.

- Adhere to the bottom right-hand-side of the layout base. Gently distress the ripped edges. – See image 5.

-
Matte your photo with Shadow cardstock (photo is 3 5/8" x 5 1/2" printed with a white border) and adhere to layout slightly right of centre.
-
Using the Blaze stencil, add some stencilling with black ink, diagonally up the page. – See image 6.

- Choose a cog cluster from the Steampunk Rub-On sheet, trim in half and add to each side of the photo – See image 7.

- From the Creative Cuts pack choose 2 butterflies, one blue light globe, 2 orange/pink globes, steampunk face, panda, 3 coloured cogs and the 'fearless and unapologetic' title piece. Ink the edges with black ink.
-
From the laser cut choose 7 cogs and 2 globes. (I like to leave these raw for a natural texture). – See image 8.

-
Adhere the embellishments in 2 diagonal clusters, adhering some with foam mounts.– See image 9.

-
Adhere the laser cut pieces.
-
Finish by doodling a border with a black pen.
