GOOD MEMORIES LAYOUT TUTORIAL - MARIA ALOISI
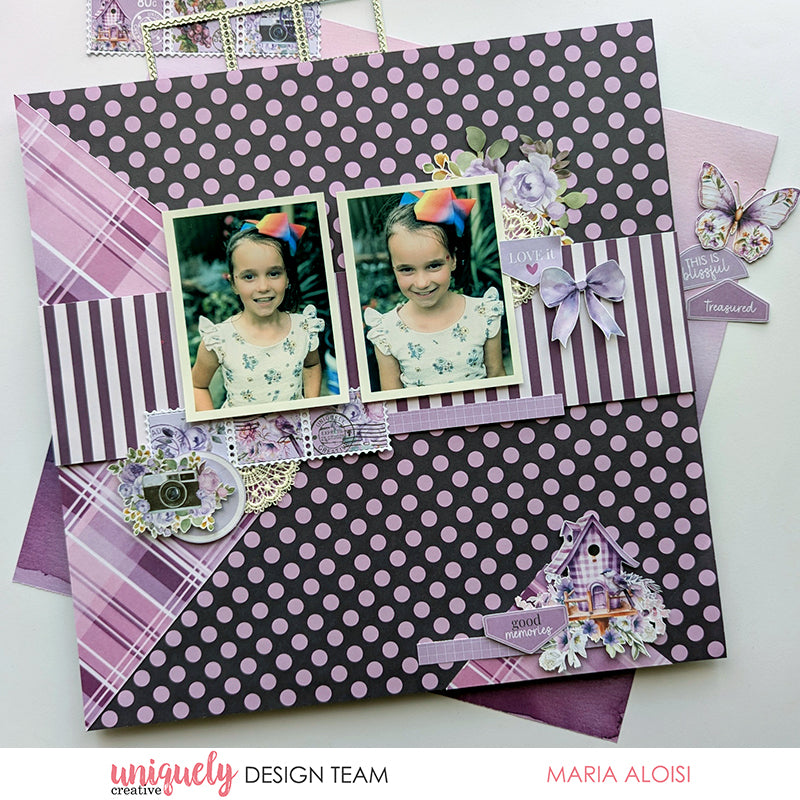

To recreate this sweet layout created by Design Team member Maria Aloisi you can follow the steps below:
Uniquely Creative Products Used:
· UCP3064 Pretty Purples Paper
· UCP3066 Magical Mauve Paper
· UCP3070 Living Life’s Moments Paper
· UCP3071 Simple Life Paper
· UCP3074 Ultraviolet Delight Creative Cuts
· UCD2226 Postage Stamp Strip Die
· UCE2053 Whimsical Lace Pieces
· UCE1803 Foam Mounts Squares & Strips
· UCE1859 6mm Double Sided Tape
· UCE1872 Fussy Cutting Scissors
Other Products Used:
· Paper trimmer
· Die cutting machine
· Craft knife
· Ruler
Photo size: two 3"x4" portrait
Step 1:
Use the Magical Mauve (reverse) paper for the base. Remove the branding strip. Cut a piece 6” x 12” from the Living Life’s Moments (reverse) paper. To cut the large triangle, find the centre on the right edge. From the top left corner and bottom left corner cut diagonally towards the centre – See image 1
Step 2:
To cut the small triangle, measure 3” for the diagonal sides and cut – See image 2
Step 3:
Using Double Sided Tape add the large triangle along the left edge of the base page. Add the small triangle 1” from the right edge – See image 3
Step 4:
Cut a piece 3” x 12” from the Pretty Purples (reverse) paper. Add to the centre of the base page – See image 4
Step 5:
Using Foam Mounts, add the photos to the base page. The first photo is 2½” from the left edge and 2½” from the top edge. Leave a ½” gap and add the second photo – See image 5
Step 6:
Using the Postage Stamp Strip Die and the Simple Life paper, die cut one piece. Add to the base page under the photos 1¾” from the left edge – See image 6
Step 7:
Embellish the page with creative cuts, lace pieces, the Pretty Purples branding strip and a couple of fussy cut images from the Living Life’s Moments paper – See image 7
Step 8:
To finish, fussy cut the birdhouse image from the Living Life’s Moments paper and the ‘good memories’ banner from the Simple Life paper. Using Foam Mounts add to the small triangle. Add a piece of the Pretty Purples branding strip – See image 8