
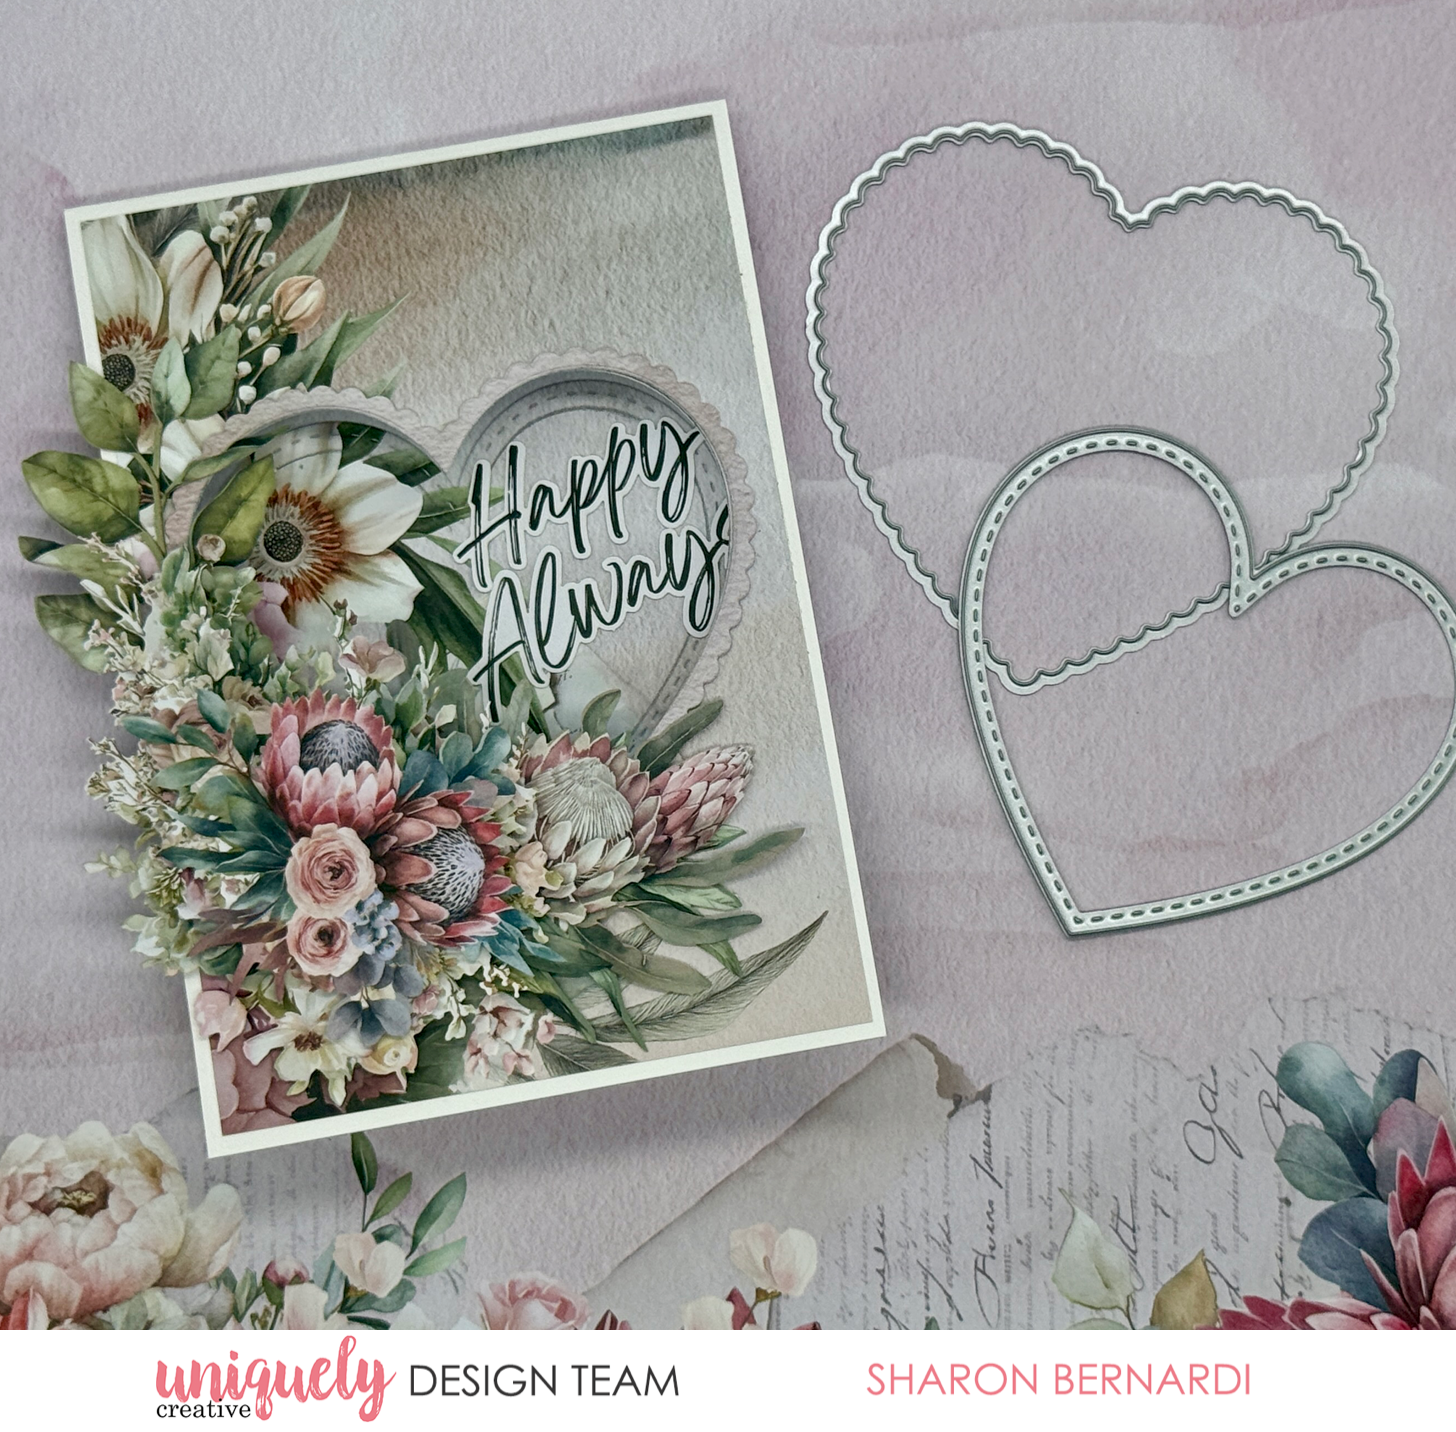

To recreate this sweet card created by Design Team member Sharon Bernardi you can follow the steps below:
Uniquely Creative Products Used:
· UCP3079 Written Home Paper
· UCP3081 Native Air Paper
· UCP3087 Paperbark Blooms Creative Cuts
· UCP3088 Paperbark Blooms Floral Creative Cuts
· UCD2117 Stitched Nesting & Scalloped Hearts Die
· UCE1803 Foam Mounts Squares & Strips
· UCE1859 6mm Double Sided Tape
· UCE1872 Fussy Cutting Scissors
· Washi Tape
Other Products Used:
· Paper Trimmer
· White Cardstock
Card size: 10.5cm x 15cm
Step 1:
From Native Air paper, cut a 10cm strip from the left of the page. Cut a panel from the lower section to 10cm x 14.5cm. Using the 8cm wide Stitched Heart Die, cut a heart from the centre of this paper panel.
From the top section cut a panel 10.5cm x 14.9cm. Save the cut out heart for later.
Step 2:
Cut a card base 10.5cm x 30cm and score in half to create a tent fold card. Note: you can also create this card using a standard Rectangle Card base. Lay the die cut panel centred on the front of the card and trace around the inside of the heart lightly with a pencil. Remove the panel and sit aside. 
Step 3:
Using the same Stitched Heart Die, lay the card out flat and die cut the heart from the card front. To prevent the die moving, use a small piece of washi tape. 
Step 4:
Adhere the die cut panel to the front of the card and the second panel inside the card using Double Sided Tape.
Step 5:
From the left side of Written Home paper, use both the Stitched Heart and matching Scalloped Heart dies and cut both at the same time to achieve a delicate scalloped heart frame. Secure with washi tape when die cutting to prevent movement.
Step 6:
Adhere the frame to the card front using glue. Use the die cut heart from step 1 to adhere inside the card as shown.