HAPPY LAYOUT TUTORIAL - KIM EWINS
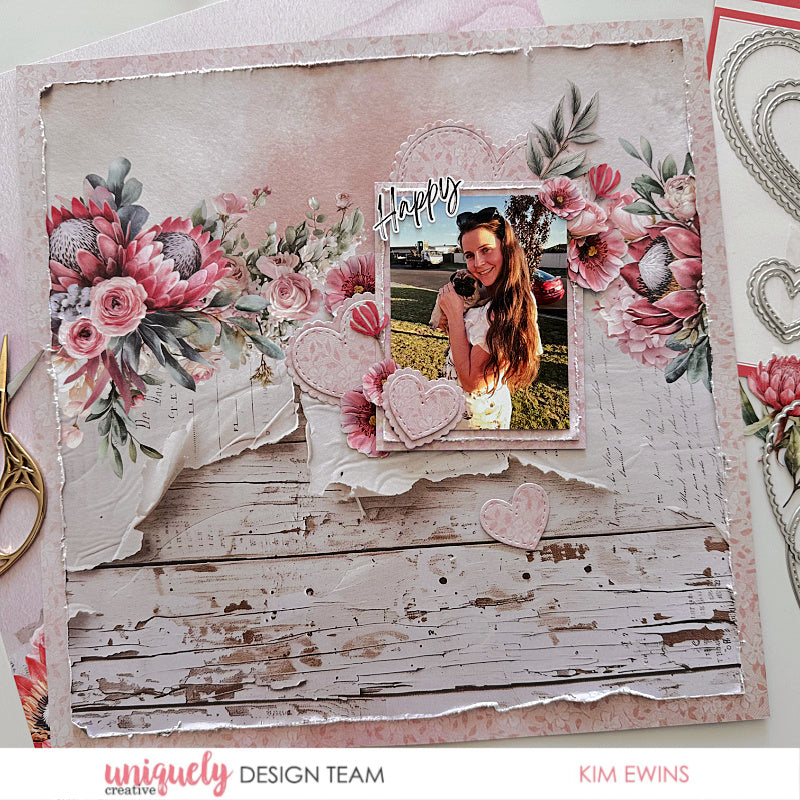

To recreate this gorgeous layout created by Design Team member Kim Ewins you can follow the steps below:
Uniquely Creative Products Used:
· UCP3078 Banksia Paper
· UCP3081 Native Air Paper
· UCP3087 Paperbark Blooms Creative Cuts
· UCE1978 Foam Mounts Dots and Strips
· UCE1859 6mm Double-sided tape
· UCE1872 Fussy Cutting Scissors
· UCD2117 Stitched Nesting and Scalloped Hearts Die
Other Products Used:
· Paper Trimmer
· Die Cutting Machine
Photo size: 3"x4"
Step 1:
Use Native Air (reverse side), trim off description strip. Measure in 1.5” in from all four sides and cut centre out of paper – See image 1
Step 2:
Trim 1cm from all four sides of Banksia paper, turn paper so flowers cluster design runs across page, distress edges – See image 2
Step 3:
Adhere Banksia trimmed piece on top of Native Air making sure border edges are even.
Step 4:
Use centre section cut from Native Air paper to cut two matts for photo. One measuring 8.5cm x 11cm and the other 9cm x11.5cm. Distress edges of smaller matt. (Preserve as much as possible of the Native Air paper for die cut hearts.)
Step 5:
Add foam mounts to back of photo and stick on distressed matt, adhere to larger matt. Place foam mounts or cardboard to the double matted photo – See image 3
Step 6:
Using Native Air paper and the Stitched nesting and Scalloped Die cut a selection of hearts. Add foam mounts to layer a couple of them – See image 4
Step 7:
Adhere large heart pieces in between floral design.
Step 8:
Position and adhere raised photo & matts in place.
Step 9:
Adhere remaining hearts around photo.
Step 10:
Take a selection of Paperbark Blooms Creative Cuts and adhere around photo -See image 4
Step 11:
Select a sentiment and adhere to top left of raised photo.