
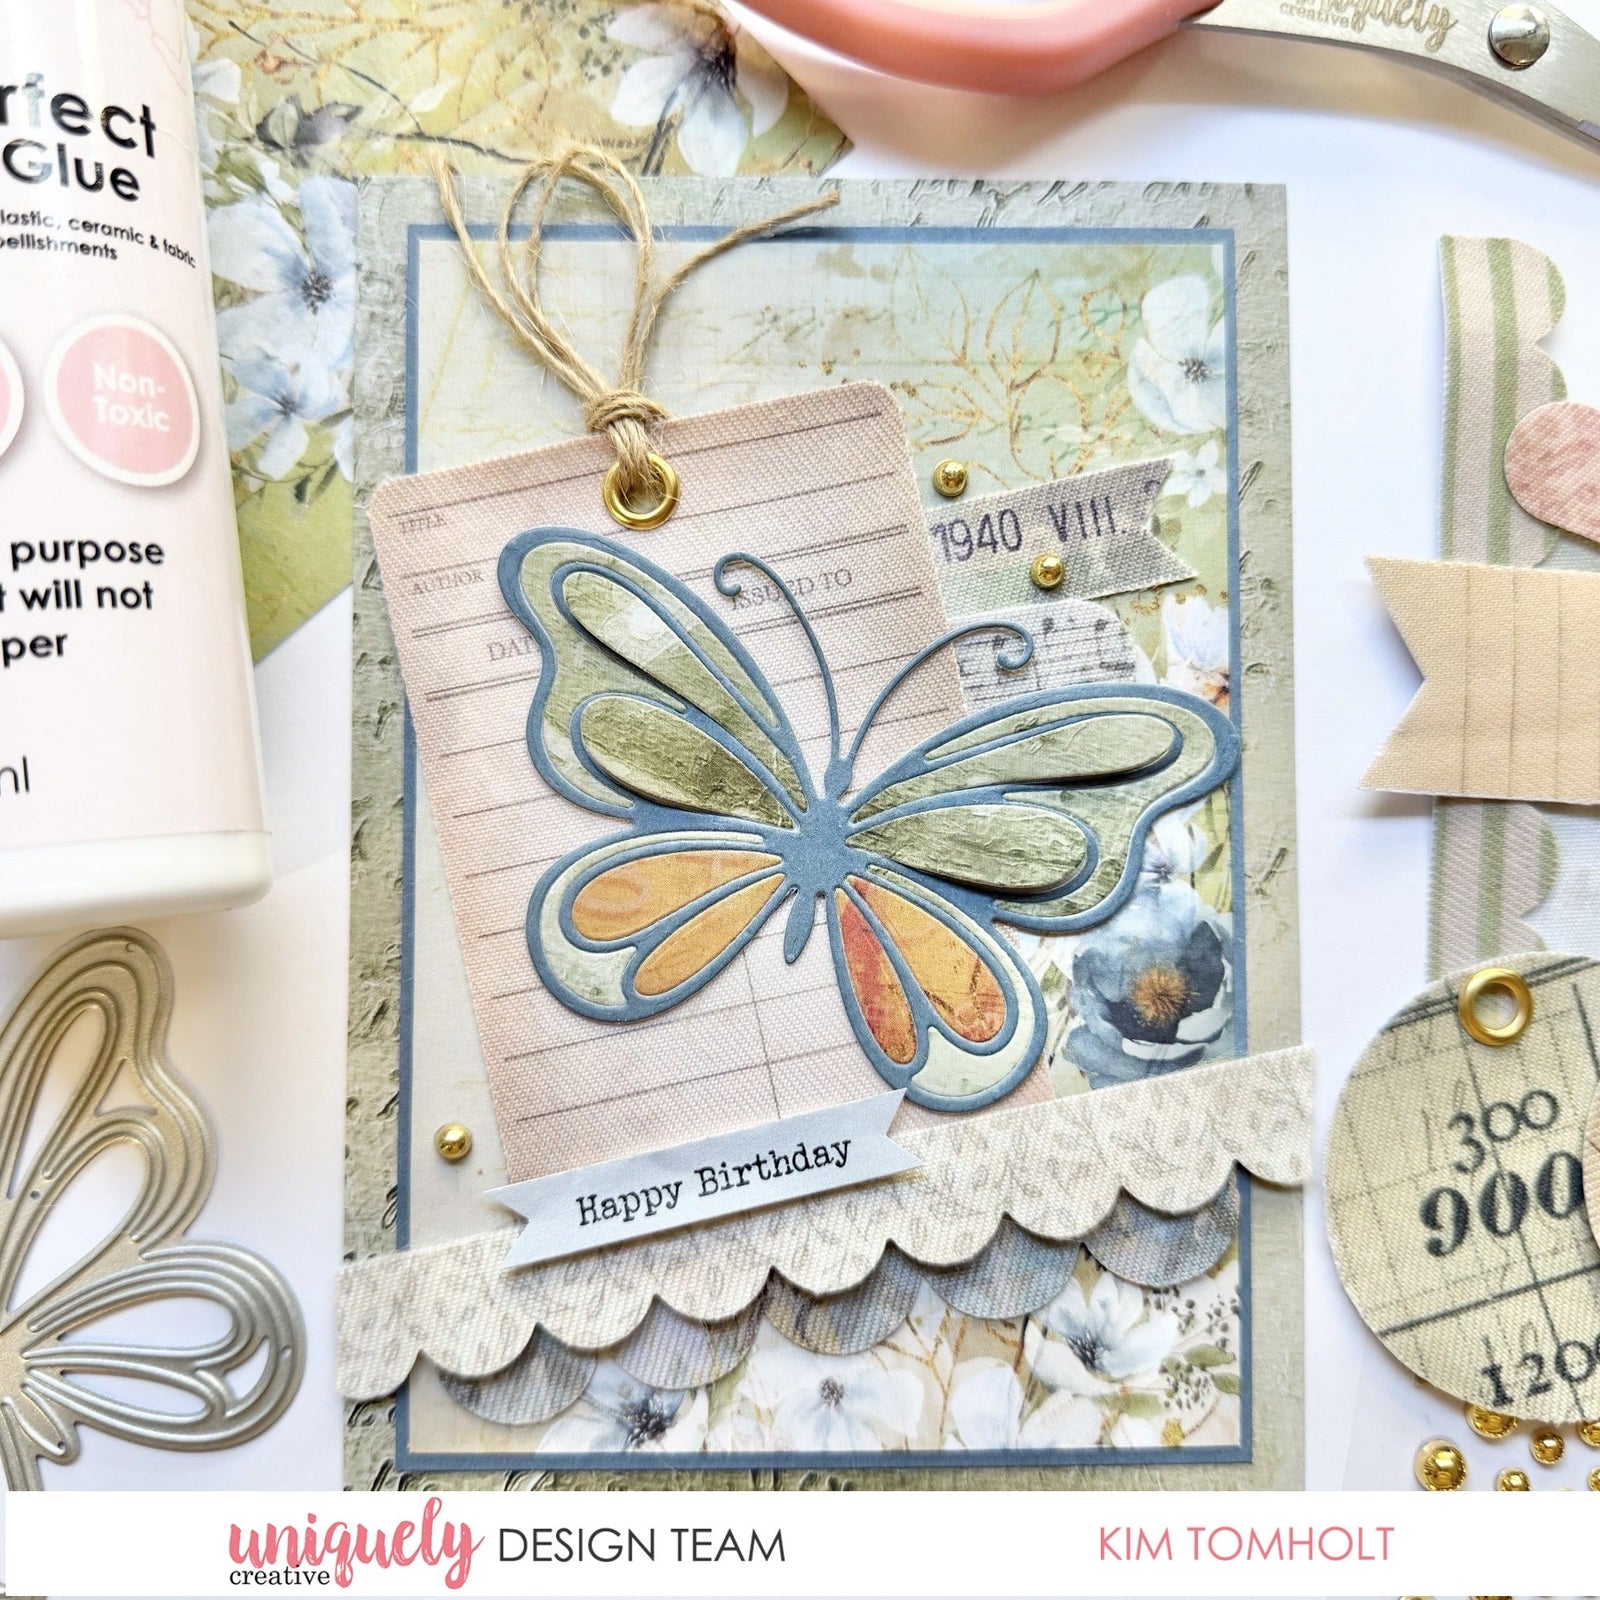

To recreate this great card created by Design Team member Kim Tomholt you can follow the steps below:
Uniquely Creative Products Used:
· UCP3127 Pressed Botanicals pAPER
· UCP3130 The Botanist’s Journal paPER
· UCCA1773 Stonewashed cardstock
· UCD2234 Delicate Butterfly Die
· UCE1729 Gold Pearls
· UCE1811 Rectangle Cards & Envelopes
· UCE1860 Natural Twine
· UCE1872 Fussy Cutting Scissors
· UCE1961 Foam Mounts Strips
· UCE2192 Paper Perfect Quick Dry Glue
· UCE2194 Paper Perfect Trimmer
Other Products Used:
· Pen/Pencil
· Die Cutting Machine
Card size: 14.8cm x 10.5cm
Step 1:
Cut Delicate Butterfly Die from 3 different papers: The Botanist’s Journal, Pressed Botanicals and Stonewashed cardstock. Using the butterfly image cut from the Stonewashed cardstock piece as the outline, insert wing pieces as shown – See image 1
Step 2:
Using one of the cutout butterfly pieces and a pencil/pen, trace the outline of the butterfly onto a scrap piece of cardstock and fussy cut – you only need to trace the wings – See Image 2
Step 3:
Adhere butterfly pieces from Step 1 onto the fussy cut base, raising the tips of the wings with foam mounts if desired – See image 3
Step 4:
Cut 14.8 x 10.5cm piece from The Botanist’s Journal and adhere to card base.
Cut 9cm x 13.3cm from Pressed Botanicals and adhere to 9.3cm x 13.7cm piece of Stonewashed cardstock. Adhere to centre of cardbase – See image 4
Step 5:
Add Vintage Canvas elements, twine and embellishments as shown using foam strips if desired – See image 5
Step 6:
Add Vintage Canvas elements, twine and embellishments as shown using foam strips if desired – See image 5
