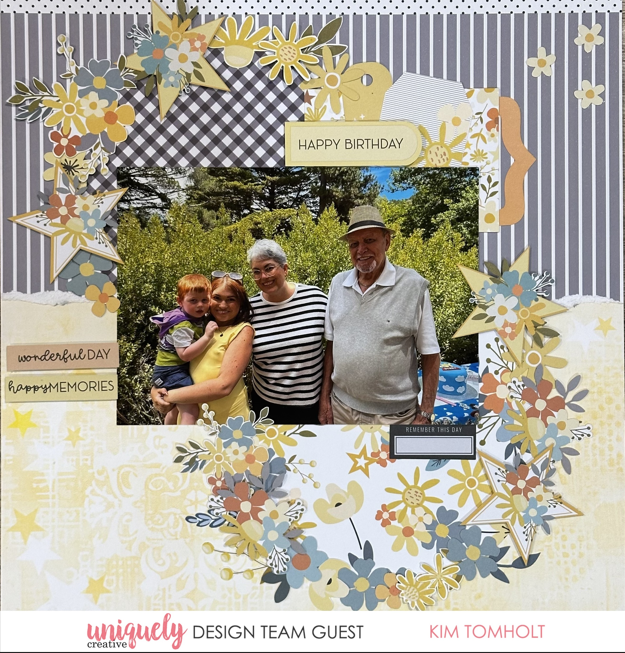
HAPPY BIRTHDAY LAYOUT TUTORIAL - KIM TOMHOLT

To recreate this sweet layout created by Design Team member Kim Tomholt you can follow the steps below:
Uniquely Creative Products Used:
· UCP3012 Star Shine Paper
· UCP3013 Starry Eyed Paper
· UCP3015 Glow Paper
· UCP3016 Starlit Garden Paper
· UCP3021 Written in the Stars Creative Cuts
Other Products Used:
· Scissors, glue, foam mounts
Photo size: 5" x 7"
Step 1:
Leaving the strip on the GLOW page, tear page in half towards you (at approximately 6” mark) from top to bottom of the page to reveal white core. Adhere to STARLIT GARDEN base page (trim off border strip) – See image 1
Step 2:
Cut (2x) circles approximately 6 ½” in diameter – one from STAR SHINE paper and the other from GUIDING LIGHT paper. You will not see the edges, so they don’t have to be perfect circles – See image 2
Step 3:
Adhere to base page as shown in image 2 approximately 1” from the left and 1” from the right hand side of the page.
Step 4:
Position the 5” x 7” photo at the centre of the page and before adhering to the page, tuck tags and banners behind the photo in the top right corner so the tops just peek out. Use foam mounts to add a bit of height and interest as desired – See image 3 & 4

Step 5:
Fussy cut your choice of flowers, stars and leaves. Combined with creative cuts, adhere to page covering the edge of the circles using glue and foam mounts where desired.