HAPPY DAY LAYOUT TUTORIAL - JACQUIE HAY

To recreate this sweet layout created by Design Team member Jacquie Hay you can follow the steps below:
Uniquely Creative Products Used:
· UCP3163 Moments in Time Paper
· UCP3164 Nice Things Paper
· UCP3165 Honeycomb Paper
· UCP3166 Sunny Days Paper
· UCP3169 A Little Lovely Paper
· UCP3172 Creative Cuts
· UCD2238 Honeycomb Texture Die
· UCE1804 Foam Mounts Circles
· UCE1872 Fussy Cutting Scissors
· UCE1981 Die Release Tool
· UCE2039 Corner Rounder Punch
· UCE2176 3x3 Photo Mats
· UCE2177 2x2 Photo Mats
· UCE2192 Paper Perfect Quick-Dry Glue - 120ml
· UCE2194 Paper Perfect Trimmer
· UCE2203 Golden Meadow Flowers
· UCE2240 Layered Sunflower Die
Other Products Used:
· Ruler
· Embroidery Thread/Needle
· TIM19527 Tim Holtz Vintage Photo Distress Ink
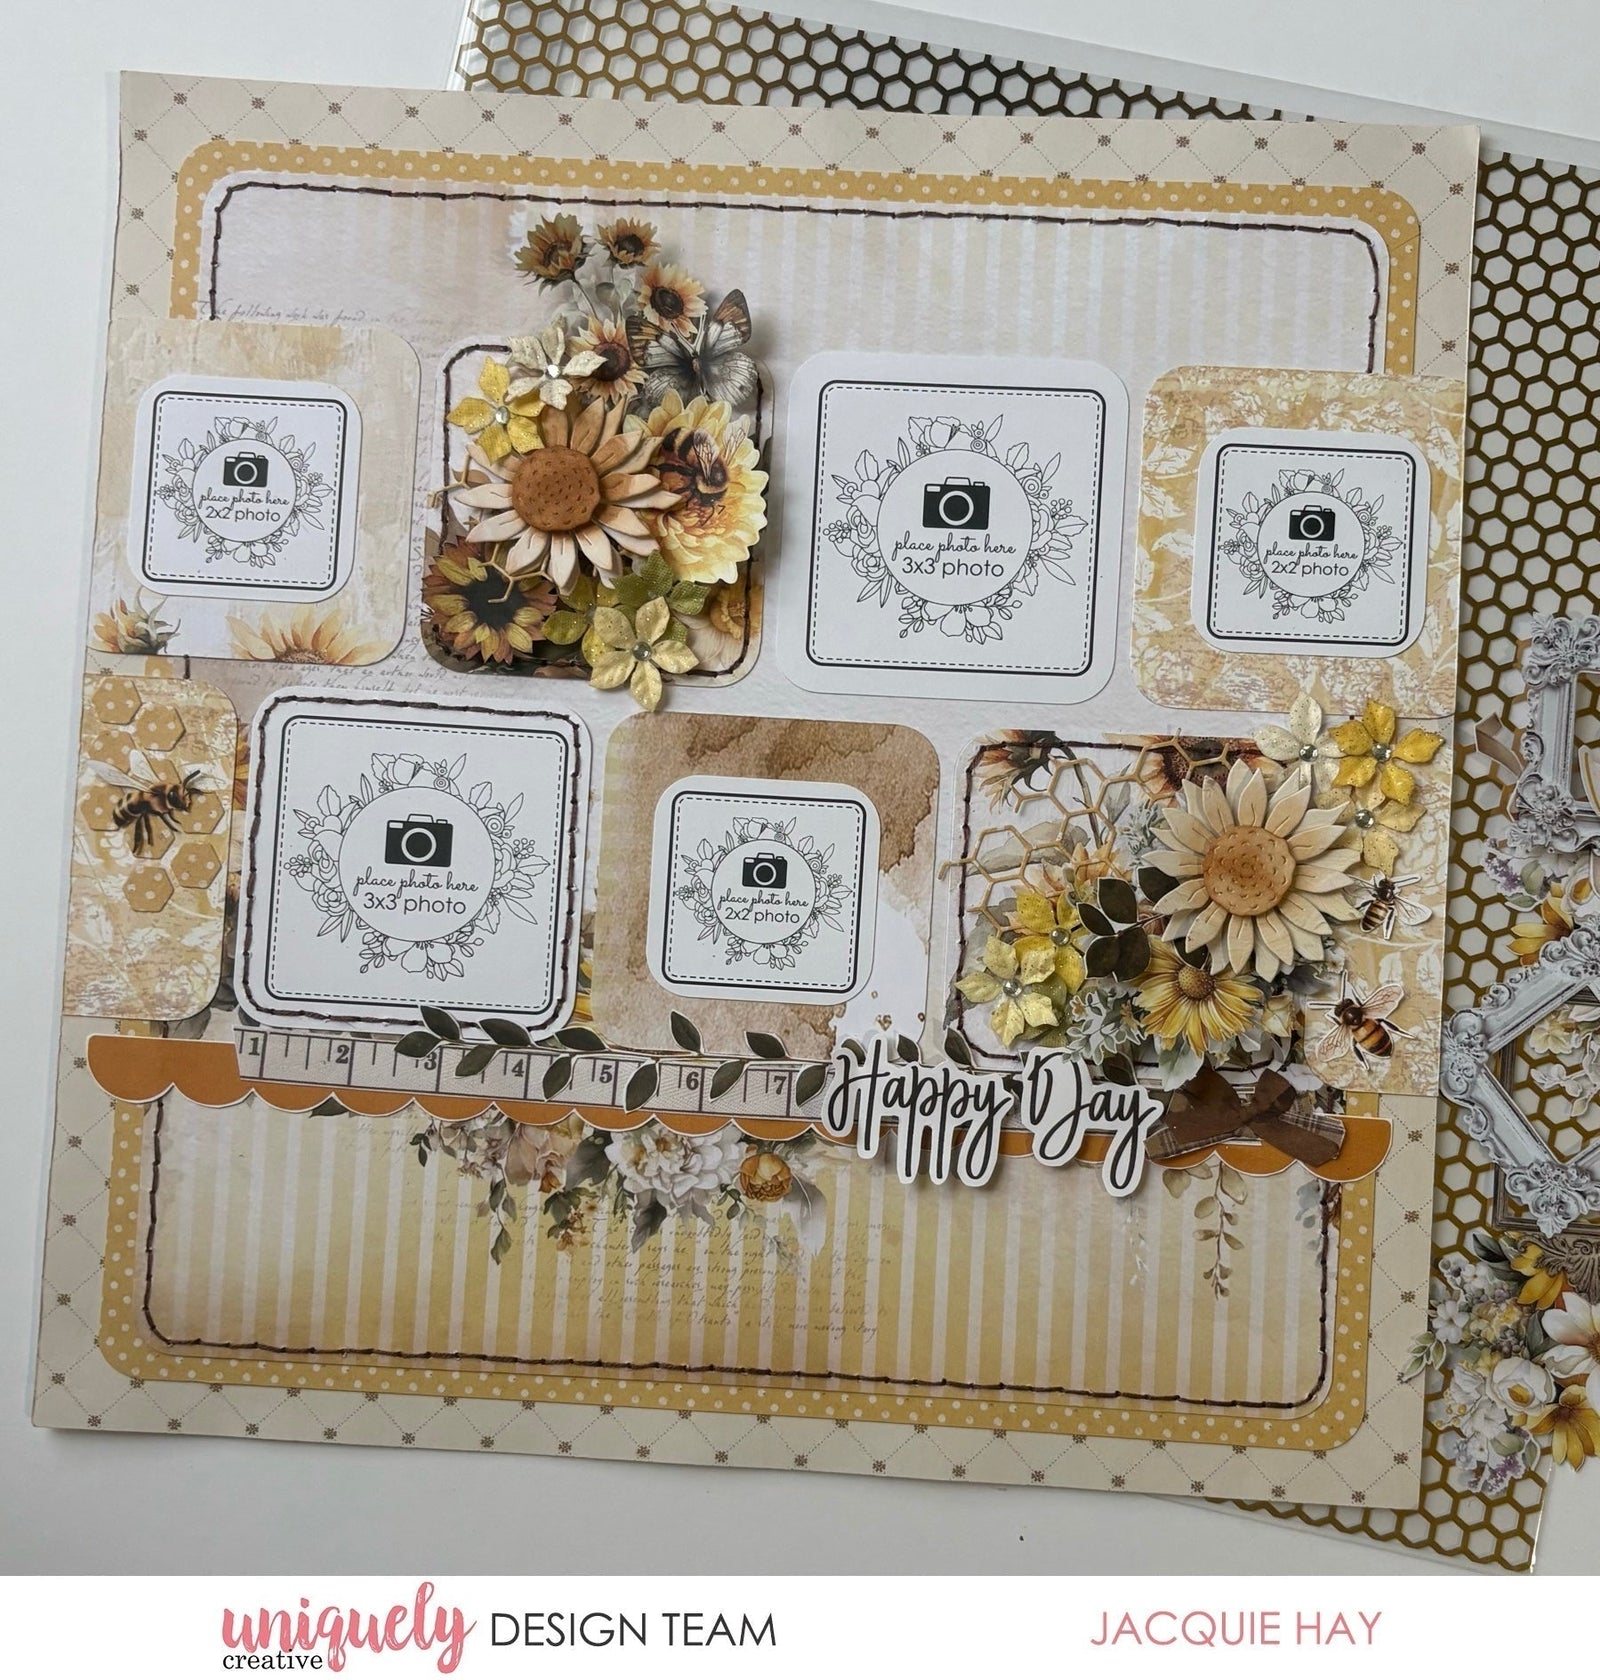
Photo size: (three) 2"x2" square and (two) 3"x3" square
Step 1:
Remove the branding strip from the A Little Lovely Paper (reverse) to use as the base page. Cut an 11" square from the Sunny Days paper (reverse) and round the corners with the 10mm side of the Corner Rounder Punch, then attach it to the centre of the base page.
Remove the branding strip from the Nice Things paper and cut to 10 ½” square. Round the corners using the 10mm side of the punch and attach to the centre of the page – See image 1
Step 2:
Cut two 3" squares from Moments in Time Paper (reverse). Cut four 3" squares from the Sunny Days paper. Use the punch to round the corners to 10mm. paper
Step 3:
Attach the squares and photos across the page, placing the first row 2 ¼” down and the second row 5 ½” down – See image 2
Step 4:
Add stitching by using a ruler and the Die Release Tool to poke holes.
Step 5:
From the Collection Cover Sheet (reverse), add Fussy Cut pieces: scallop border, tape measure, leaves, the Happy Day title, bees and bows – See image 3
Step 6:
Using the Honeycomb Texture Die, cut two pieces from the Sunny Days paper (reverse) and add to squares with Creative Cuts and Golden Meadow Flowers.
Cut two sunflowers from the Honeycomb paper using the Layered Sunflower Die. Add Tim Holtz Vintage Photo Distress Ink to the centre of the flowers. Add the sunflowers to the clusters using Foam Mounts Circles – See image 4