HAPPY MEMORIES LAYOUT TUTORIAL - KIM TOMHOLT

To recreate this lovely layout created by Design Team member Kim Tomholt you can follow the steps below:
Uniquely Creative Products Used:
· UCE1803 Foam Mounts Squares & Strips
· UCE1872 Fussy Cutting Scissors
· UCP3078 Banksia Paper
· UCP3079 Written Home Paper
· UCP3082 Folded Stories Paper (Reverse)
· UCP3083 Cut Florals Paper (Reverse)
· UCP3084 Open Dreams Paper
· UCP3087 Paperbark Blooms Creative Cuts
Other Products Used:
· Paper Trimmer
· Adhesive
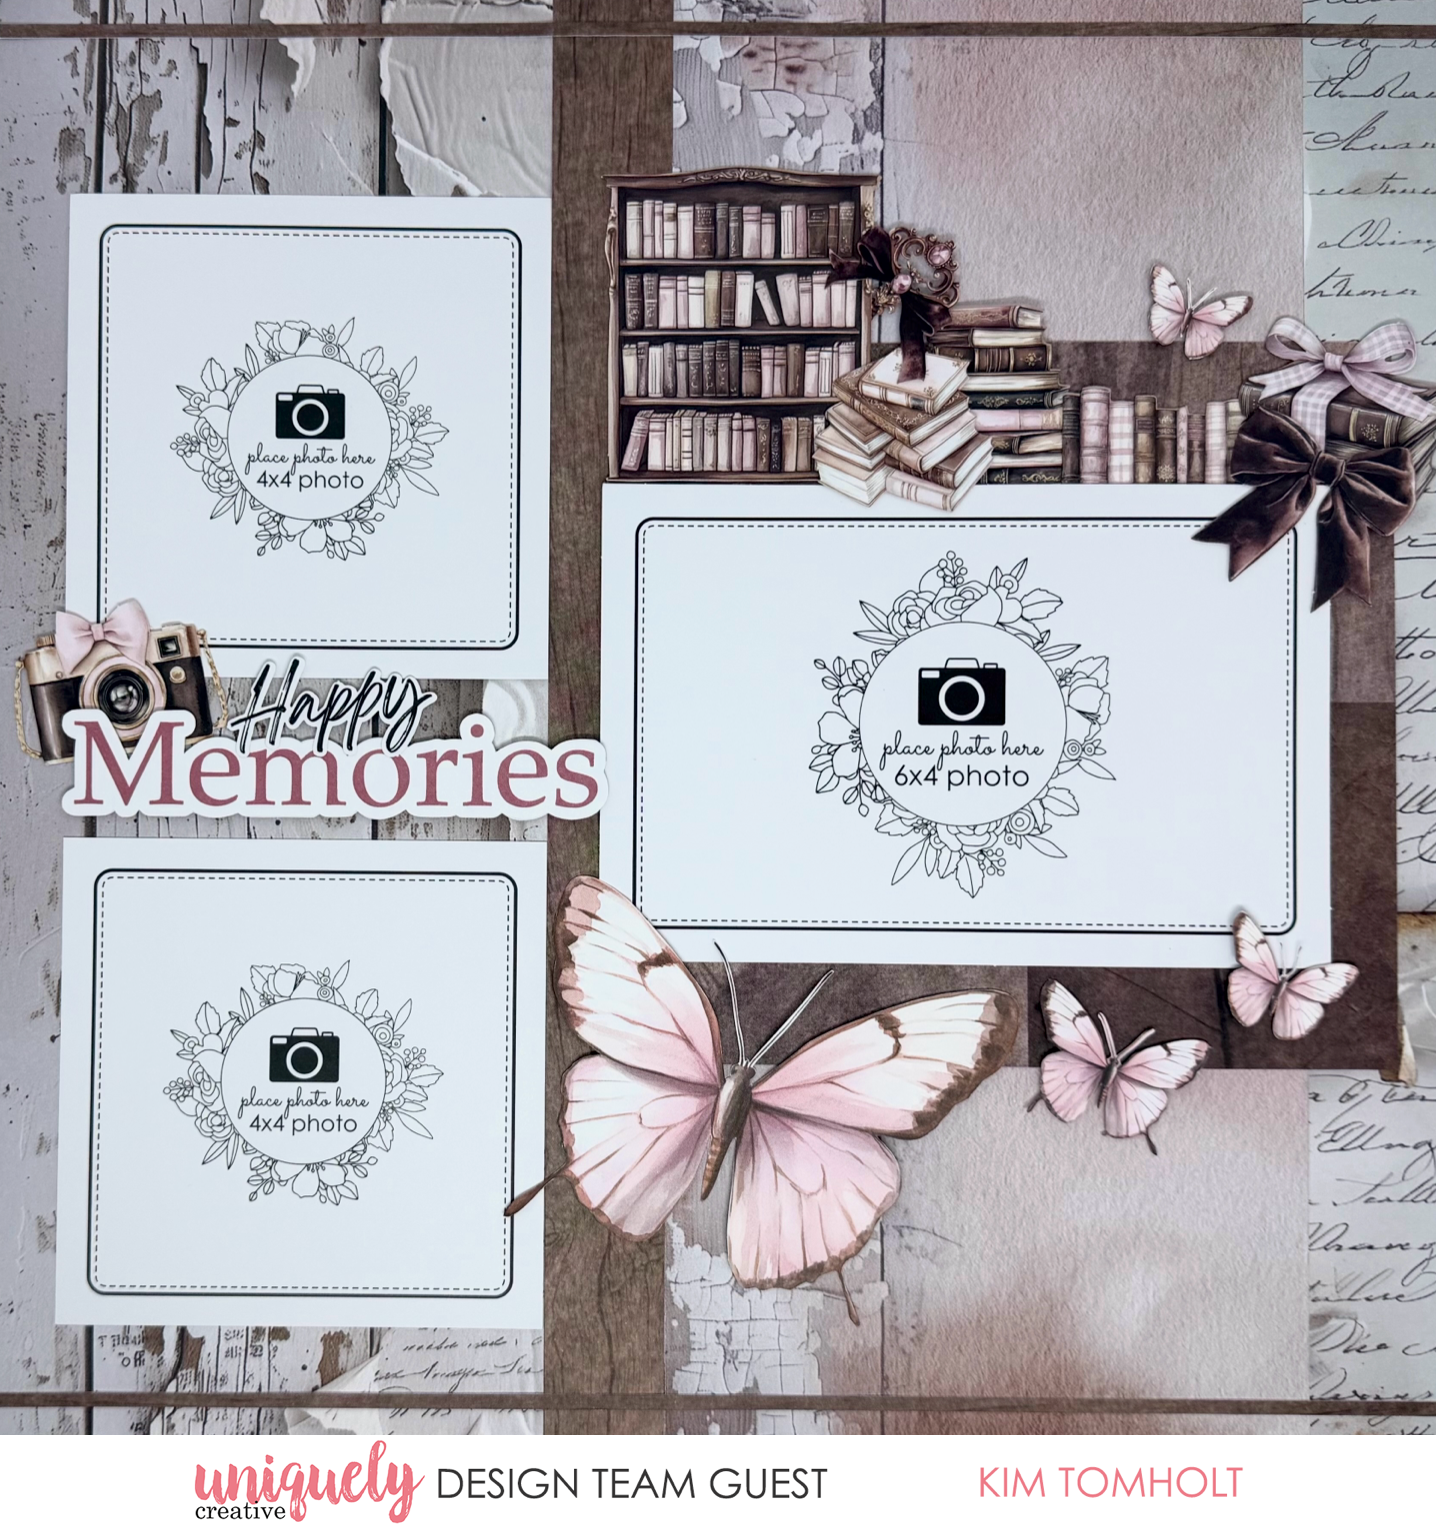
Photo size: 6"x4" (1), 4"x4" (2)
Step 1:
Remove the branding strip from Banksia and use as base page.
Step 2:
Cut one 1” x 12” strip and two 1/8” x 12” strips from Cut Florals (Reverse).
Step 3:
Cut 5 ¼” x 12” from left hand side of Written Home, then 1 1/8” x 12” from right hand side of Written Home. Adhere strips from step 1 and 2 to Banksia base page as shown – See image 1
Step 4:
Cut 6” x 6” piece of woodgrain from Folded Stories (Reverse). Adhere to page 3” from the bottom of the page as shown – See image 2
Step 5:
Add photos – See image 3
Step 6:
Embellish using foam mounts as desired – See image 4
* Tip: add foam mounts under butterfly wings to give dimension.
