Hello Card - Ashleigh Freeston

Card Size 4 1/4" x 5 3/4"
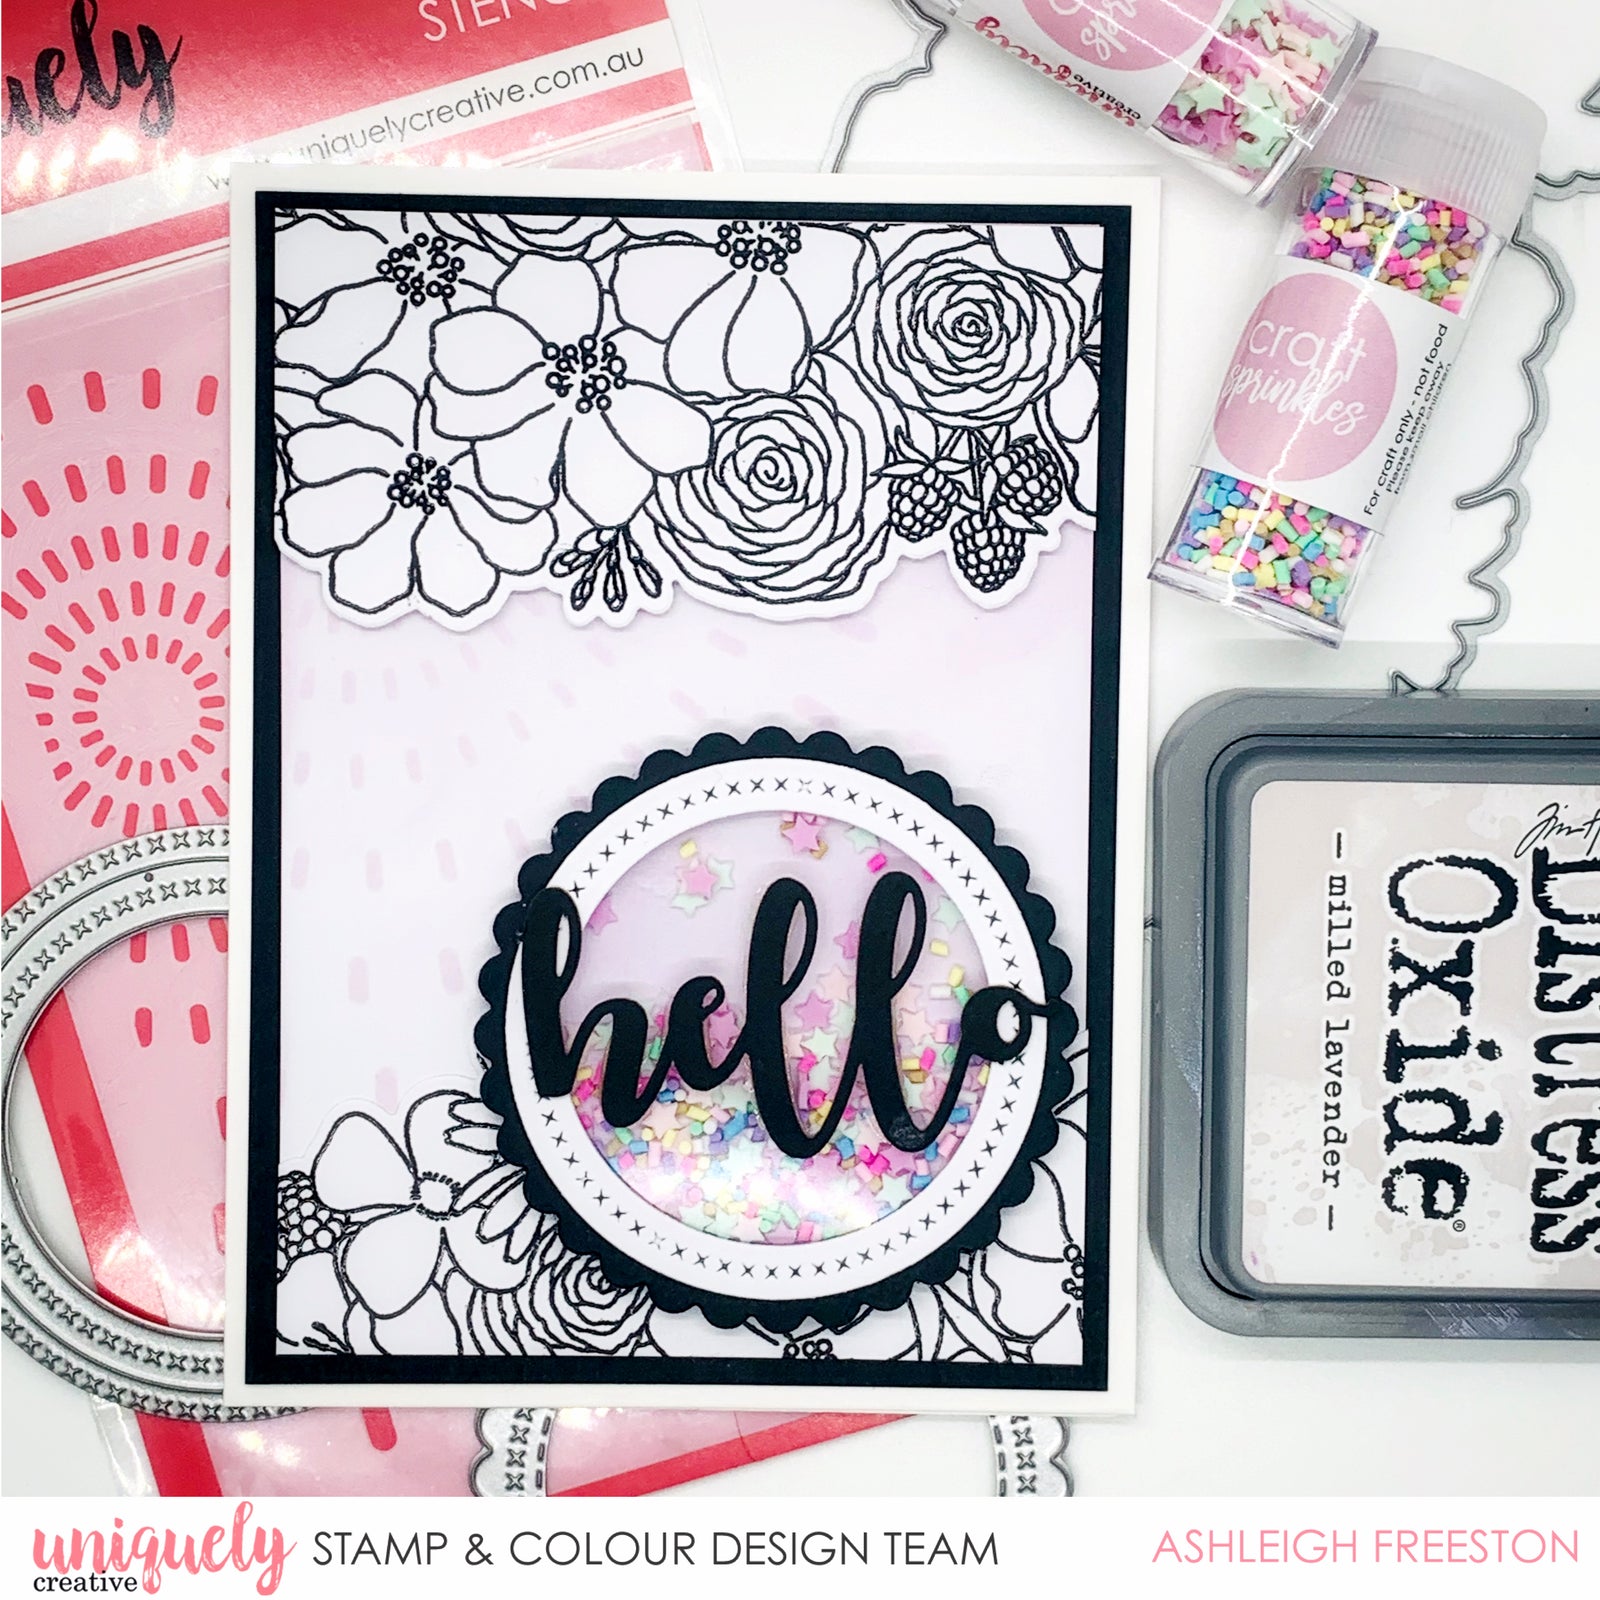
Uniquely Creative Products Used
UC1803 Floral Bunch stamp, UCD1812 Floral Bunch die, Floral Bunch Mini Laser Cut, Linear Rays Stencil, Delicate Stars Craft Sprinkles, Rainbow Craft Sprinkles, UCD1765 Stitched Scallop Circles die, UCD1767 Cross Stitch Circle Frames die
Other Products Used
Smooth white cardstock, black cardstock, white card base, Distress Oxides: Milled Lavender, black ink, clear embossing powder, adhesives
Instructions
1. Cut base card down to 5 ¾”high.
2. Cut black cardstock to 4” x 5 ½”. Cut white cardstock to 3 ¾” x 5 ¼”.
3. From white cardstock, die cut circle frame and stitched scallop circle. Ink Milled Lavender Distress Oxide onto scallop circle. Die cut stitched scallop circle from black cardstock and use a slightly smaller circle die to cut out the centre.

4. On white cardstock, lightly blend Milled Lavender Distress Oxide all over. Lay Linear Rays stencil on top and ink through with the same colour ink for a subtle effect.

5. Stamp Floral Bunch stamp with black ink on white cardstock. Heat emboss with clear embossing powder for added shine. Die cut with matching die, and cut in half.

6. Foam mount half of the floral bunch onto the top of the cardstock. Trim down any excess. Use double sided tape to adhere the other half to the bottom of the card.
7. Create a shaker with the die cut elements from earlier. Fill the shaker with Delicate Stars and Rainbow Sprinkles craft sprinkles.

8. Ink the ‘Hello’ laser cut with black ink and adhere to the front of the shaker to complete the card.
