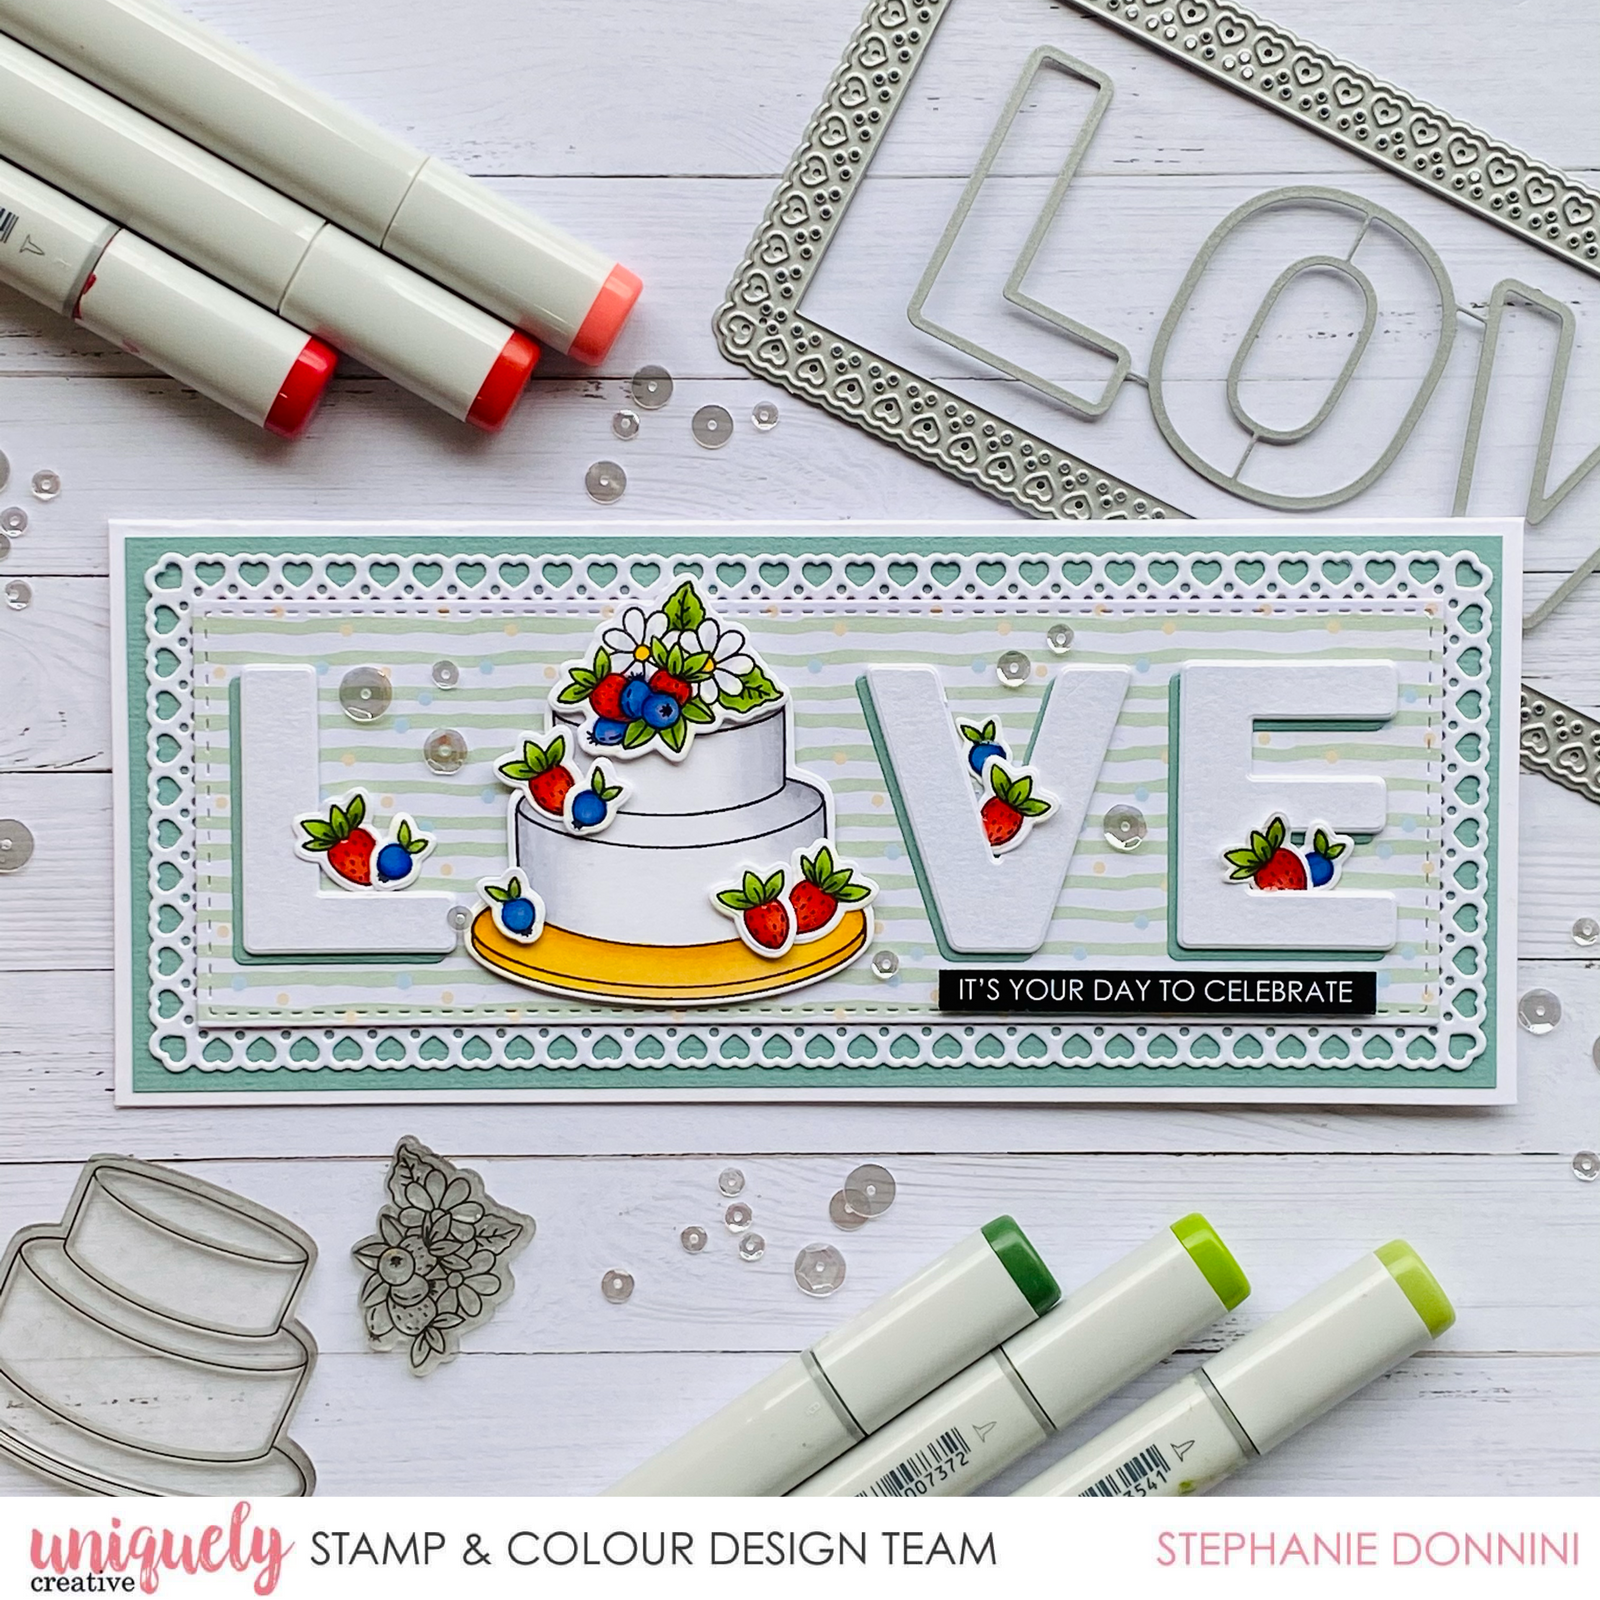
It's Your Day To Celebrate Tutorial - Stephanie Donnini

Card Size: Slim line 8.8cm x 21cm
Uniquely Creative Products Used:
UC1843 Cake Builder Stamp Set, UCD1993 Cake Builder Die, Fox Builder Cut-A-Part Sheet, Fox Builder Patterned Paper, UCD1980 Love Frame Die, UCD1972 - Slim Stitched Nesting Rectangle Die
Other Products Used:
Copic Markers:
Berries- R22, R24, R29, V01, B24, B28, YG03, YG25, YG67
Cake- N3, N1, N0, 0 Colourless Blender Flowers- Y15, N0
Blending Card, Stamping Platform, Die-Cutting Machine, White Gel Pen, Foam Tape, Glue, Iridescent Sequins, Glossy Accents, Green Cardstock, Pearl Cardstock
Instructions:
1. Die cut the Love Frame from pearl white cardstock. Die cut a piece of Uniquely Creative patterned paper, using the slim stitched rectangle die.

2. Die cut the Love Frame word from pearl white and green cardstock, creating a layered shadow effect.

3. Colour images using Copic markers, then use coordinating dies to die cut images out.

4. Arrange berries on the cake. Use the remaining berries to embellish the LOVE word cut out.

5. Layer die cut frame pieces onto a green base, using foam tape to adhere the patterned paper for extra dimension. Line up the letters and replace the O in love with the cake. Adhere sentiment strip along the bottom right of the card with foam tape.
6. Finishing touches are to apply glossy accents to all the berries, then scatter some iridescent sequins for extra shine.
