JOY SCRAPBOOKING LAYOUT TUTORIAL - RACHEL DUTKO
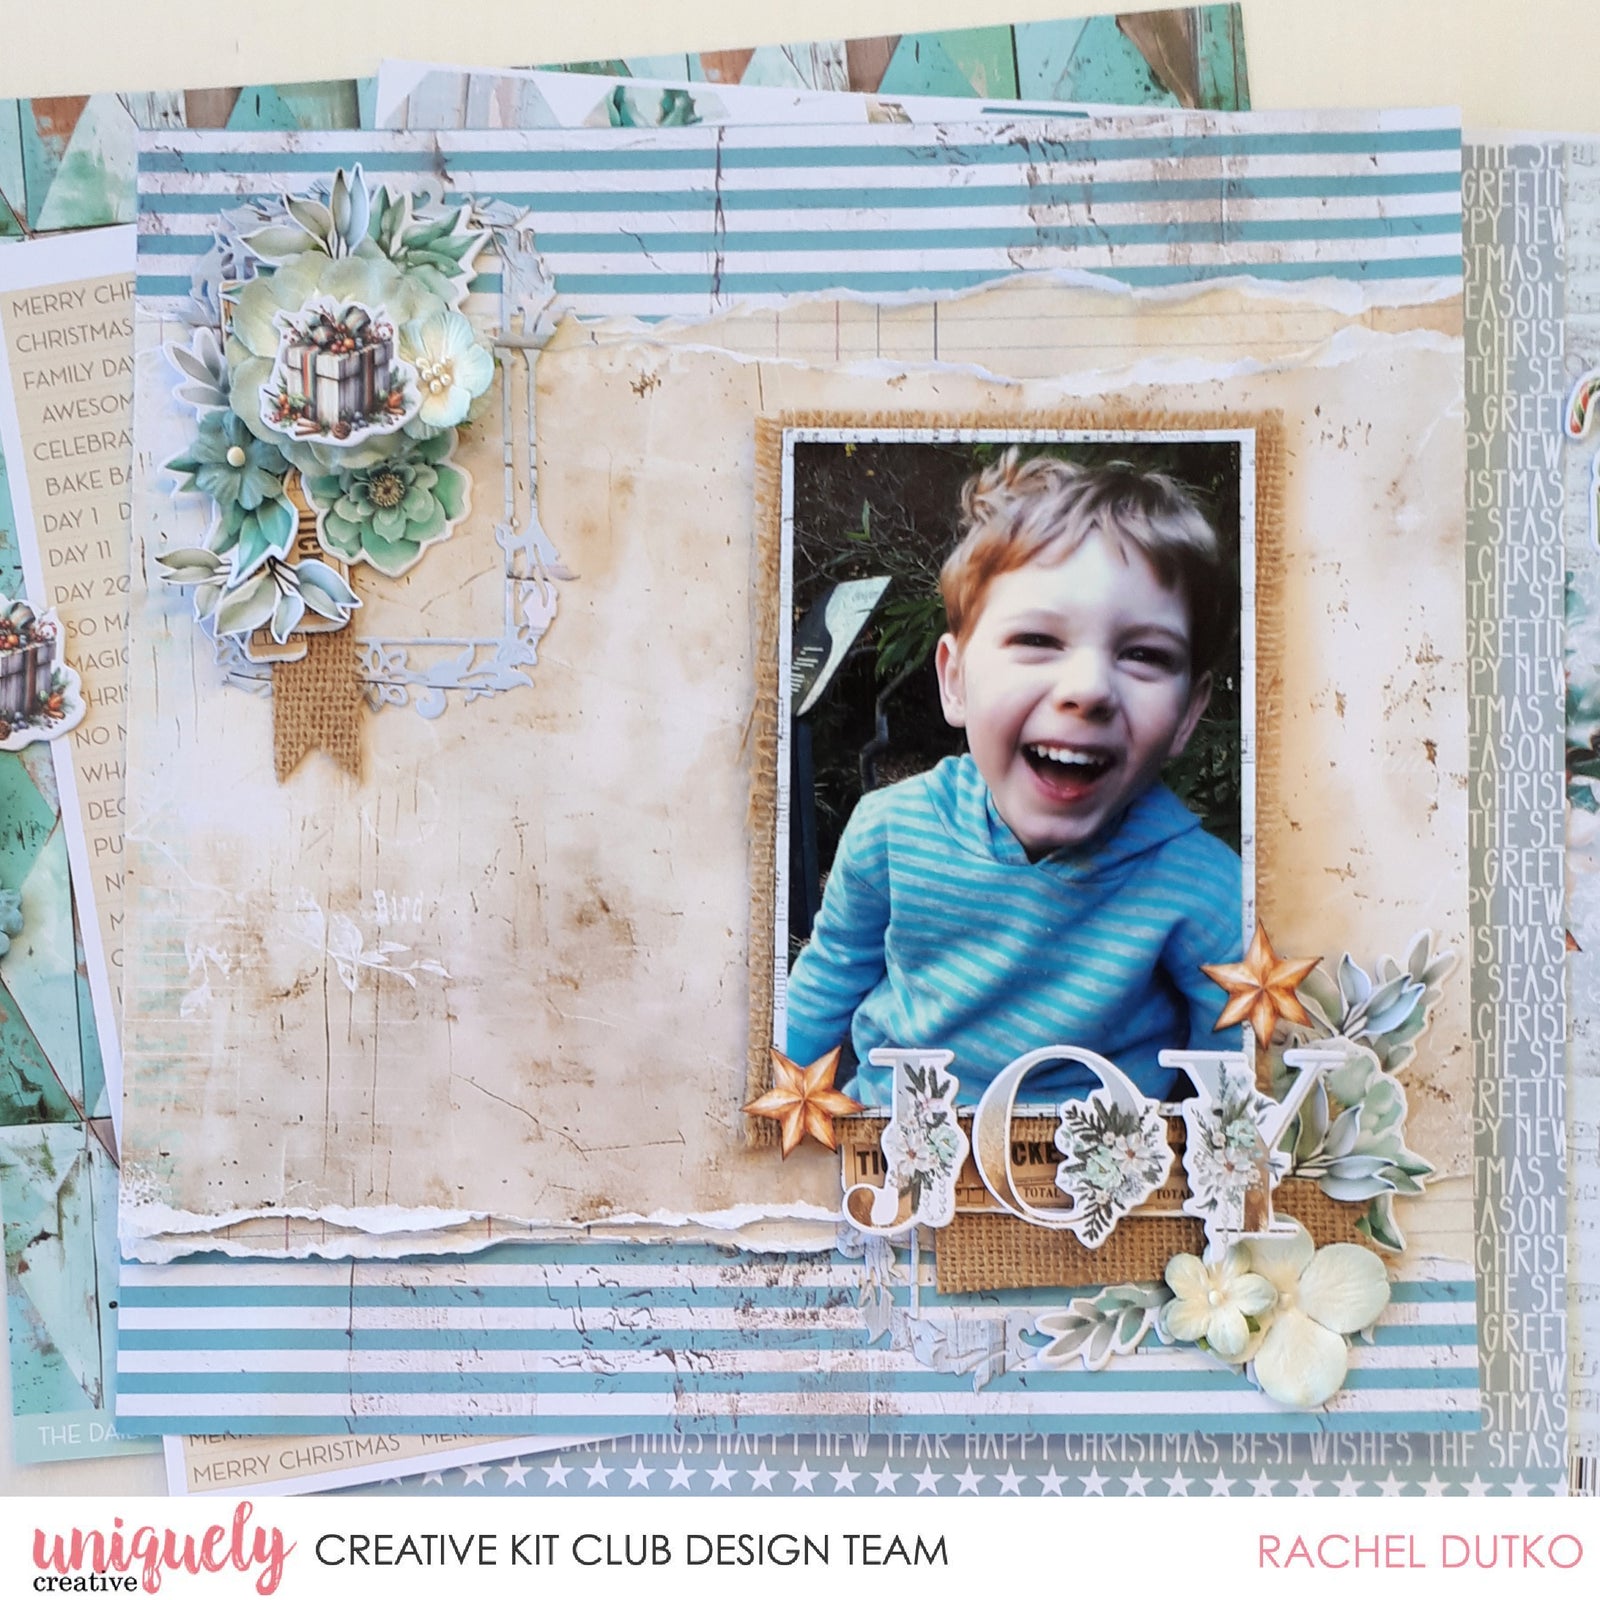

To recreate this sweet layout created by Design Team member Rachel Dutko you will need the products listed below:
Shop the products
Uniquely Creative Products Used:
- UCP2813 Holly Bouquet paper
- UCP2811 Christmas Pine paper
- UCP2812 Be Merry paper
- UCP2808 All Is Bright paper
- UCP2815 Wonderful Christmas paper
- UCP2816 Merry & Bright Creative Cuts
- UCE1810 12x12 Burlap Sheet
- UCE1816 Dusty Teal Flowers
- UCD2160 Decorative Frame Die
Other Products Used:
- Double-sided tape
- Glue
- Ruler
- Scissors
- Cardboard
- Manual die-cutting machine
- Brown ink
Instructions:
- Trim the branding strip from the Holly Bouquet paper. We will use the B-side for our base.
-
Carefully rip the pine cone images from the top and bottom of the Christmas Pine paper (approx 2"). See image 1

- Turn the 2" pieces over and adhere under the large piece, with roughly 1/2" showing, depending on the tear lines.
-
Adhere the Christmas Pine piece to the centre of the Holly Bouquet base, slightly distressing the torn edges. See Image 2

- Matte your photo with Be Merry paper and burlap ( photo is 4"x6"). Slightly distress the edges of the burlap.
- Adhere the photo to the right side of the layout base, using cardboard or foam mounts for dimension. See Image 3

- Die cut 2 frames using the Decorative Frame Die from the B-side of the All Is Bright paper.
-
Adhere the frames to the top left and bottom right of the layout to act as a base for the clusters. See Image 4

-
From the Creative Cuts pack choose the 2 ticket pieces. Cut these in half lengthways and ink the edges with brown ink. Trim 2 banners from the burlap, one 3/4" x 4" and one 3/4" x 2 1/4".
-
Adhere the tickets to the layout as pictured. Add the ' JOY' letters from the Creative Cuts pack as a title. See Image 5

-
To build our clusters choose some florals, leaves and present from the Creative Cuts and some Dusty Teal flowers. Adhere as shown. See Image 6, 7, 8


-
Fussy cut 5 leaves and 2 stars from the Wonderful Christmas paper. Ink the edges of the stars. Shape the fussy cut pieces slightly, then adhere for dimension. See Image 9
