Memories Tutorial - Toni Herron

Photos are three 3” x 4” portrait
Uniquely Products Used:
- UCP2413 Maree
- UCP2414 Lightening Ridge
- UCP2415 Birdsville
- UCP2417 Leonora
- UCP2419 Beechworth
- UCP2422 Creative Cuts
- UCE1858 3mm Double-Sided Tape
- Burlap
- UCD2062 Workshop Texture Die
- UCMM1741 Shatter Mini Stencil
Other Products Used:
- Trimmer
- Scissors
- Adhesive Tape
- Liquid Glue
- Circle Die or Pencil & Compass
- Distressing Tool
- Distress Ink
- Blending Brush
- Die Cutting Machine
Instructions:
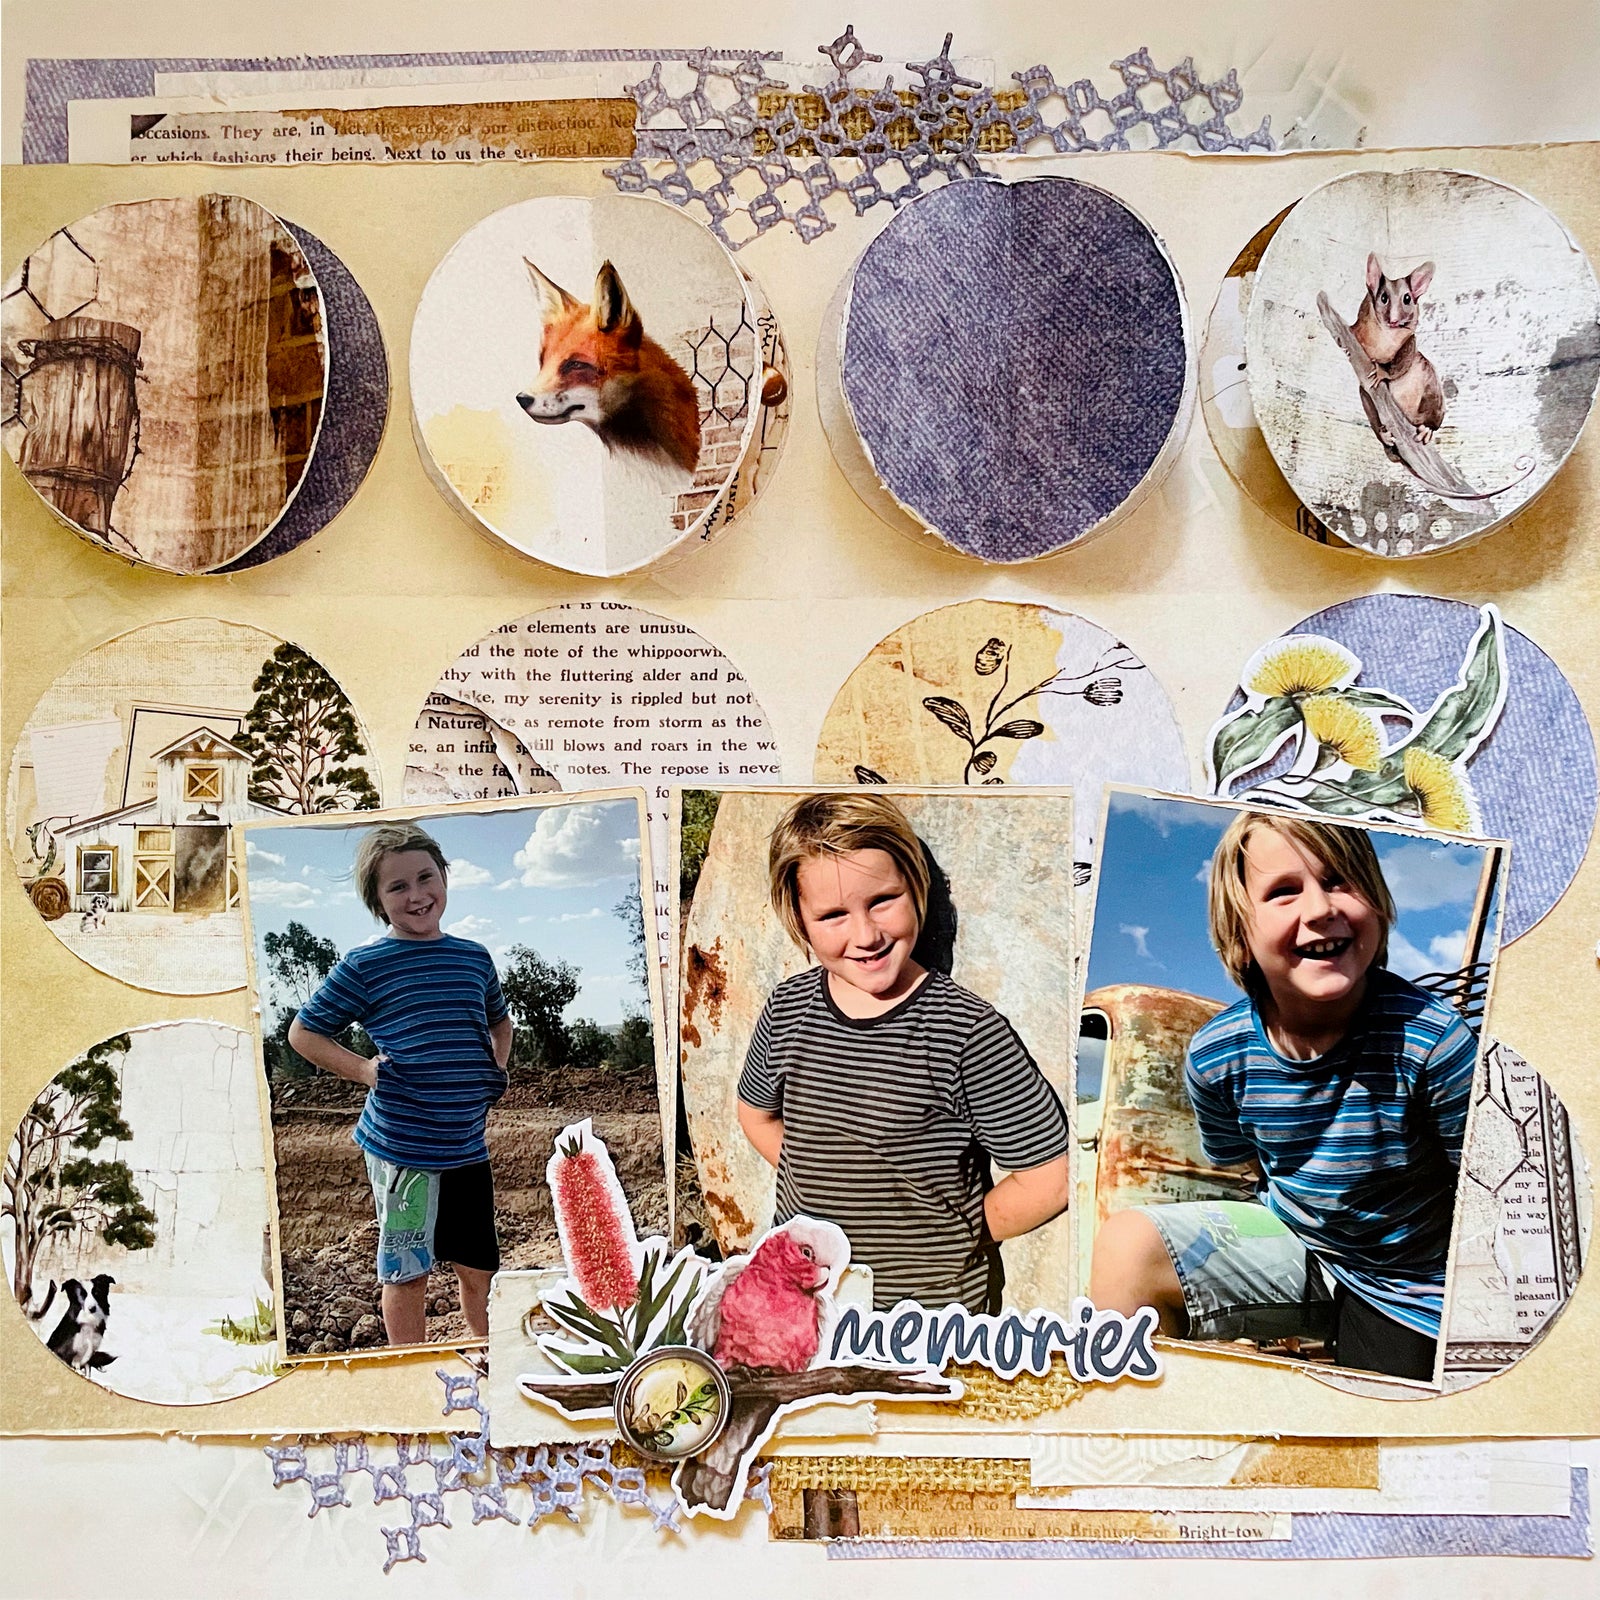
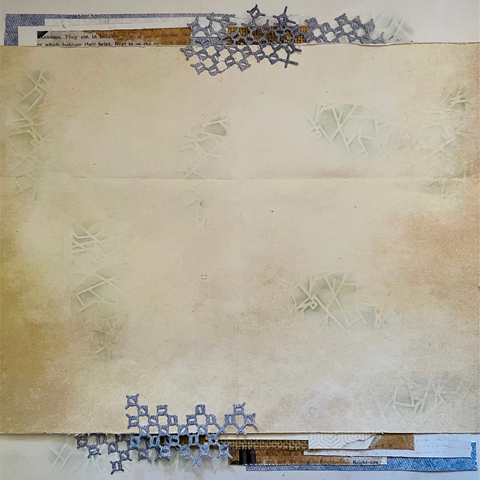
1. Use a piece of Birdsville paper as the base for the layout and remove the branding strip.
2. Place light pencil marks 2” from the top and bottom edges, and 1” from either side. Use a rotary paper trimmer, or craft knife and metal ruler, to cut out the centre, leaving a Birdsville paper frame.

3. Cut a piece of Leonora paper to 9½” x 12” and attach to the centre of the Birdsville frame, leaving spaces at the top and bottom edges free from adhesive to tuck paper strips underneath.
4. Randomly stencil Shatter pattern over the background using Distress ink and a blending brush.

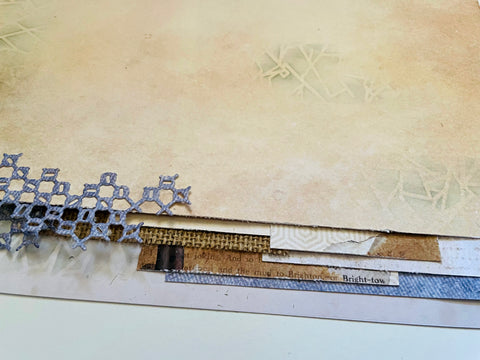
5. Die cut two Workshop texture pieces from Lightening Ridge paper. Use a ruler to tear several strips from scraps pieces and layer with the Workshop die cuts between the papers at the top left and bottom right of the Leonora panel.
6. Using a 2¾” circle die (or compass and pencil), cut 24 circles from a mixture of Birdsville, Beechworth and Lightening Ridge papers and burlap. Distress all the edges .

7. Assemble four interactive circle embellishments, each using four circles; Circle #1 is the base (could be replaced with white cardstock as it will be hidden). Fold circles #2, #3 & #4 in half, and use the crease line as a guide for adhering. Start by adding glue to the left side of circle #2 and adhere to the left side of circle #1 (base), aligning the fold down the centre of the circle.
8. While folded, place glue on the right side of circle #2 and adhere the left side of #3.
9. Repeat with circle #4 then adhere the right side of circle #4 to the right side of circle #1 (base), to finish. (They will fold flat and be able to be flipped through like a book)

10. Adhere the four 3D circle embellishments across the top of the layout, then add the remaining eight circles to the page. (see main image for placement)

11. Matt each 3” x 4” photo with a 3¼” x 4¼” piece of Maree paper, then adhere them across the bottom of the layout.

12. Add a small cluster of Creative Cuts to the bottom of the photos to finish. (see main image for placement)