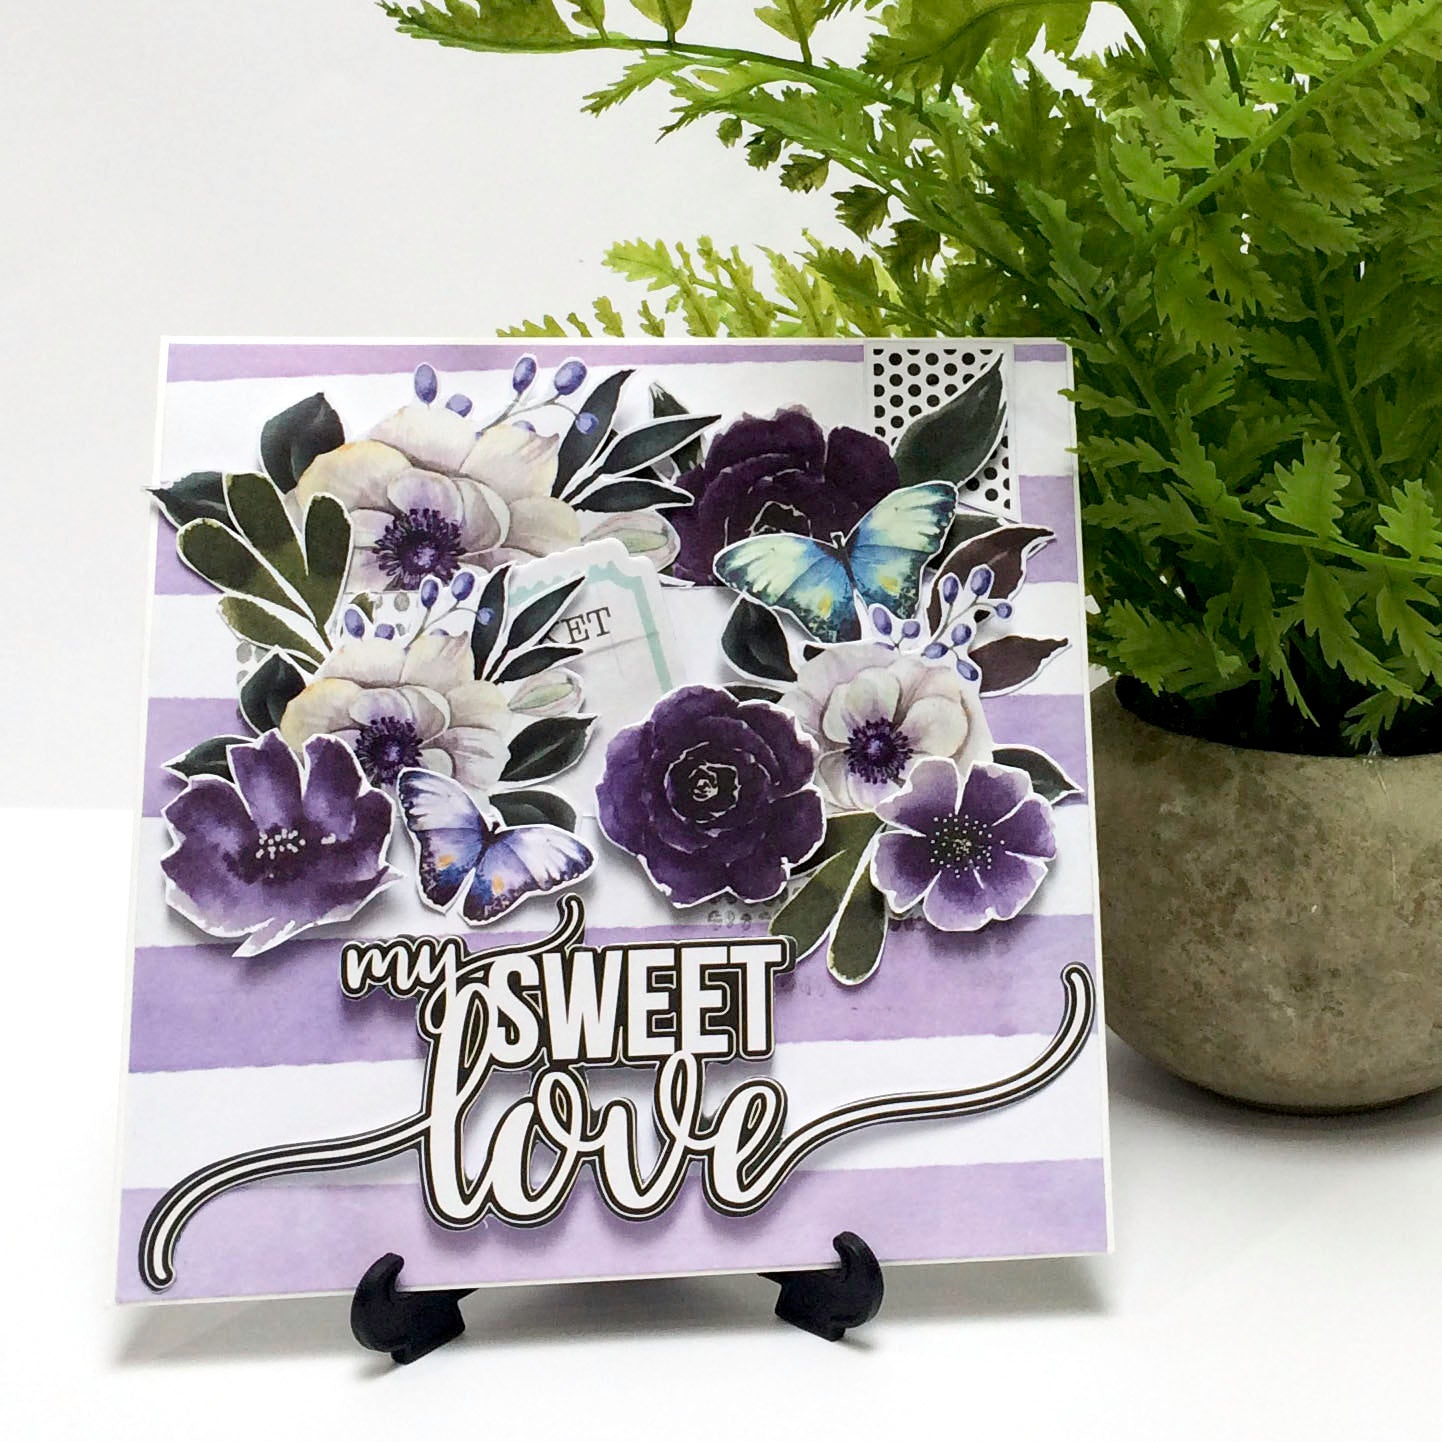
My Sweet Love – Ngaire Ashdown

SHOP THE PRODUCTS
Uniquely Creative Products Used
13.5cm x 13.5cm square white card base, UCP2011 Garden District paper, UCP2017 Apartment Garden paper, UCP2014 Market Garden paper, UCP2019 Creative Cuts, cut-a-part sheet, Dots Mark Making stamp
Other Products Used
Paper trimmer, scalpel, scissors, white glue, double-sided adhesive tape, foam dots, Archival Ink – Watering Can
Instructions
- Cut Garden District paper (B side) slightly smaller than 13.5cm x 13.5cm to leave a small white border when glued to card.
- Using a scalpel, cut the bottom edge of 2 of the purple stripes starting and stopping at least 1cm from edges. See photo # 1
- Fussy cut a selection of flowers and leaves from the Market Garden and the Apartment papers. Cut a couple of different butterflies too.
- Stamp the Dots Mark Making stamp randomly on the Garden District striped paper. I used Archival Watering Can ink pad. See Photo # 2
- Using double-sided adhesive tape around the edges, adhere the striped paper to the base card. See photo # 3
- Cut out the black spotted banner from the cut-a-part sheet and glue to top right-hand corner.
- Arrange the flowers and leaves on card, tucking some of them in the slits. I used white glue at the bottom of each flower and foam dots near the tops to raise up some of the elements. See photo # 4
- Add the ‘My Sweet Love’ sentiment with foam dots. Using white glue, adhere the two ends of sentiment to card. See photo # 5
- Using white glue, adhere two butterflies amongst the flowers.


