Naughty or Nice Tutorial - Ashleigh Freeston

Card Size:
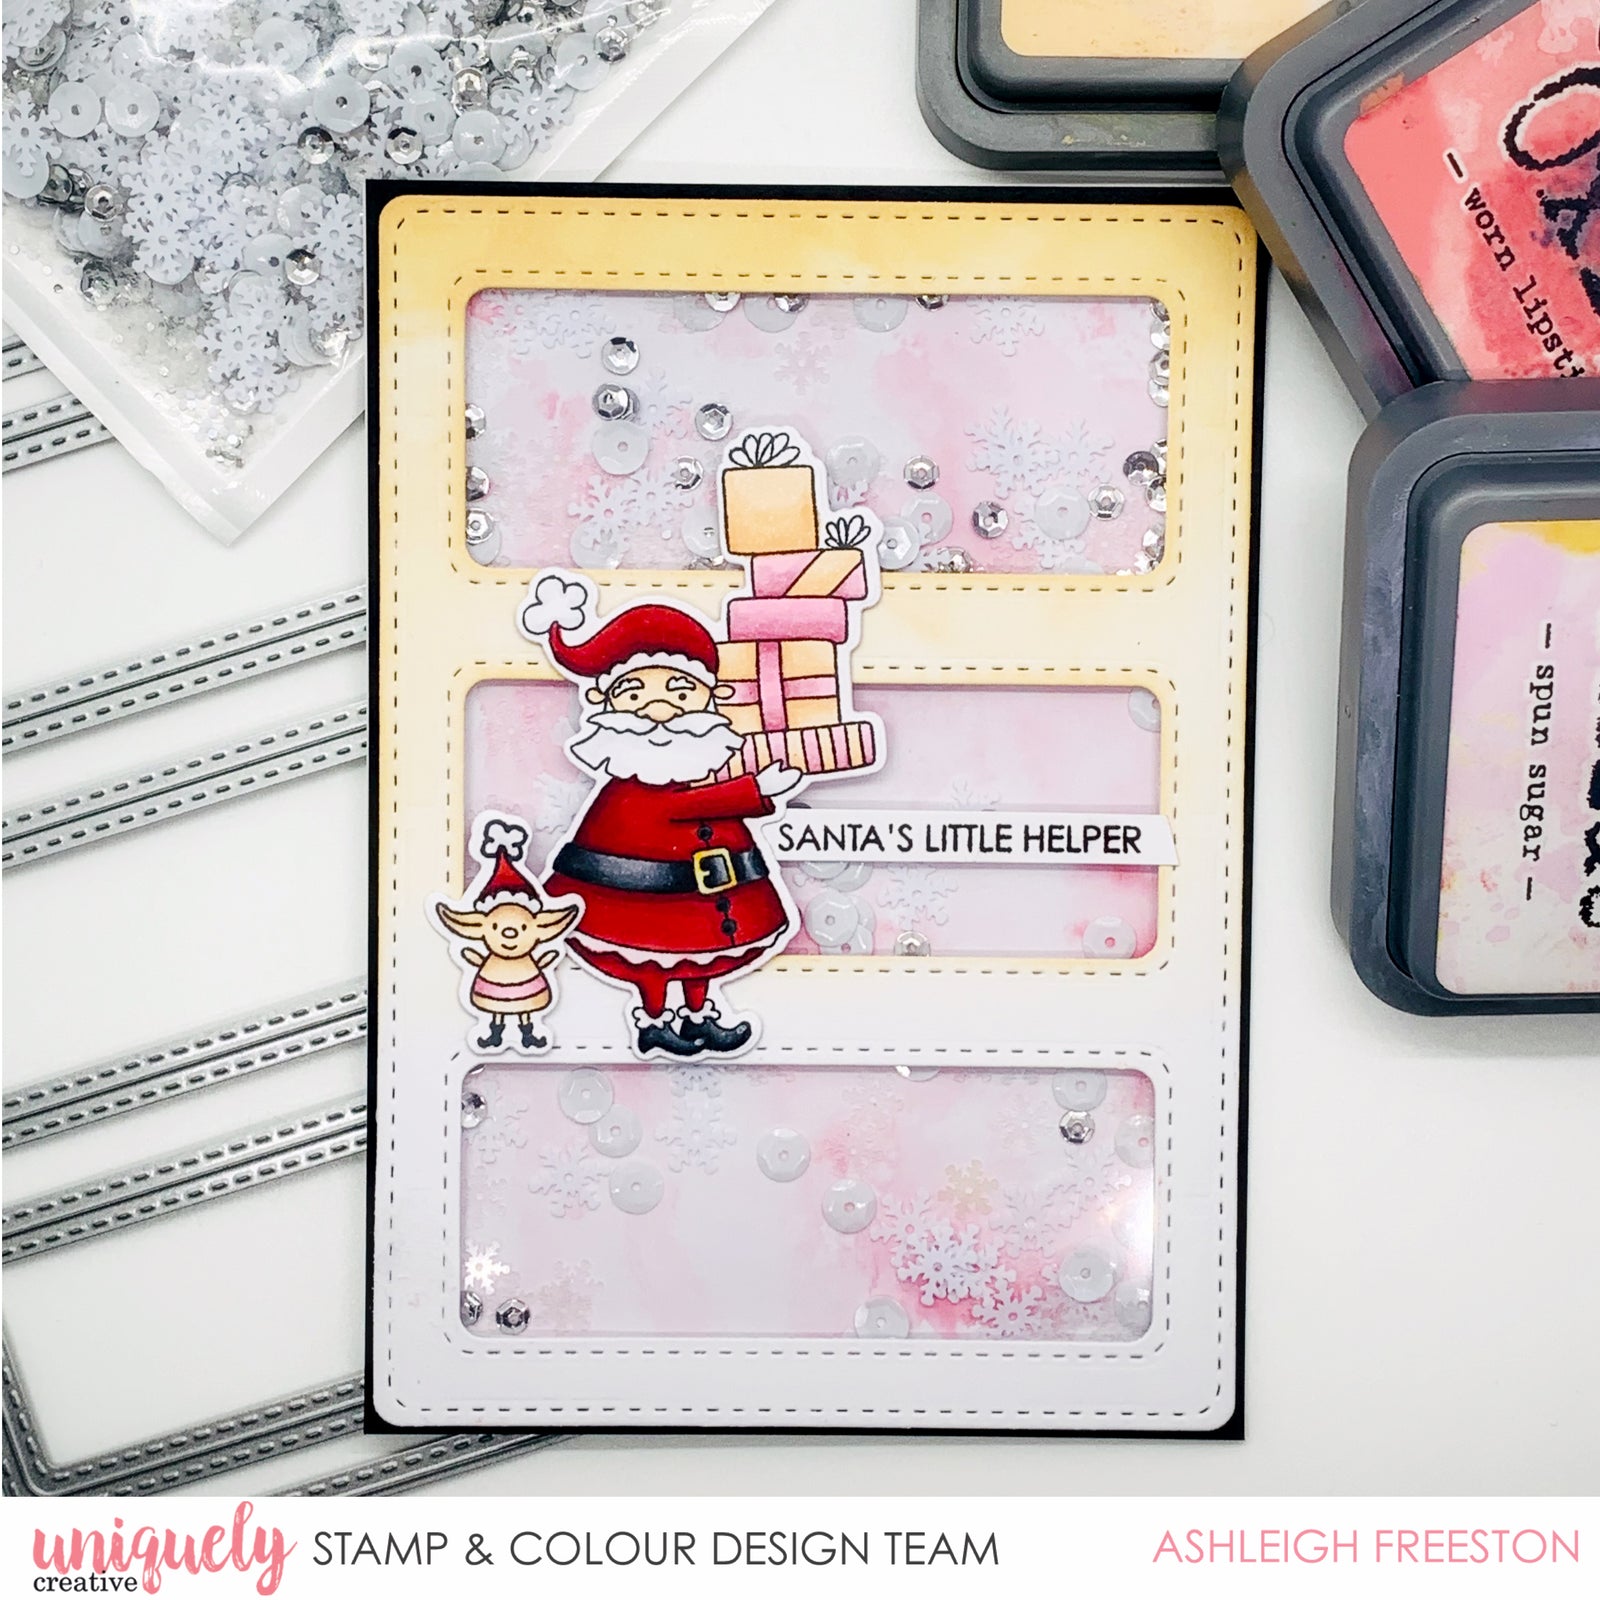
4 ¼” x 6”
Copic Colours:
Father Christmas – R35, R46, R59 (hat/coat); C00, C0, C1 (white); C1, C3, C5, C7, C9, 100 (belt/boots); Y11, Y13, Y35, Y38 (buckle); E000, E00, E21, E11, E04 (skin)
Pink Presents – RV10, R81, R83, R85
Orange Presents – YR000, YR00, YR01, YR02
Elf – R35, R46, R59 (red); E000, E00, E21, E11, E04 (body); RV10, R81, R83, R85 (sash); C00, C0, C1 (white)
Uniquely Creative Products Used:
UC1816 Naughty or Nice Stamp, UCD1937 Naughty or Nice Die, Stitched 3 Window Frame Die, Snowy Sequins
Other Products Used:
Smooth white cardstock, black cardstock, white card base, blending card, acetate/plastic packaging, water spray bottle, Distress Oxides: Dried Marigold, Worn Lipstick & Spun Sugar, black ink, clear embossing powder, adhesives
1. Cut base card down to 6” high.
2. Cut black cardstock to 4 ¼” x 6”. Cut white card to slightly less than 4” x 5 ¾”.
3. From another piece of white cardstock, die cut Stitched 3 Window Frame Die
4. On white, die cut piece, ink blend Dried Marigold Distress Oxide, working lighter towards the bottom of the frame

5. Press Worn Lipstick Distress Oxide onto a piece of acetate or plastic packaging, and spritz with water. Turn over and press onto separate piece of white cardstock. Dry with heat tool. Repeat process with Spun Sugar Distress Oxide until you are happy with the background. Allow to dry completely.

6. Cut a piece of acetate to fit the frame and stick down with double sided tape. Add foam tape to back of frame and use an anti-static tool to remove any excess static. Fill shaker with Snowy Sequins and complete shaker card by adding pink background behind.

7. Colour in your images with the colouring medium of your choice (I used Copic Markers).

8. Stamp the sentiment with black ink and heat emboss with Clear Embossing Powder for some added shine. Complete the card by adhering the shaker onto the black cardstock and then onto the card base. Foam mount the images.
