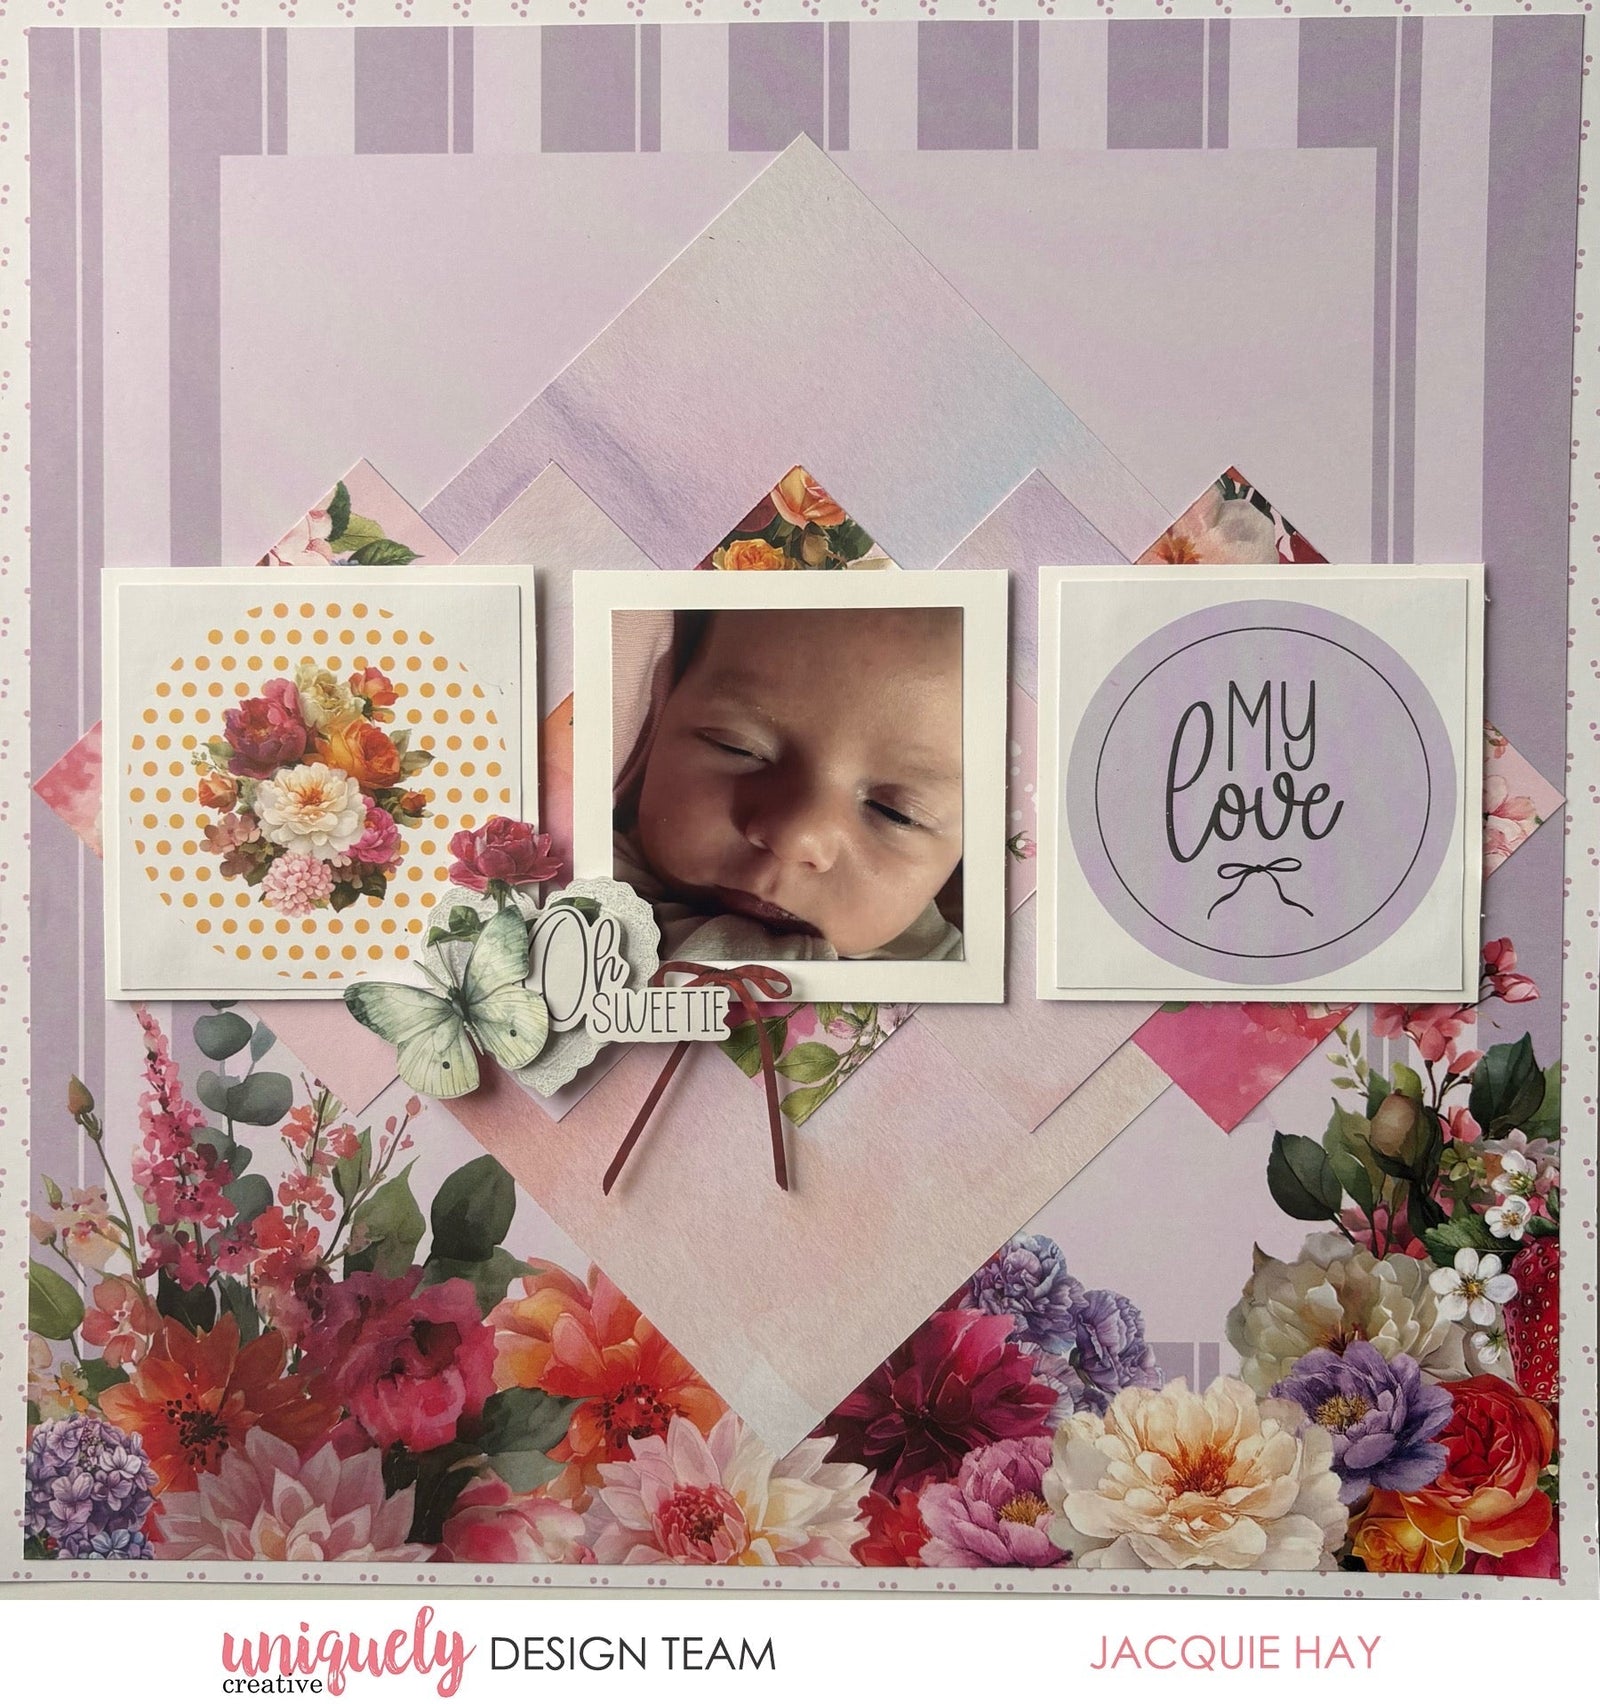
OH MY LOVE LAYOUT TUTORIAL - JACQUIE HAY

To recreate this beautiful layout created by Design Team member Jacquie Hay you can follow the steps below:
Uniquely Creative Products Used:
· UCP3140 Oh My Stars Paper
· UCP3141 Oh Pretty Thing Paper
· UCP3143 Oh Happy Days Paper
· UCP3148 Creative Cuts
· UCE1804 Foam Mounts Circles
· UCE1859 6mm Double Sided Tape
· UCE1872 Fussy Cutting Scissors
· UCE2192 Paper Perfect Quick Dry Glue
· UCE2194 Paper Perfect Trimmer
Other Products Used:
· White Cardstock
Photo size: 2.5" square
Step 1:
Use a sheet of Oh My Stars (reverse) paper for the background and remove the branding strip.
Trim a second sheet of Oh My Stars paper to 11 ½” square and attach it over the background page – See image 1.
Step 2:
Cut a piece of Oh Pretty Thing (reverse) paper to 7” square and attach diagonally to the centre of the layout.
Step 3:
Cut two 3 ½” squares of Oh Pretty Thing paper and adhere, overlapping either side of the centre square – See image 2.
Step 4:
Cut another three 3 ½” squares of leftover Oh Pretty Thing paper and adhere, overlapping the side squares as before.
Step 5:
Cut two 3” squares from the Oh Happy Days paper. Mat with white cardstock, cutting three pieces, 3 ½” square so one can be used to mat your photo. Adhere across the centre of your page using foam mounts – See image 3
Step 6:
Create a little embellishment cluster using Creative Cuts, to the bottom left of the photo – See image 4.