
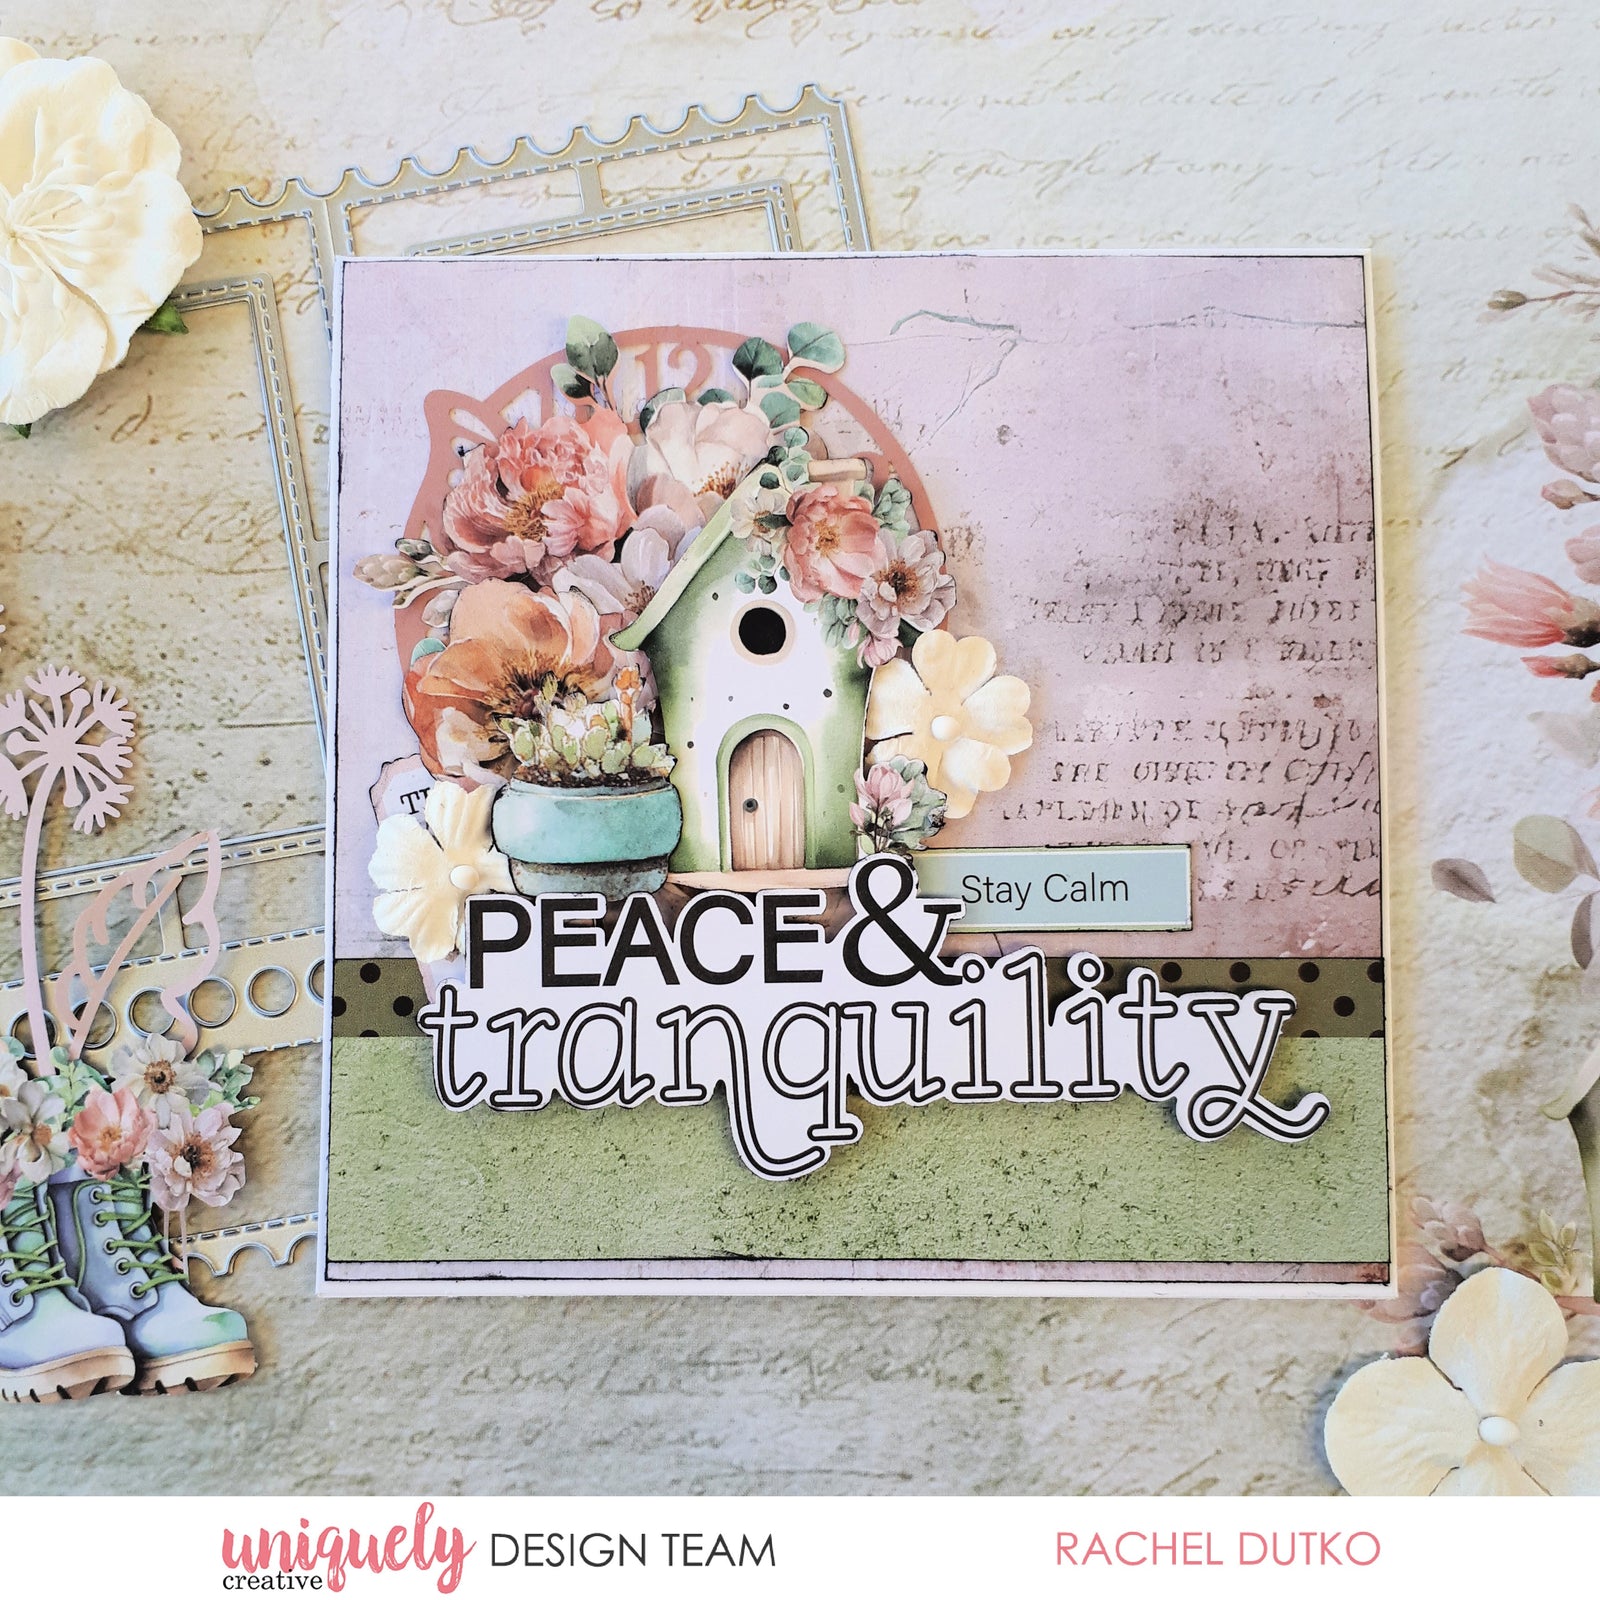

To recreate this sweet card created by Design Team member Rachel Dutko you can follow the steps below:
Uniquely Creative Products Used:
· UCP3116 Gentle Days paper
· UCP3118 Garden Sanctuary paper
· UCP3119 Beautiful Rituals paper
· UCP3122 Tea & Tranquility Creative Cuts
· UCE2204 Bloom & Brew Ephemera
· UCE1817 White Flowers
· UCE1804 Foam Mounts Circles
· UCE1806 Square Cards & Envelopes
Other Products Used:
· Black Ink
Card size: 13.5cm x 13.5cm
Step 1:
Trim a 5 1/4” square piece from the centre right side of the Gentle Days paper – See image 1
Step 2:
Ink the edges with black ink and adhere to a square card base.
Step 3:
Trim a piece of the B-side, including the branding strip, of the Beautiful Rituals paper to 1 ½” x 5 ¼”. Ink the edges then adhere as shown. – See image 2
Step 4:
From the Creative Cuts pack choose 2 floral pieces, a birdhouse, a ticket, a ‘stay calm’ banner and a ‘peace & tranquility’ sentiment. Fussy cut a succulent pot from the Garden Sanctuary paper. Ink the edges. – See image 3
Step 5:
From the Bloom & Brew Ephemera Pack choose the pink butterfly clockface. Adhere to card as shown. – See image 4
Step 6:
Begin to build our cluster by adhering the floral pieces and the ticket with glue. – See image 5
Step 7:
Adhere the sentiment and birdhouse with foam mounts. – See image 6
Step 8:
Adhere the ‘stay calm’ banner and blue succulent pot. Adhere 2 small white flowers. – See main image