PERFECT DAY CARD TUTORIAL - MARIA ALOISI
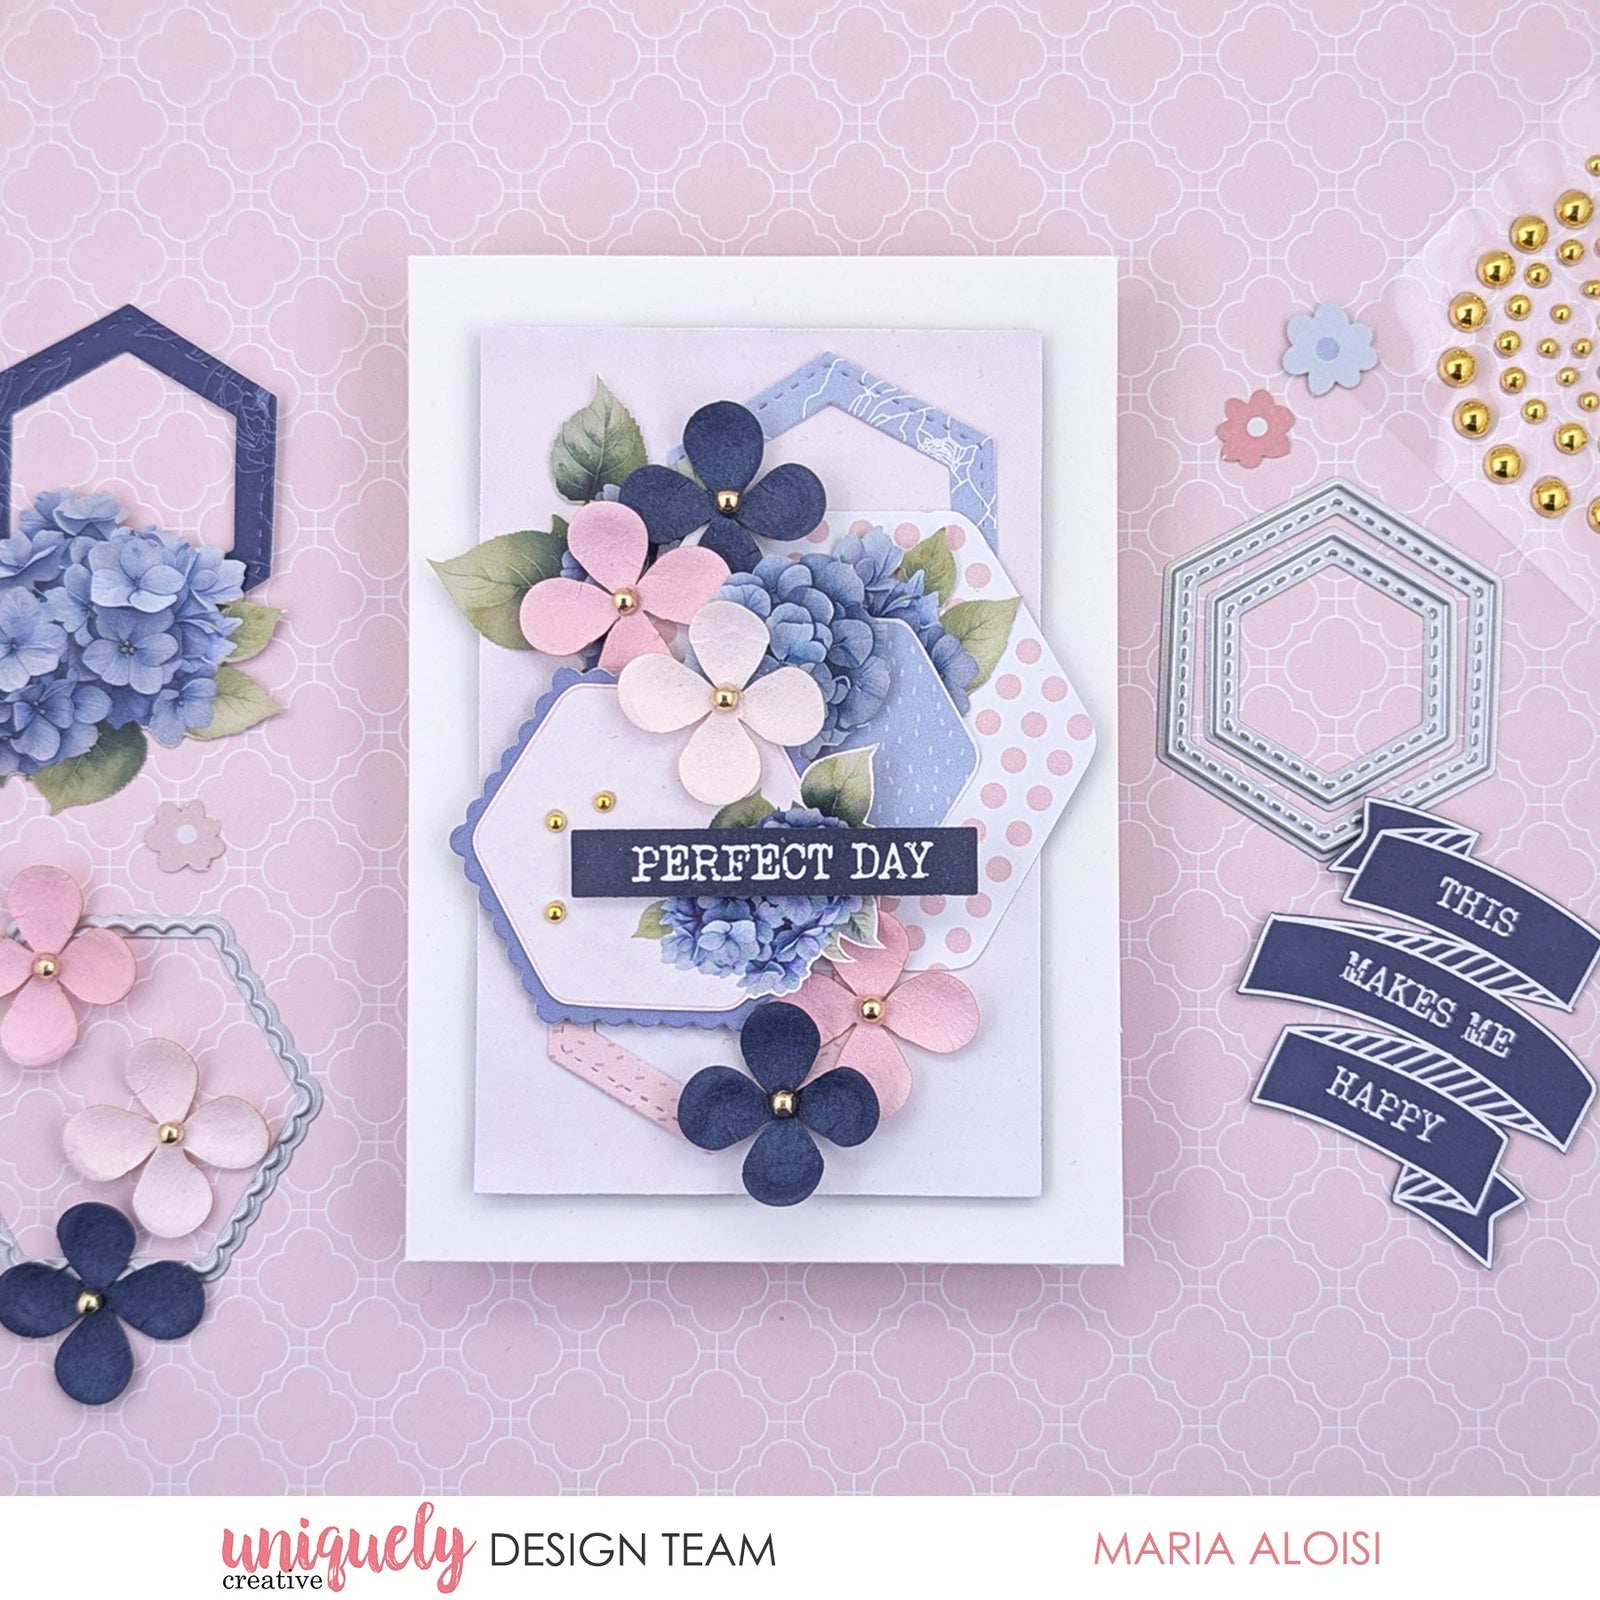

To recreate this beautiful card created by Design Team member Maria Aloisi you can follow the steps below:
Uniquely Creative Products Used:
· UCP2933 Blushing Paper
· UCP2934 Lyla Paper
· UCP2939 Bloom Paper
· UCP2942 Indigo Bloom Creative Cuts
· UCD2199 Stitched Nesting Hexagons Die
· UCD2200 Scalloped Nesting Hexagons Die
· UCE1729 Gold Pearls
· UCE1935 Craft Tweezers
· UCE2113 Blue & Blush Flowers
· UCE1872 Fussy Cutting Scissors
· UCE1811 Rectangle Cards and Envelopes
· UCE1803 Foam Mounts Squares & Strips
· UCE1859 6mm Double Sided Tape
Other Products Used:
· Die Cutting Machine, glue
Card Size: 10.5cm x 14.8cm (UC Rectangle Card)
Step 1:
Cut a 3¼” x 5” piece from the Blushing paper. Using foam mounts adhere to the centre of the card base – See image 1
Step 2:
Fussy cut the hexagon with the floral image from the Lyla paper. Using the scalloped hexagon die, die cut a piece from the Bloom paper. Mat the fussy cut hexagon with the scalloped die cut – See image 2.
Step 3:
Fussy cut two hexagons from the Lyla paper – See image 3.
Step 4:
Fussy cut one of the large hexagons from the Lyla paper. Place the two smallest hexagon dies on top, secure with washi tape and run it through the die cutting machine. Repeat the process to create another hexagon cut out – See image 4.
Step 5:
Add the hexagons to the card base. Use foam mounts for the scalloped hexagon. Add some floral creative cuts – See image 5.
Step 6:
Add flowers, gold pearls and the Perfect Day sentiment to finish – See image 6.