Our Warehouse is Now Closed for Christmas - All Orders will Ship from 7th January 2026
Our Warehouse is Now Closed for Christmas - All Orders will Ship from 7th January 2026
Add description, images, menus and links to your mega menu
A column with no settings can be used as a spacer
Link to your collections, sales and even external links
Add up to five columns
Add description, images, menus and links to your mega menu
A column with no settings can be used as a spacer
Link to your collections, sales and even external links
Add up to five columns
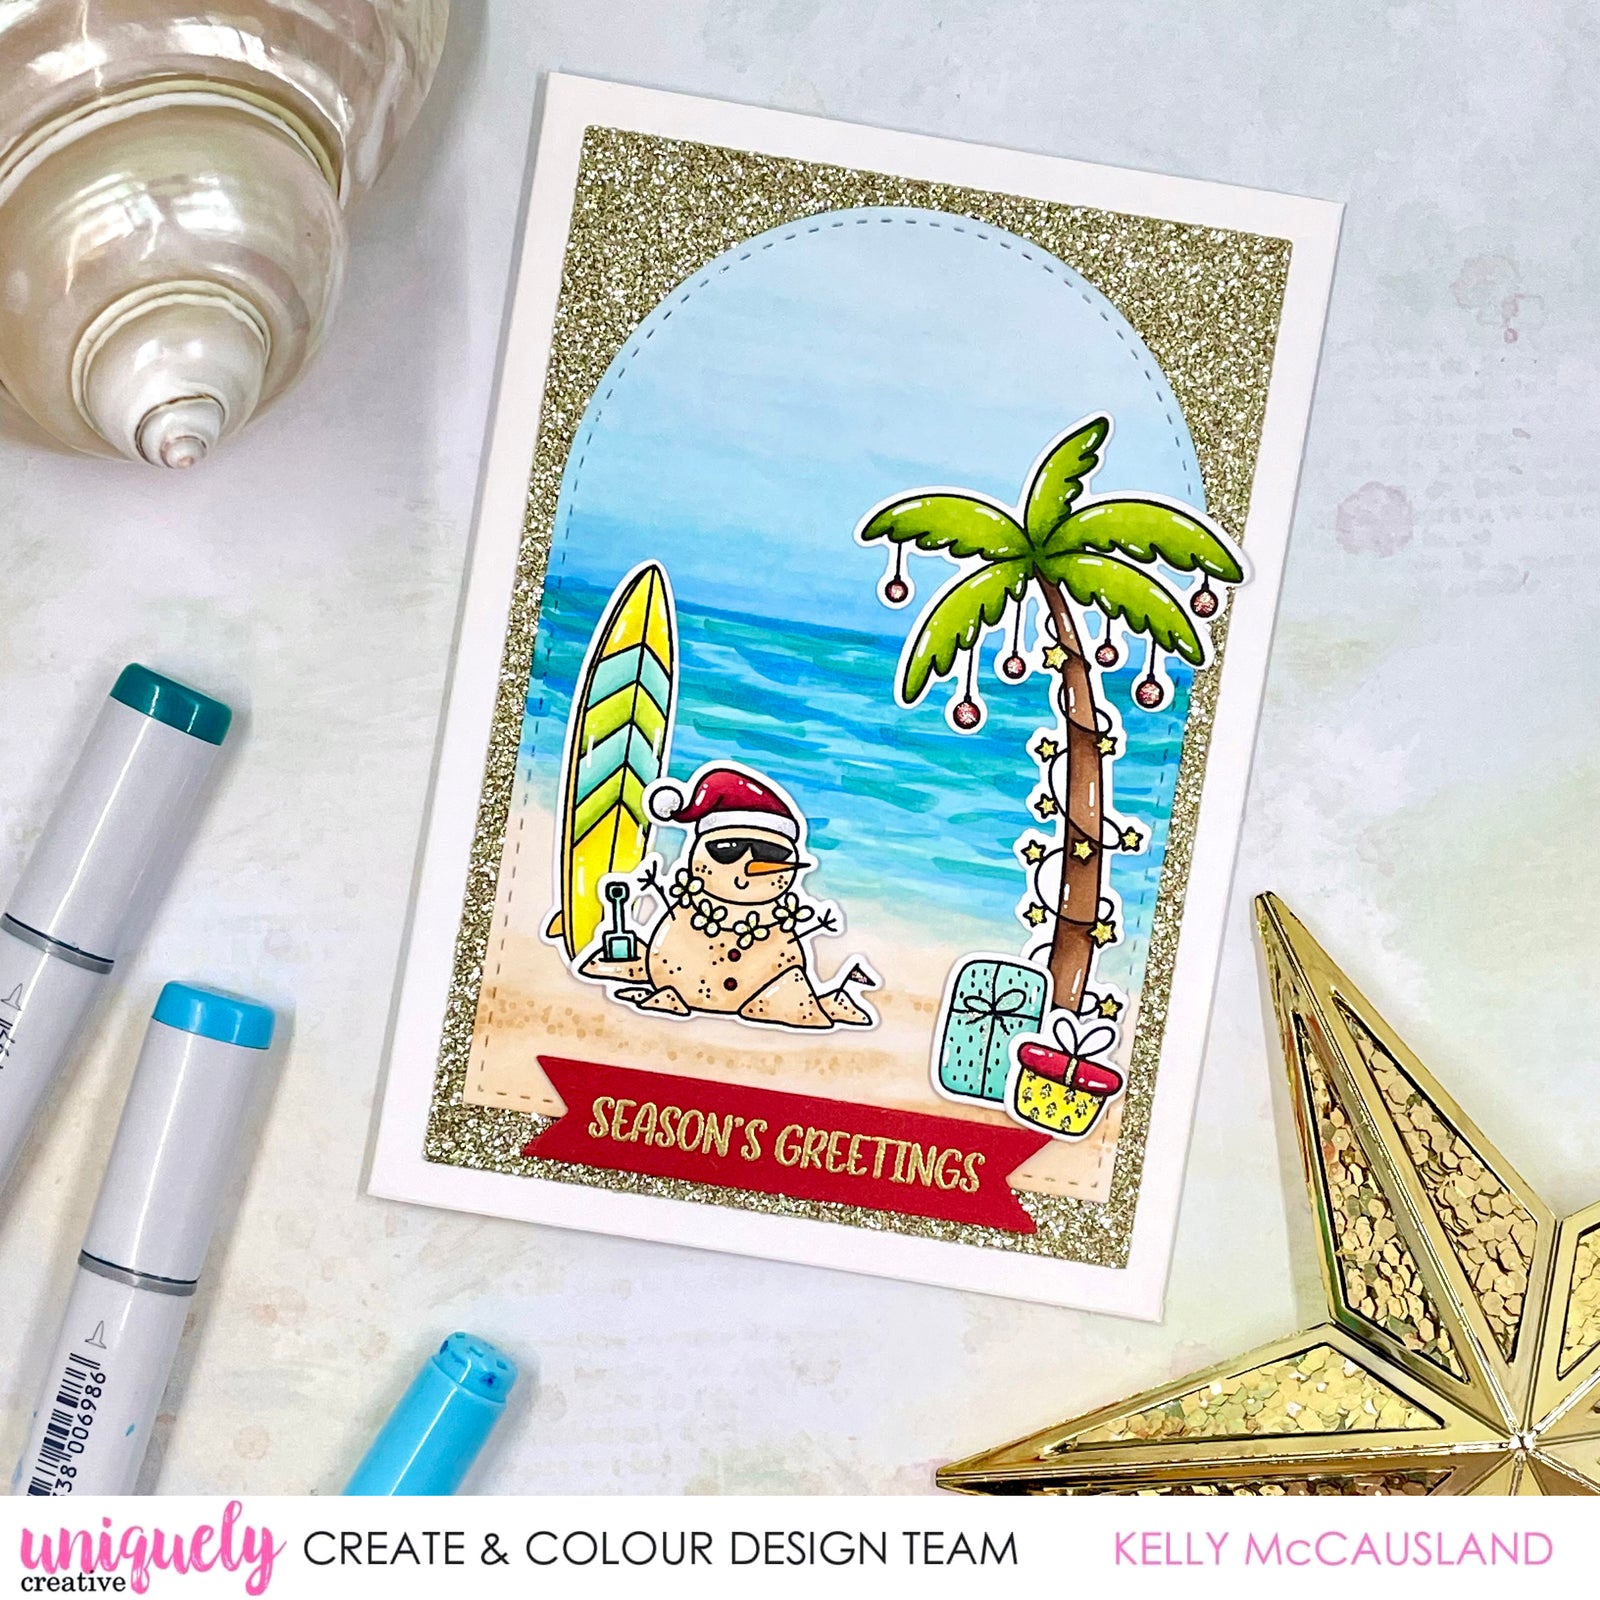
Season's Greetings - Kelly McCausland
November 18, 2023

Uniquely Creative Products Used:
- UCD1904 Sandy Santa Christmas Photopolymer Stamp
- UCD2109 Sandy Santa Christmas Fussy Cutting Dies
-
Uniquely Creative Stitched Nesting Rectangle Dies
-
Uniquely Creative Stitched Arches Dies
-
Uniquely Creative Sentiment Surrounds Dies
-
Gold Glitter Paper
-
White Cardstock
-
Red Cardstock (for sentiment)
-
White Gel Pen
-
Gold Gel Pen
-
Gelly Roll Stardust Pen or similar
Copic Colours Used:
Background:
-
Water: BG000, B01, BG11, BG45, B04, BG49
-
Sand: E50, E51, E53
-
Sky: BG000, B00, B01, B02
-
Green: YG01, YG23, YG17, YG67
-
Brown: E23, E25, E27
-
Red: R35, R46, R59
-
Yellow: Y04, Y13, Y35
-
Aqua: BG11, BG23, BG13
-
Sand: E50, E51, E53
-
Black: T6, T8, T10
1. Die cut a stitched rectangle from gold glitter paper and a stitched arch from white cardstock suitable for Copic markers.

2. To colour the beach scene start with BG49 and use the tip of your marker to start drawing in some lines for your water. I like to sort of draw in the horizon first, doesn’t have to be one line and if you aren’t confident with your dark marker use your lightest marker first to draw it in lightly first. It will just give you a place to work from.
Next start drawing in similar lines with your B04 Marker but bring them just a bit closer to the ‘beach’

3. Repeat the same with BG45 and B01, but each time go back over the last colour and bring it just that bit closer to the beach.

4. Next add some BG11, then use your BG000 to soften the edge of the water. Doesn’t have to be neat as we will go over this with our sand colour to blend the water and the sand together.

5. Next start to draw in your sand. Use E53 and draw in some small mounds of sand. I put one on the right, one on the left and one at the front.

6. Blend out with E51 and then E50. Take the E50 into the edge of your water so that they overlap and it looks like the water is coming over the sand.

7. Repeat until you are happy with the colour.

8.For the sky, start with B02 and using long strokes across the card, lightly go over the edge of your horizon so there is no harsh line between the sky and water. Take the B02 up into the sky about 1 cm. Do the same with the B01 so that you are blending the last colour with the new colour and taking that new colour higher into the sky.

9. Keep repeating with B00 and BG000 until you have filled your sky. Repeat the 4 colours until you are happy. Don’t forget to use long smooth strokes as you want the sky to be nice and smooth.

10. You can add some little dots on each sand mound if you like for some texture. Start with E53, then E51 and E50.

11. Colour your images. Use a white gel pen for highlights. I used gold gel pen on the stars around the tree and stardust pen on the ornaments, presents, Santa hat and flower garland.

12. Assemble your card using glue and foam tape.

Leave a comment
Newsletter
Join our mailing list and never miss an update …
