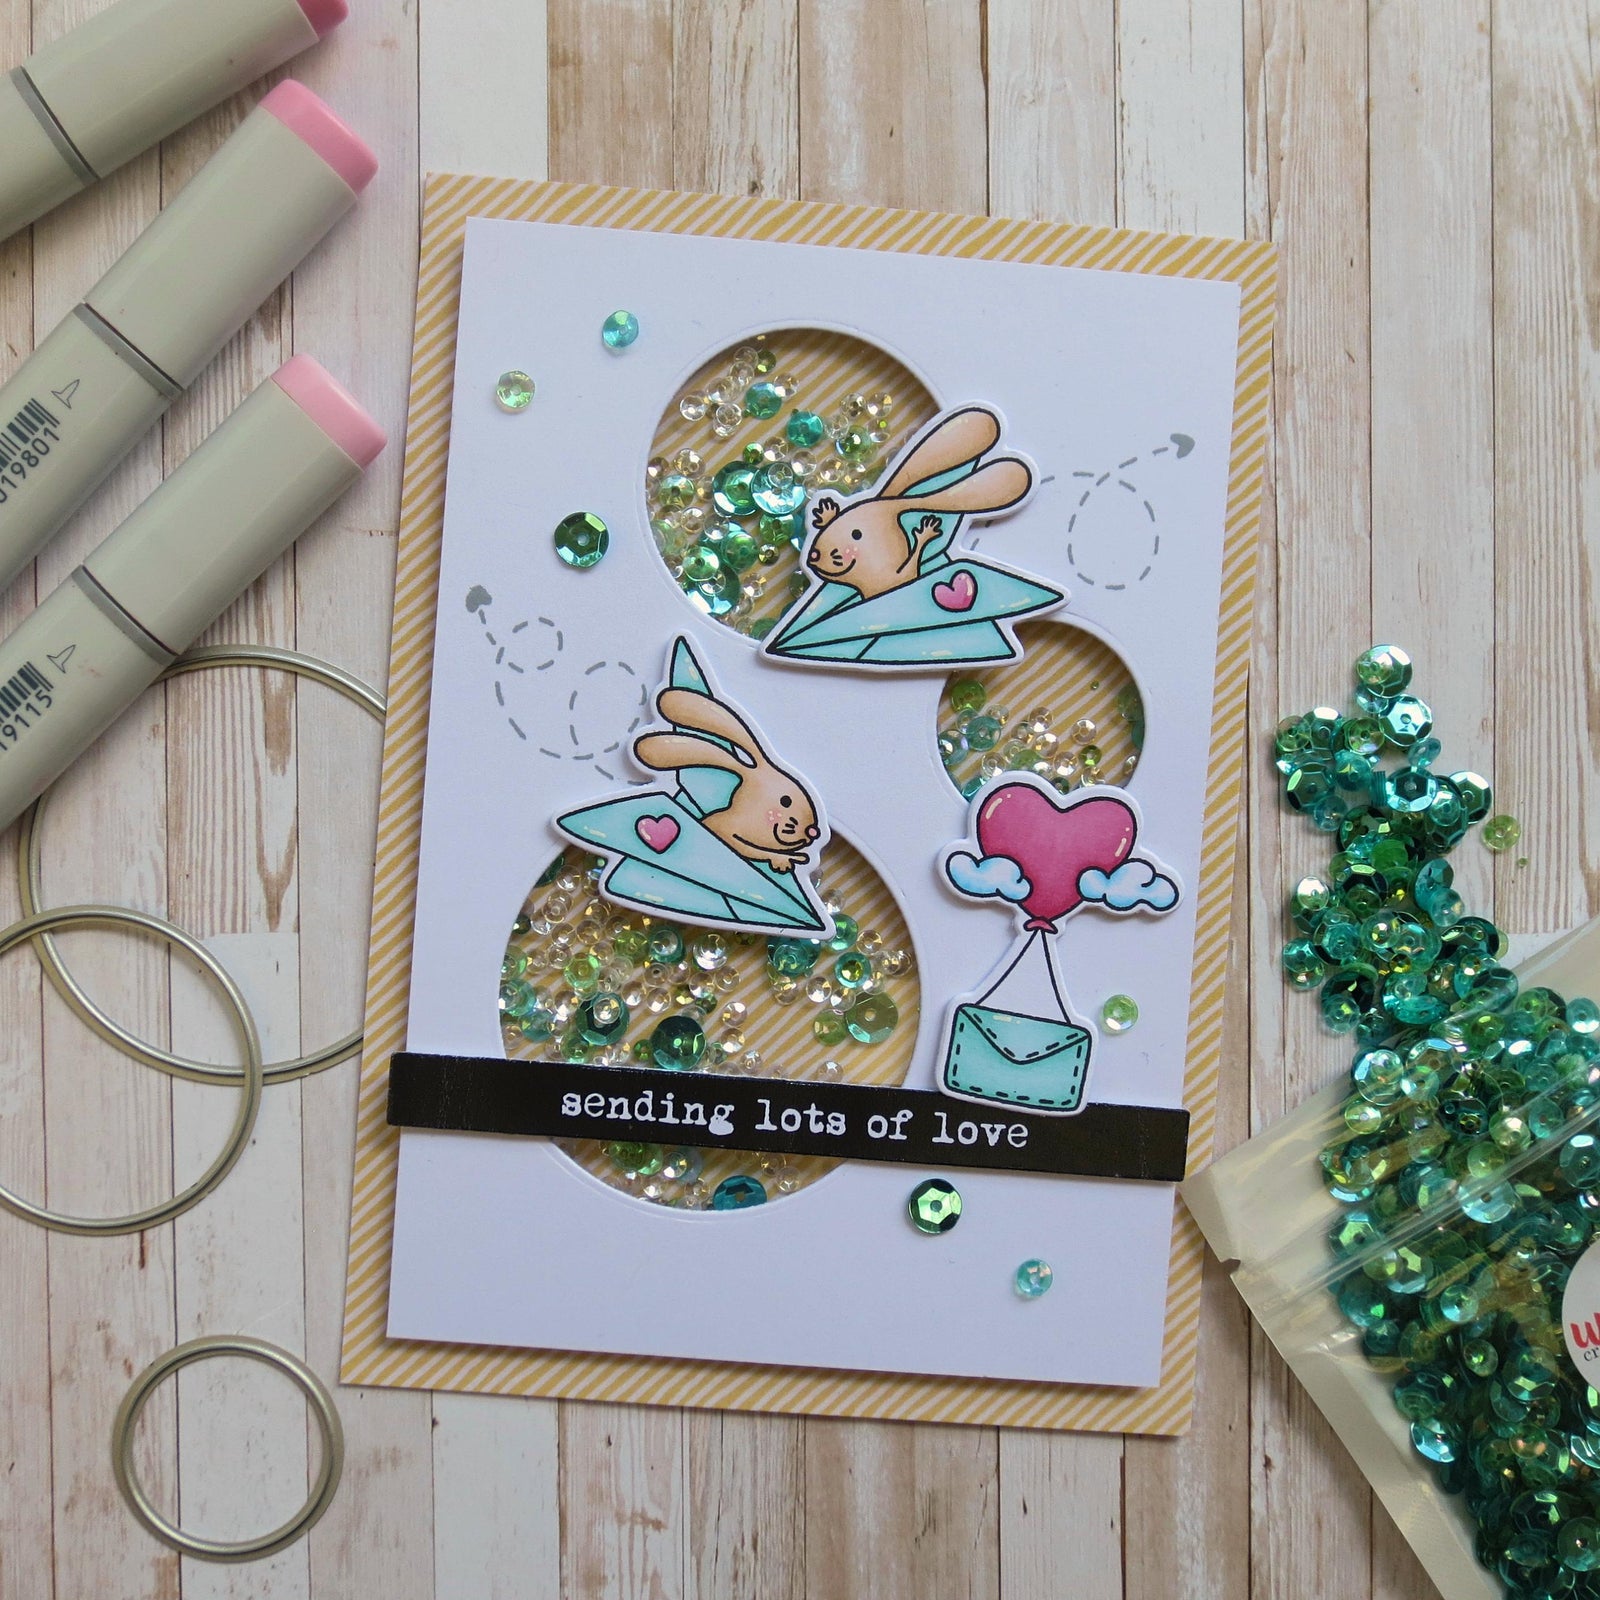
Sending Lots of Love - Kelly McCausland

Uniquely Creative Products Used
Love Letters Mini Cut-a-Part Sheet, Cut-a-Part Essentials #5 Die, Fussy Cut Circle Dies, Tropical Sea Sequins
Other Products Used
White Card Base, White Cardstock - 9.5 x 13.5 cm, Acetate - 9 x 12 cm, Foam Tape, White Gel Pen, Grey Ink, Powder Tool (or similar), Scissors, Trimmer
Colours Used
Copic Markers:
Bunnies – E50, E51, E53, E55 + a little R20 for their cheeks
Paper Planes – BG10, BG11, BG23
Envelope – BG10, BG11, BG23
Heart Balloon & Little Hearts – R81, R83, R85
Cloud – 0, B01, B02
Instructions
1. Trim some white card stock to 9.5 cm x 13.5 cm. Position the circle dies offset from each other starting with the largest one at the bottom, and die cut.

2. Use a grey ink to stamp the stitched tails from the stamp set, to the front of your die cut piece

3. Turn over cardstock and adhere a piece of acetate (9 x 12 cm), to cover the die cut circles. Add foam tape around each circle so you create separate pockets for your sequins. These do not need to be perfect circles but make sure you foam tape has no gaps for sequins to slip through! Add extra foam tape around the edges for extra support.

4. Use your powder tool to run around the inside edges of your foam tape to remove as much sticky as possible. Wipe any excess powder from your acetate before adding sequins to each pocket. Trim your backing paper to 10.5 x 14.8 cm and add to the back of your sequin pockets to complete the shaker for your card front.

5. Use Cut-a-Part Essentials #5 Die to cut out sentiments from Cut-a-Part Sheet.

6. Adhere shaker panel to your card front. Using some foam tape, add your sentiment strip and coloured images and a few extra sequins to complete the card.
BONUS Project: Love Letters Tags
Our fabulous guest designer this month, Kelly, has created these adorable tags with her leftover patterned paper and sentiment strips from the Cut-a-Part Sheet - We love them!
