SHE BELIEVED IN MAGIC CARD TUTORIAL - STEPHANIE DONNINI

Welcome to our November Collection - Dressed In Daydreams!
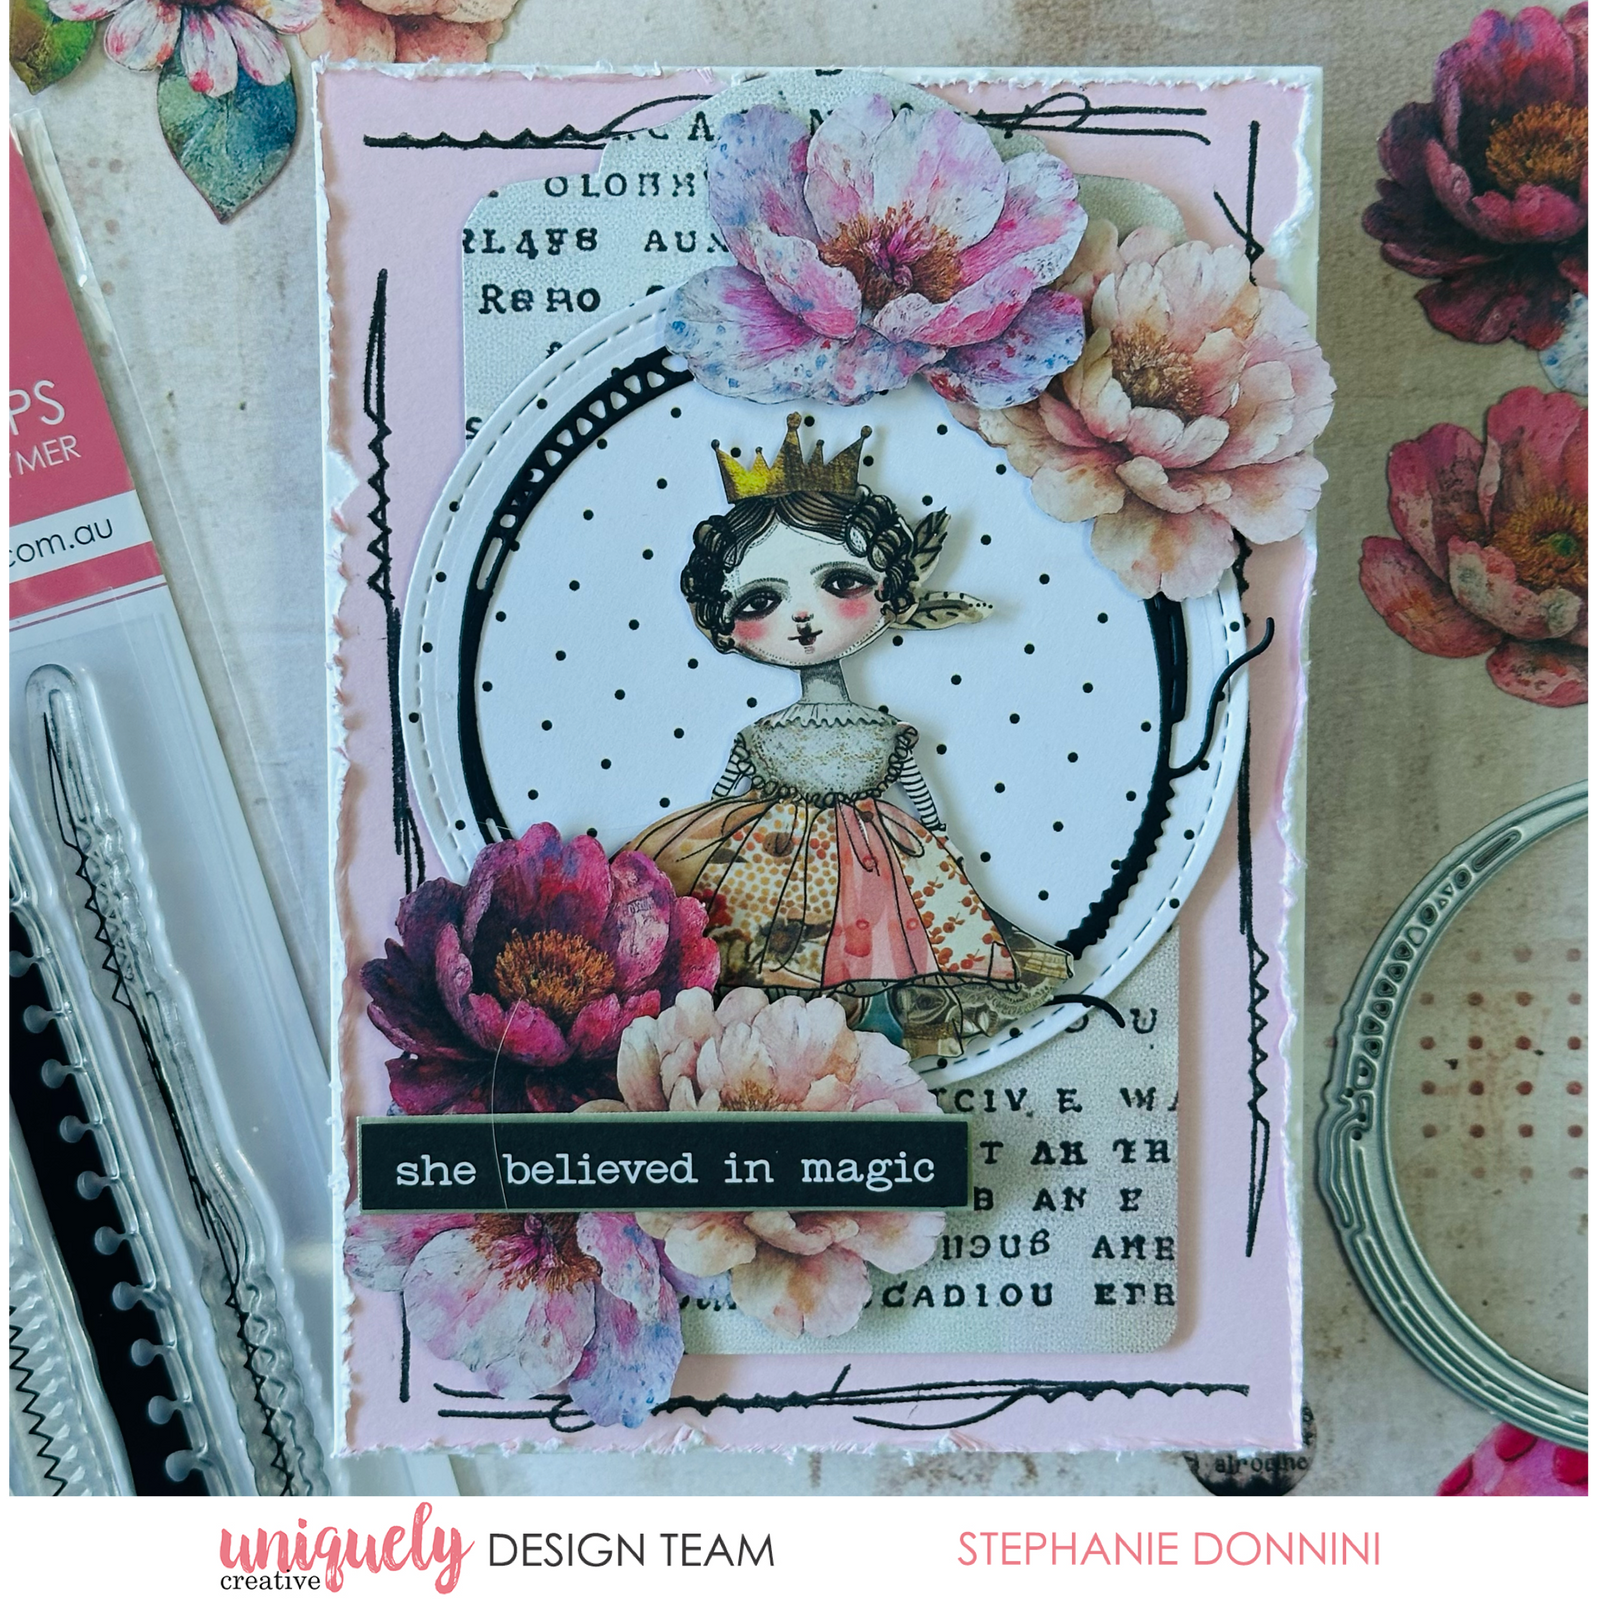
To recreate this gorgeous card created by Design Team member Stephanie Donnini you can follow the steps below:
Uniquely Creative Products Used:
· UCP3030 Little Curiosities paper
· UCP3033 Creative Cuts
· UC1933 Ripped & Stitched Stamp
· UCD2213 Sewn & Stitched Die
· UCCA1783 Rose Cardstock
· UCCA1771 Sage Cardstock
· UCD2003 Stitched Nesting Circle Die
· UCE1986 Edge Distressing Tool
Other Products Used:
· Black Stamping Ink
· Black cardstock
· Foam mounts and strips
Card size: 10.5cm x 14.8cm)
Step 1:
Cut a rectangle from Rose cardstock to fit onto an A6 card. Frame the panel using the Ripped & Stitched stamp along the edges with black ink. Then to create added interest on the panel, use an edge distressing tool.
Step 2:
Fussy cut a tag from the Little Curiosities paper and die cut a 9cm circle (or freehand cut) from the Notes of Grace paper.
Step 3:
Die cut the larger stitched circle from the Sewn & Stitched Die set from black cardstock and glue to the larger circle.
Step 4:
Layer the pieces together and adhere with foam mounts and strips.
Step 5:
Foam mount paper doll from the Creative Cuts pack to the centre of the stitched circle. Then use various flowers to arrange on the card, adhering them with foam mounts.
Step 6:
Foam mount sentiment onto Sage cardstock and foam mount onto card.

