30 day change of mind returns available
30 day change of mind returns available
Add description, images, menus and links to your mega menu
A column with no settings can be used as a spacer
Link to your collections, sales and even external links
Add up to five columns
Add description, images, menus and links to your mega menu
A column with no settings can be used as a spacer
Link to your collections, sales and even external links
Add up to five columns
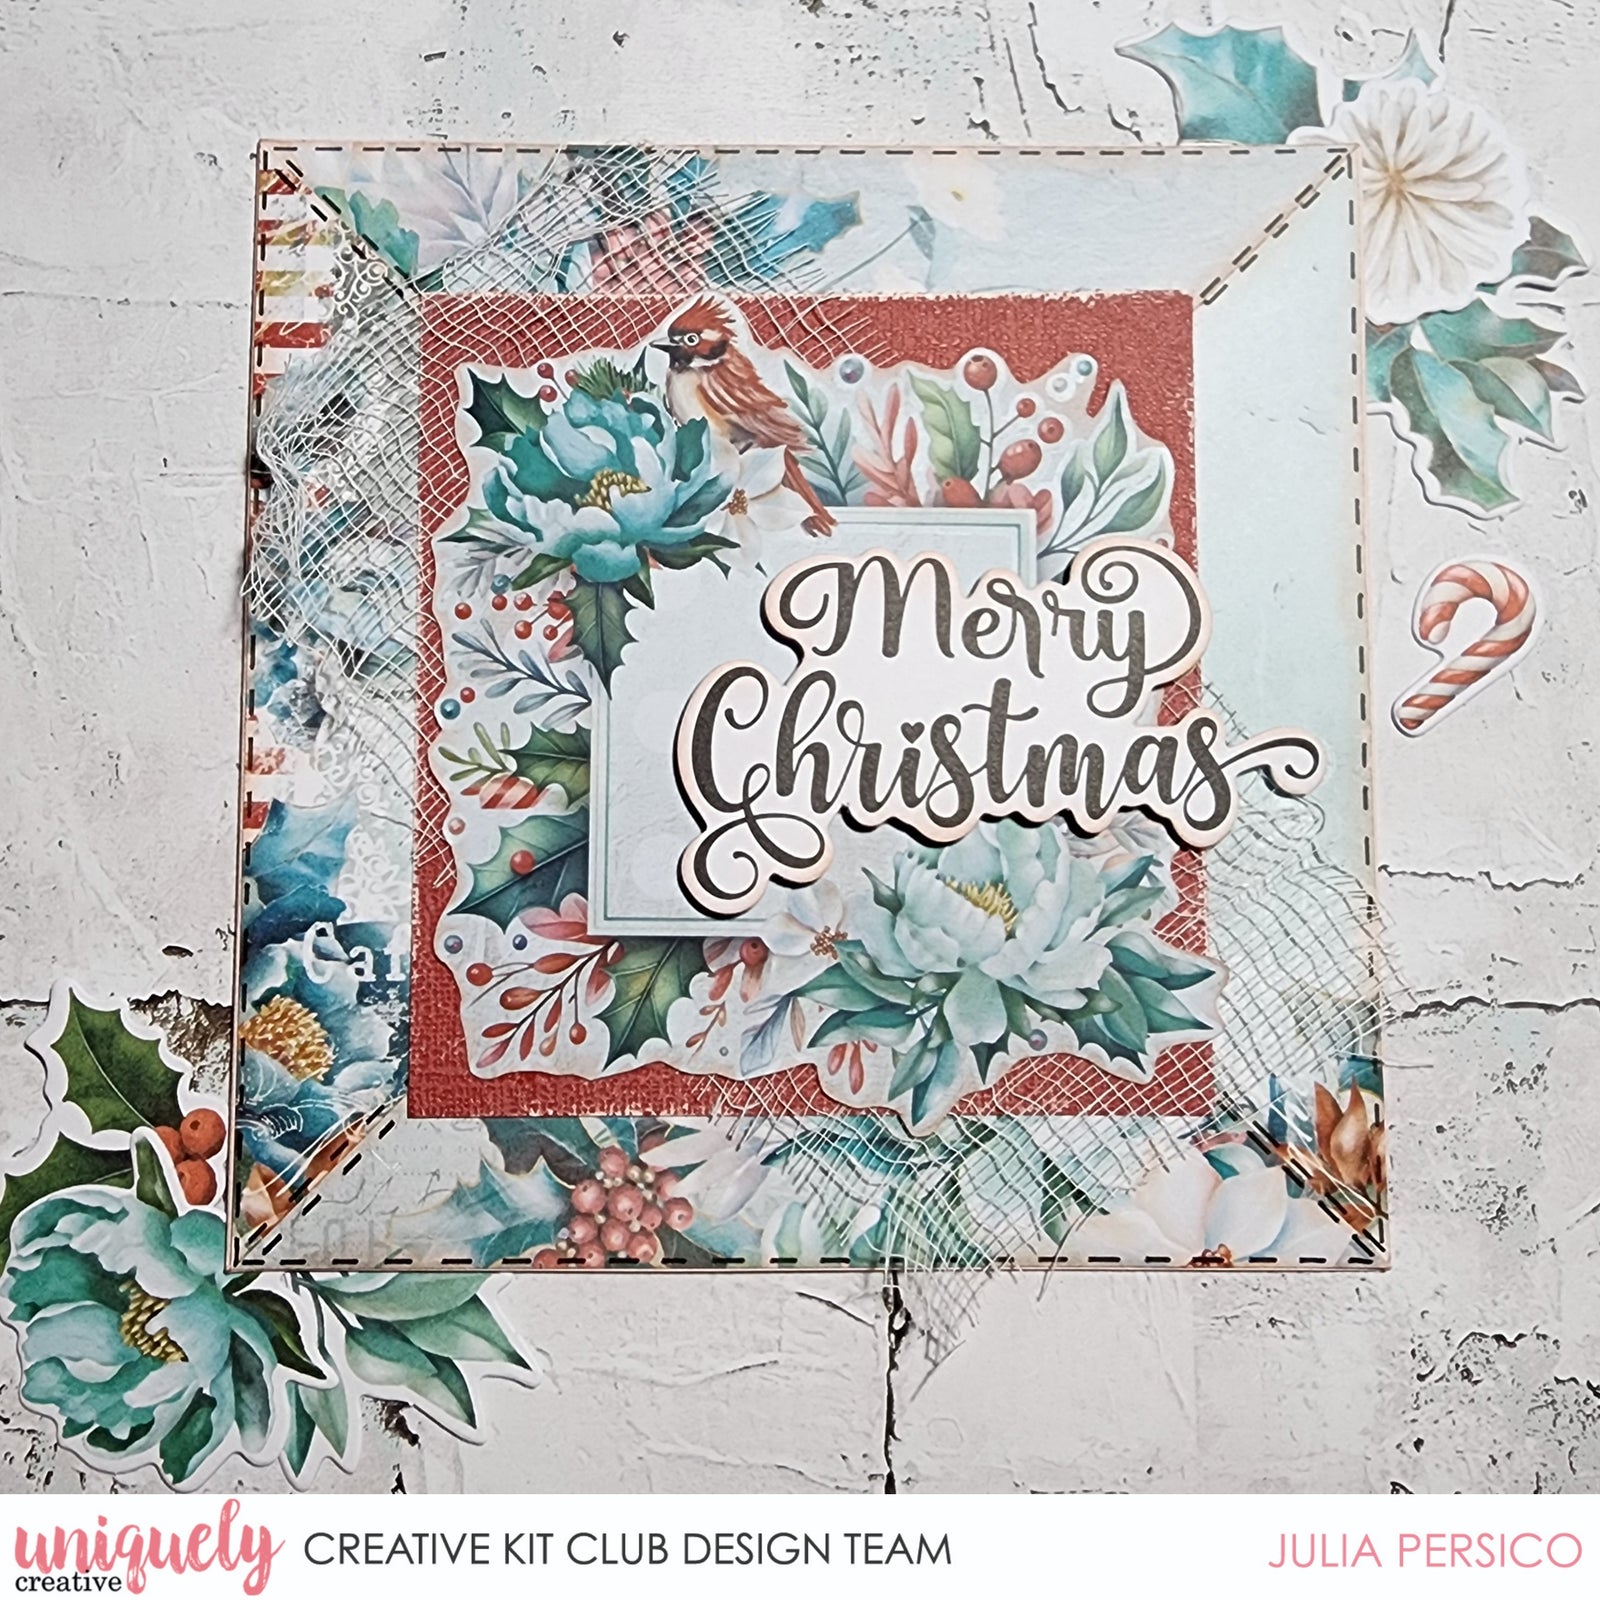
STITCHED WITH LOVE CARD TUTORIAL - JULIA PERSICO
October 27, 2024

To recreate this gorgeous card created by Design Team member Julia Persico you will need the products listed below:
Shop the products
Uniquely Creative Products Used:
- UCP2810 Santa’s Workshop Paper
- UCP2808 All is Bright Paper
- UCP2816 Merry & Bright Creative Cuts
- UCE2838 Be Merry Rub-ons
- UCE1955 Muslin
- UCCA1729 Brick Wall cardstock
Other Products Used:
- Paper trimmer & ruler
- Liquid & tape adhesives
- Distress Ink: Tattered Rose
- Square card
- UCE1945 Uniquely Creative Fineliner pen
- UCE1872 Fussy cutting scissors
- UCE1933 Crafters sanding block
- UCE1961 Foam mounts strips
Instructions:
-
Using a 15cm x 15cm card, cut both Santa’s Workshop and All is Bright papers to same size – image 1.

-
Cut both pieces on the diagonal into four. Use two pieces from each paper to create the pictured pattern – image 2.

-
Draw stitching detail on each piece using a fineliner pen. Ink edges and adhere all pieces to card – image 3.

-
Adhere decorative frame design following rub-on instructions to Santa’s Workshop (reverse) paper. Fussy cut around border – image 4.

-
Cut 10.4cm x 10.4cm square piece from Brick Wall cardstock. Gently sand around edges to reveal core. Cut muslin piece to approximately 16cm x 9cm – image 5.

-
Adhere Brick Wall piece flat to centre of card, then layer muslin piece overtop diagonally. Adhere the rub-on frame over top with liquid glue. Finish with Merry Christmas creative cut sentiment using foam mounts and placed slightly off centre – image 6.

Leave a comment
Newsletter
Join our mailing list and never miss an update …
