STORIES LAYOUT TUTORIAL - KIM EWINS
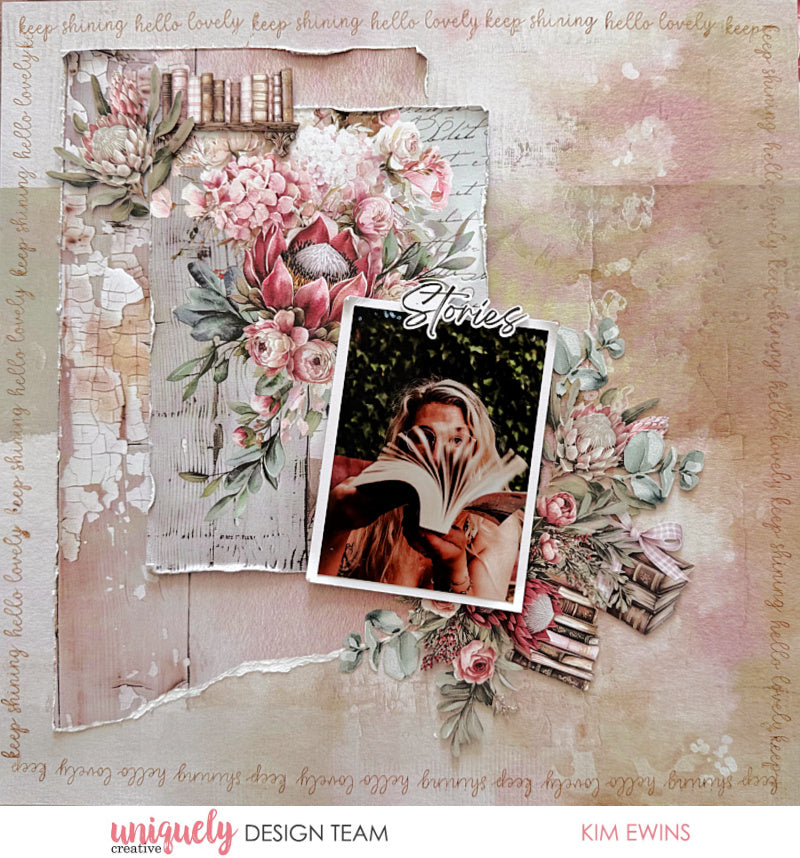

To recreate this gorgeous layout created by Design Team member Kim Ewins you can follow the steps below:
Uniquely Creative Products Used:
· UCP3079 Written Home Paper
· UCP3084 Open Dreams Paper
· UCP3087 Paperbark Blooms Creative Cuts
· UCP3088 Paperbark Blooms Floral Creative Cuts
· UC1934 Celebration Sentiments Stamp
· UCE1803 Foam Mounts Squares and Strips
· UCE1859 6mm Double-sided Tape
· UCE1872 Fussy Cutting Scissors
Other Products Used:
· Paper Trimmer
· Distress Ink – Vintage Photo
· Acrylic Stamp Block
· White cardstock
Photo size: 3"x4"
Step 1:
Use the Open Dreams ( B-side) paper for the base, turn paper until pink tones are on the right side of the paper.
Step 2:
Measure 14cm in from the left hand side of the Written Home paper and trim. Roughly 26cm down the crackled paint section gently rip in a slight upwards direction – See image 1
Step 3:
From the Floral, righthand section of the Written Home paper, measuring 13cm x 17.5cm. Distress all four sides using scissors or a distress tool. Add foam mounts or cardboard to the back of the floral section – See image 2
Step 4:
Attach the torn section of Written Home to the Open Dreams base, placing it approximately 2.5 cm from the left side and top edge.
Step 5:
Adhere distressed floral Written Home section to the torn piece, exposing the crackled paint - See image 3
Step 6:
Matt photo using white cardstock. Adhere foam mounts to back of matted photo and stick down on a slight angel, on the lower right of floral section.
Step 7:
Take a selection of Paperbark Bloom Creative Cuts and Floral Creative Cuts – See image 4
Step 8:
Adding foam mounts to the back of flower clusters and place under the lower and right side of photo. Add a couple of Creative Cuts to the top left of the floral section and adhere sentiment to the top of photo – See image 5
Step 9:
Affix the 'keep shining' and 'hello lovely' sentiment stamps to the acrylic stamp block. Apply Vintage Photo Distress Ink and roughly 1cm in from outer edge of layout stamp a border – See image 6