Thank You Beautiful Tutorial - Ashlee McGregor

Uniquely Creative Products Used:
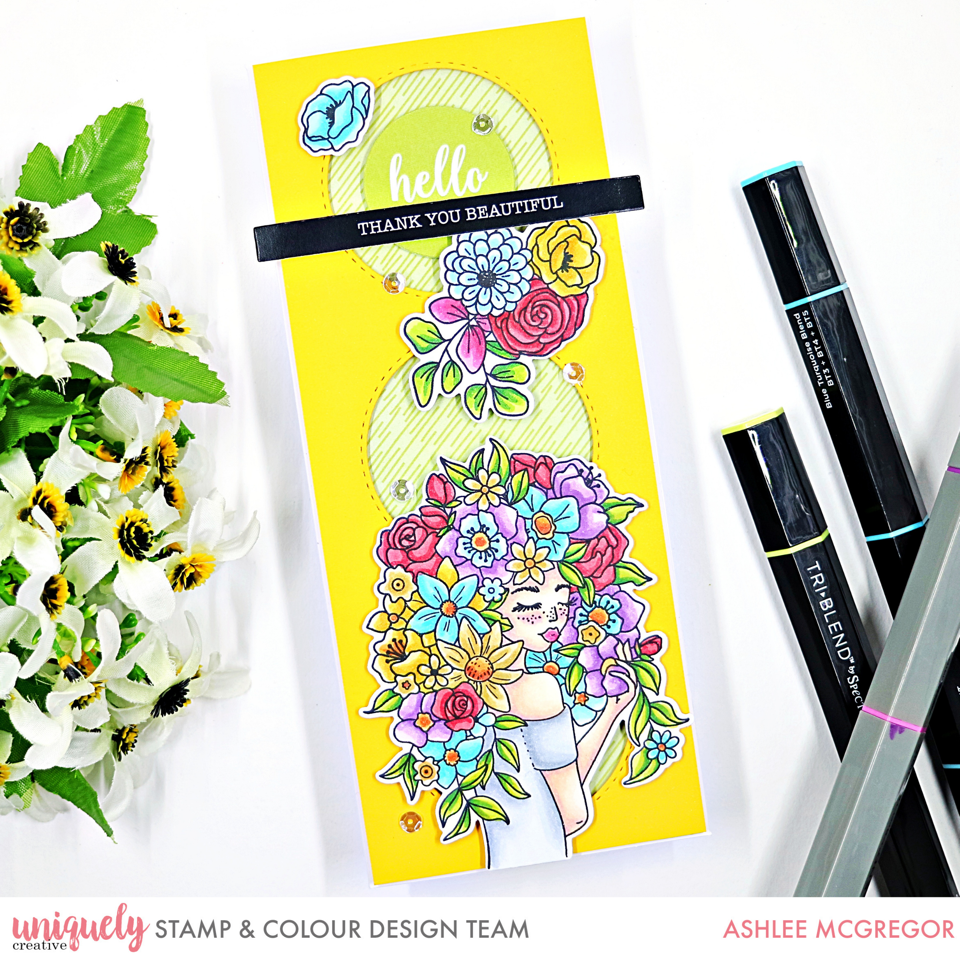
UC1849 Gorgeous Girl Stamp, UCD2007 Gorgeous Girl Die Gorgeous Girl Cut-A-Part Sheet, Gorgeous Girl Pattern Paper, Uniquely Creative Sequins, UCD1967 Slimline 3 Circle Window Die, UCD1958 Cut-A-Part Essentials Die #5, UCD1985 Cut-A-Part Essentials Die #6, Uniquely Creative Teacup Builder Stamps and Co-Ordinating Dies, Uniquely Creative Slimline Card
Other Products Used:
Memento Tuxedo Black Ink, Spectrum Noir Tri-Blend Markers : Ice Blue, Turquoise, Pink Violet, Burnt Orange, Citrus Green, Fair Skin, Ice Grey, Gold Brown, Gold Yellow, Alpine Green, Purple, Dark Red
Instructions:
1. Using a slimline card base, cut to size a piece of the pattern paper from the gorgeous girl mini kit. Then using the three circle window slimline die, die cut it from a piece of yellow cardstock.

2. Adhere the yellow die cut piece onto of the pattern paper using foam tape.

3. Add a double sentiment by die cutting two different sentiments from the cut apart sheets using UC cut-apart essentials dies number #5 and #6 then add them inside/over the top circle cut out.

4. Stamp/colour and die cut the gorgeous girl image along with some flowers from the tea-cup builder stamp set.

5. Adhere all the images to the card base using foam tape for dimension.

6. Finish the card off by adding a touch of UC sequins. Adhere in place using glue dots, they are perfect for attaching sequins with no mess.
