The Merriest Christmas Tutorial - Stephanie Donnini

Uniquely Creative Products Used:
- UCL1752 Aussie Nativity Laser Cut
- UC1880 Aussie Nativity Stamp
- UCD2073 Aussie Nativity Die
- UCMM1772 Nativity Star Stencil
- Scene builder Nativity stencil
- Cut-A-Part Sheet
- UCCA1726 Summer Wheat Cardstock
- UC1956 Cut-a-Part Essentials 4# Die
- Blending Brush
- Foam Mounts
Other Products Used:
- Blending Card
- White Gold Paint
- Gold Embossing Powder
- Versamark Ink
- Heat Tool
- Black Amalgam Ink
- Iridescent Sequins
-
White Gel Pen
- Distress Oxide ink- Prized Ribbon, Salvaged Patina, Black Soot, Wild Honey, Scattered Straw, Antique Linen, Gathered Twigs.
- Copic: R59, R46, R35, G24, G46, W8, W3, W1, E59, E57, E35, E55
Instructions:
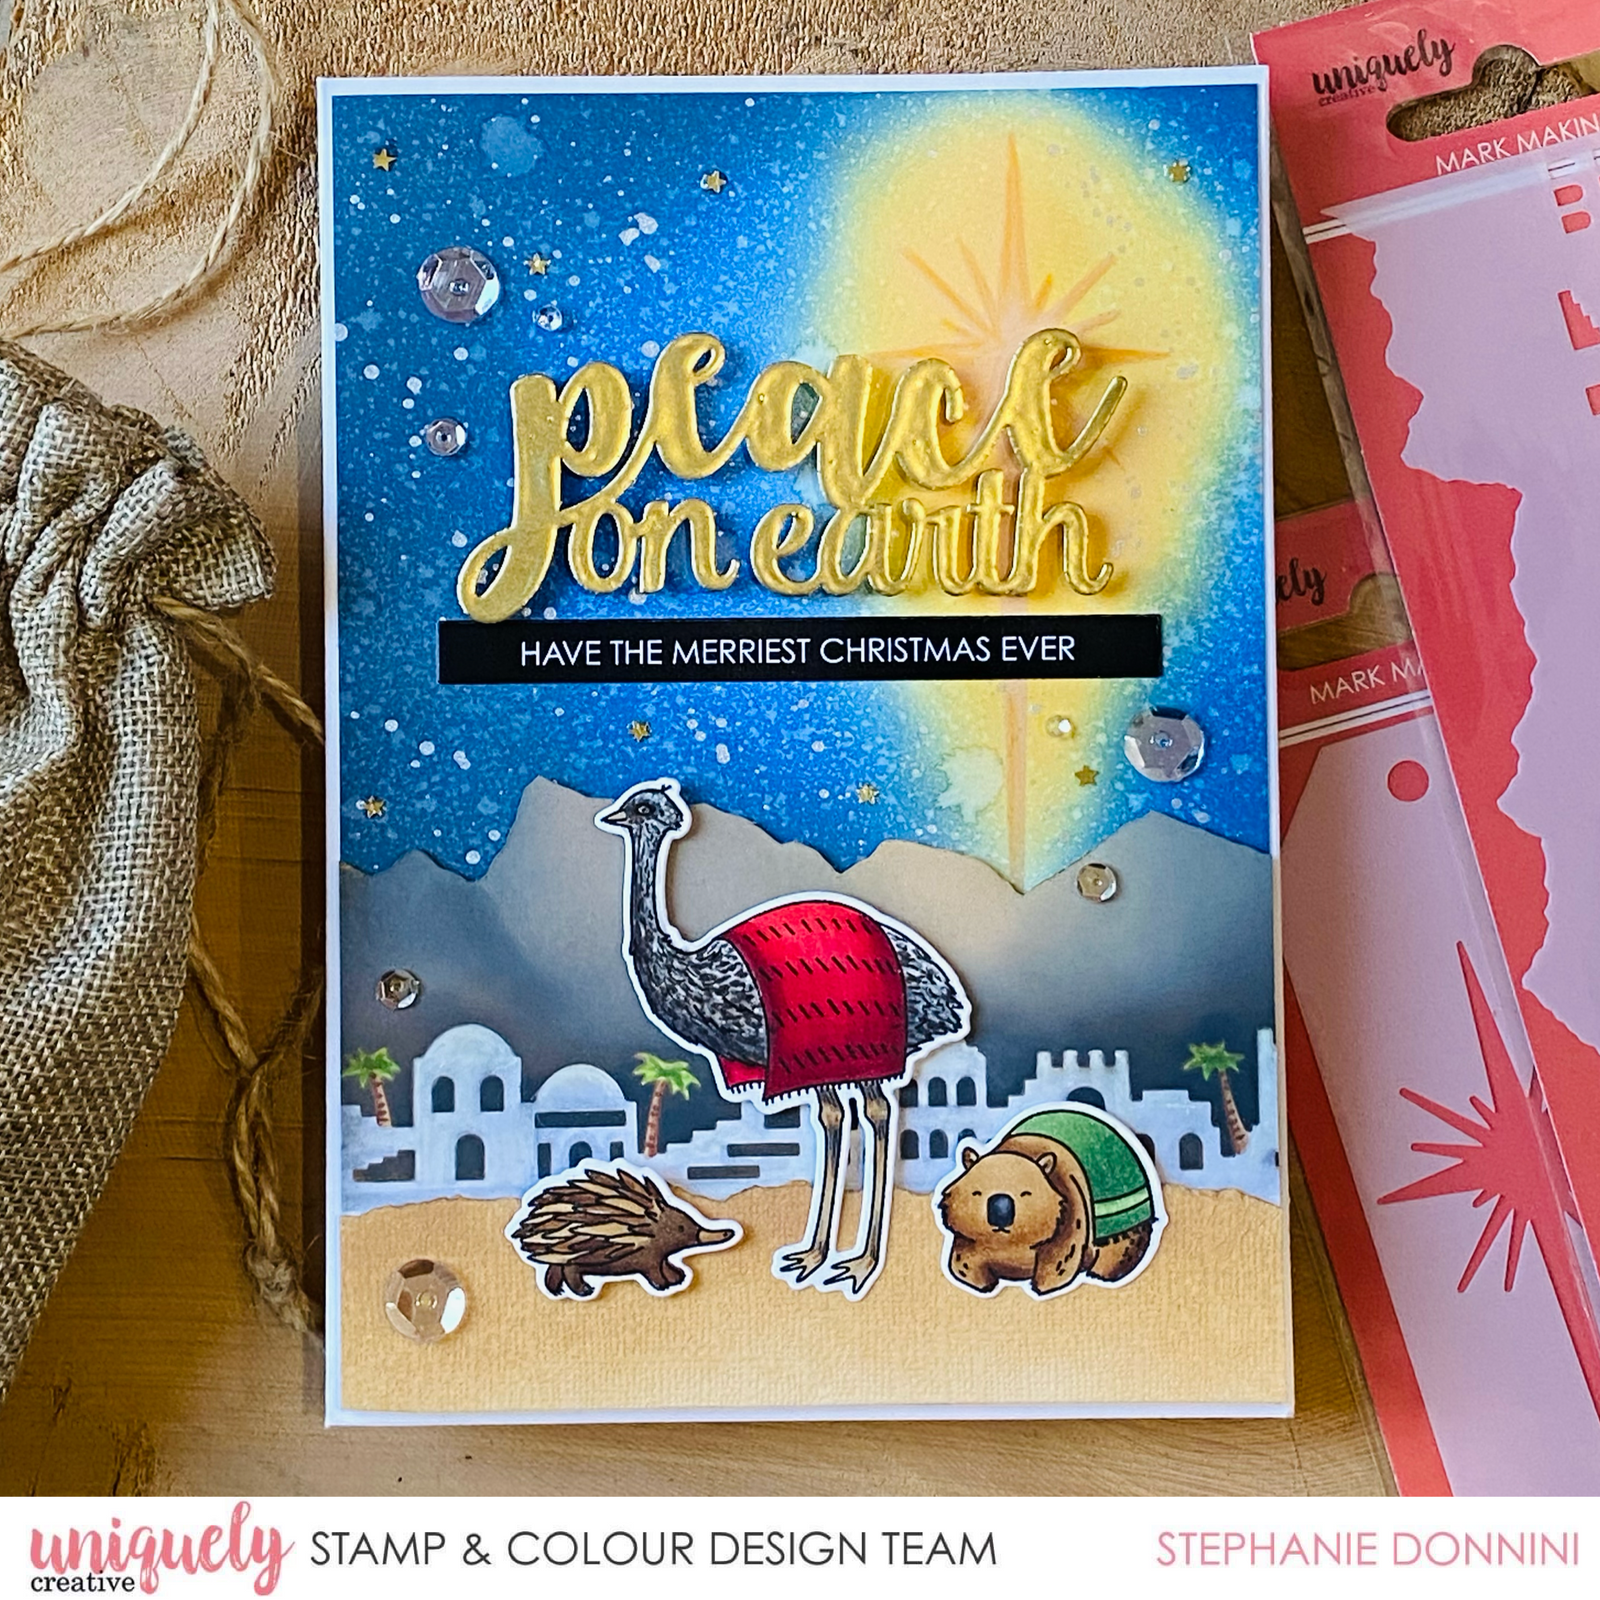
1. Take a piece of white blending cardstock and blend some brown ink over the Scene Builder Nativity stencil. Gathered Twigs Oxide ink was used here.

2. Cut along the mountain top to pop the scene up on the card base for extra dimension. To create depth, shade the mountains with small blending brushes and add colour to the palm trees with Copic markers. For the desert sand, tear a strip of UC Wheat cardstock and dirtied it up with distress ink.

3. The night sky is a blend of Prized Ribbon, Salvaged Patina and Black Soot Oxide Inks. The focal point is the Nativity Star. This has been highlighted with a glow of Scattered Straw and Wild Honey Oxide inks. Spritz the whole background with a shimmery pearl mixture.

4. Apply Versa mark ink to the laser cut sentiment, then gold heat emboss. Repeat this process twice for a thick, nice glossy finish. Using the Essentials 4# die, choose a sentiment strip from the cut-apart sheet.

5. Stamp the Aussie Nativity animals with black Copic friendly ink onto some blending cardstock. Once coloured and die cut, use a white gel pen to add details to the emu’s feathers.

6. Adhere the layers together with foam tape and scatter some sequins for extra shine.
