
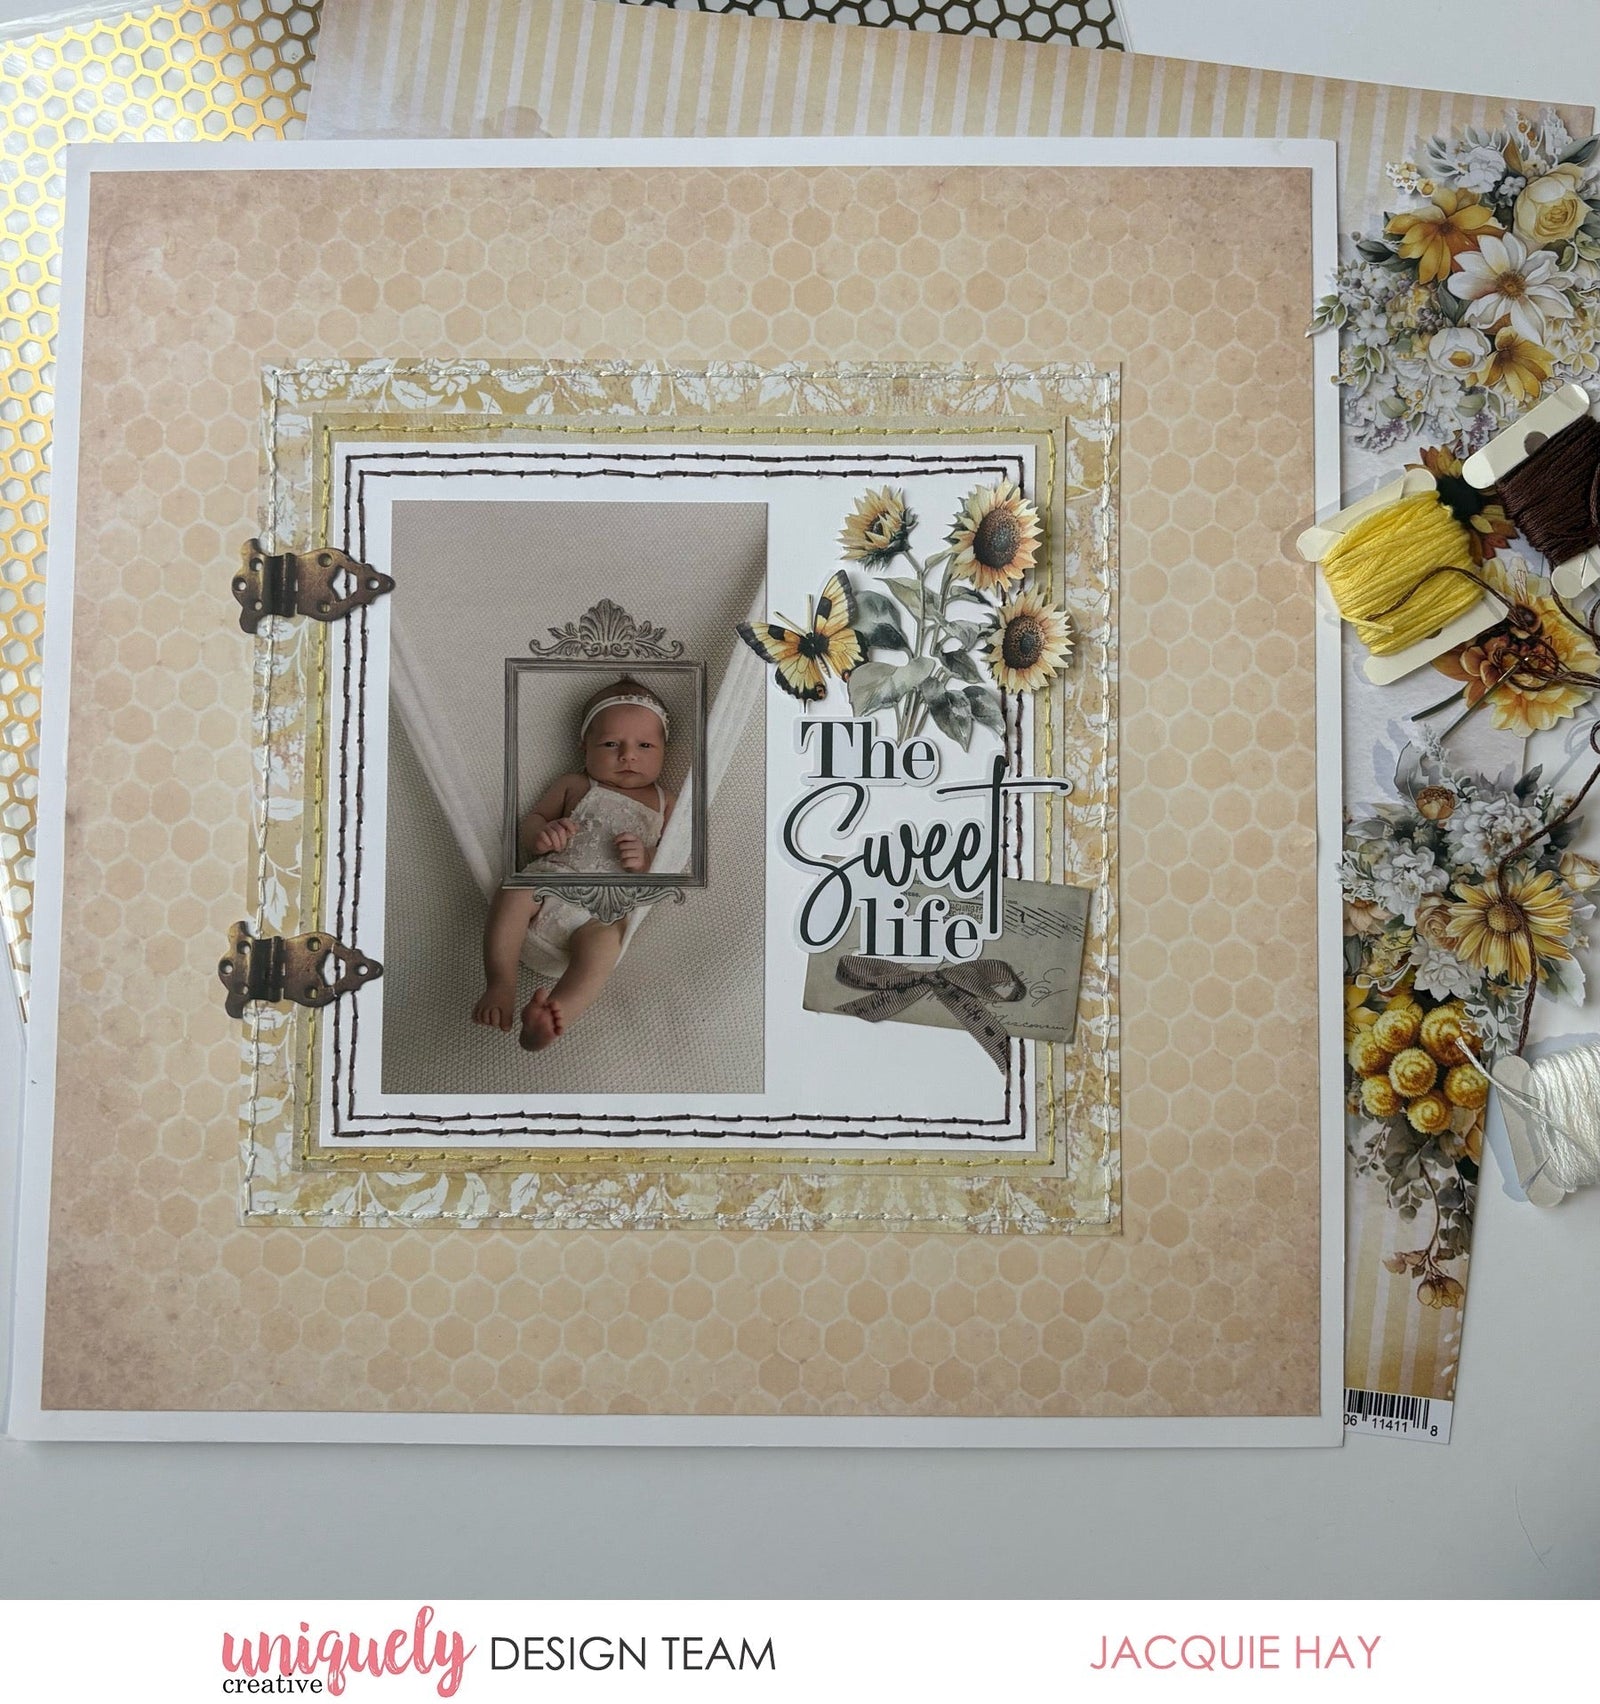

To recreate this lovely layout created by Design Team member Jacquie Hay you can follow the steps below:
Uniquely Creative Products Used:
· UCP3162 Sunny Garden Paper
· UCP3163 Moments in Time Paper
· UCP3165 Honeycomb Paper
· UCP3172 Creative Cuts
· UCE1872 Fussy Cutting Scissors
· UCE1981 Die Release Tool
· UCE2192 Paper Perfect Quick-Dry Glue - 120ml
· UCE2194 Paper Perfect Trimmer
Other Products Used:
· Ruler
· Embroidery Thread/Needle
Photo size: (one) 3 ½” x 5 ½” portrait
Step 1:
Take a piece of white cardstock from your stash and gut the centre, leaving a 1” border, to use as the base – See image 1
Step 2:
Remove the branding strip from the Sunday Gardens paper (reverse) and cut to 11 ½” square.
Step 3:
Remove the branding strip from the Moments In Time paper (reverse) and cut to 8” square. Attach both squares to the centre of the base page – See image 2
Step 4:
Remove the branding strip from the Honeycomb paper (reverse), cut it to 7” square and then attach it to the centre of the page.
Step 5:
Using the leftover piece of white cardstock, cut a 6 ½” square and attach to the centre. – See image 3
Step 6:
Add creative Cuts, photo and stitching details using a ruler and the Die Release Tool to poke holes – See image 4