Country Roads Cards - Lucy Patrick & Tania Cordie
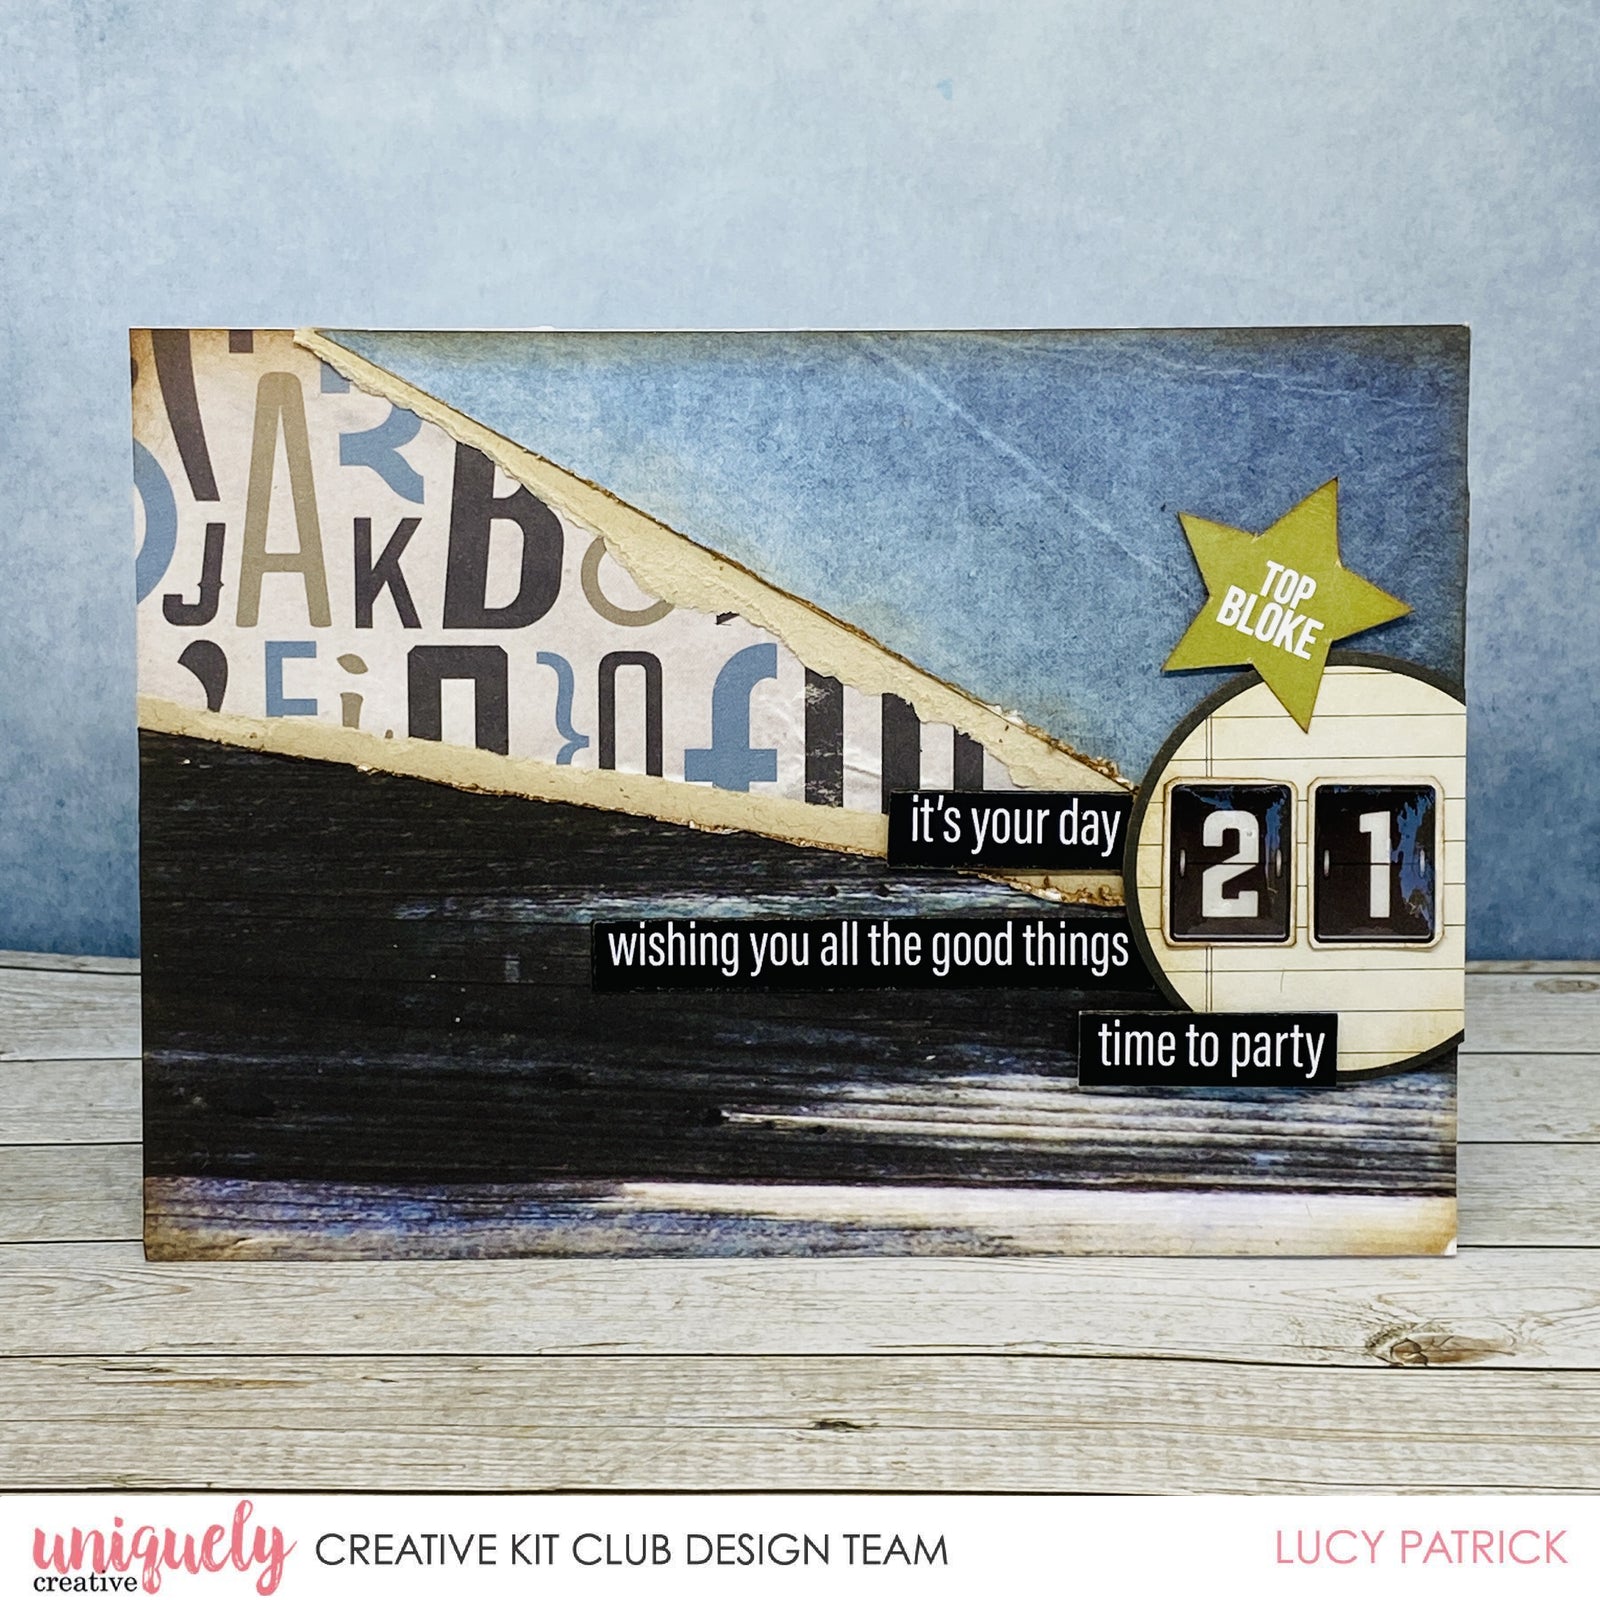

Card 1: Time to Party - Lucy Patrick (Main Image)
Uniquely Creative Products Used
UCP2153 The Real Deal Paper, UCP2152 The Back Paddock Paper, UCP2157 Best Laid Plans Paper, UCP2156 In Stereo Paper, UCP2160 Country Roads Creative Cuts, Country Roads Cut-a-Part Sheet, UCD1962 Barbed Wire Die, Essentials Mini Cut-a-Part Sheets
Other Products Used
Kraft Cardstock, Trimmer, adhesives, brown ink, glossy accents


Card 2: Happy Birthday - Tania Cordie

Card Size: White 3¾” x 5½” card base
Uniquely Creative Products Used
Watercolour Cardstock, UCP2153 The Real Deal, UCP2154 The Original, UCP2156 In Stereo, UCP2158 Everyday Memories, UCP2160 Country Roads Creative Cuts, UCMM1734 Stacked Numbers stencil, UCE1734 Mint Rhinestones, Burlap Sheet, UCD1963 Windmill die, UC1822 Grid stamp
Other Products Used
Trimmer, scissors, double-sided tape, foam tape, brown ink, transparent texture paste, die cutting machine
Instructions
1. Cover the card front with a piece from the top right corner of The Original paper.
2. Place the Stacked Numbers stencil on the right side of the card and hold in place with tape. NOTE: The next steps are shown on white cardstock with blue ink-tinted texture paste for photo clarity, but should be applied directly onto the paper on the card front.

3. Spread texture paste over the stencil with a palette knife, just like you are smoothing icing on a cake, as smooth or as rough as you want the finished product to look like

4. Slowly peel the stencil off the card and repeat on the left side. Allow to dry.

5. Once dry, the translucent texture paste will add a subtle effect, but you could mix a little brown ink into some paste before applying to the card if you want a stronger look

6. Trim a ¾” x 5½” piece of burlap and adhere across the bottom of the card.

7. Fussy cut leaves from The Original and Everyday Memories papers. Arrange like a peacock tail, adhering the first in the centre of the card then layering one on either side until you reach the bottom, using about 15 for a full fan effect.
8. Die cut a Windmill from The Real Deal paper and adhere to the centre of the fanned leaves using little pieces of foam tape.

9. Adhere a Creative Cut sentiment to the centre of the burlap strip using foam tape and add some mint rhinestones over the leaves to finish.