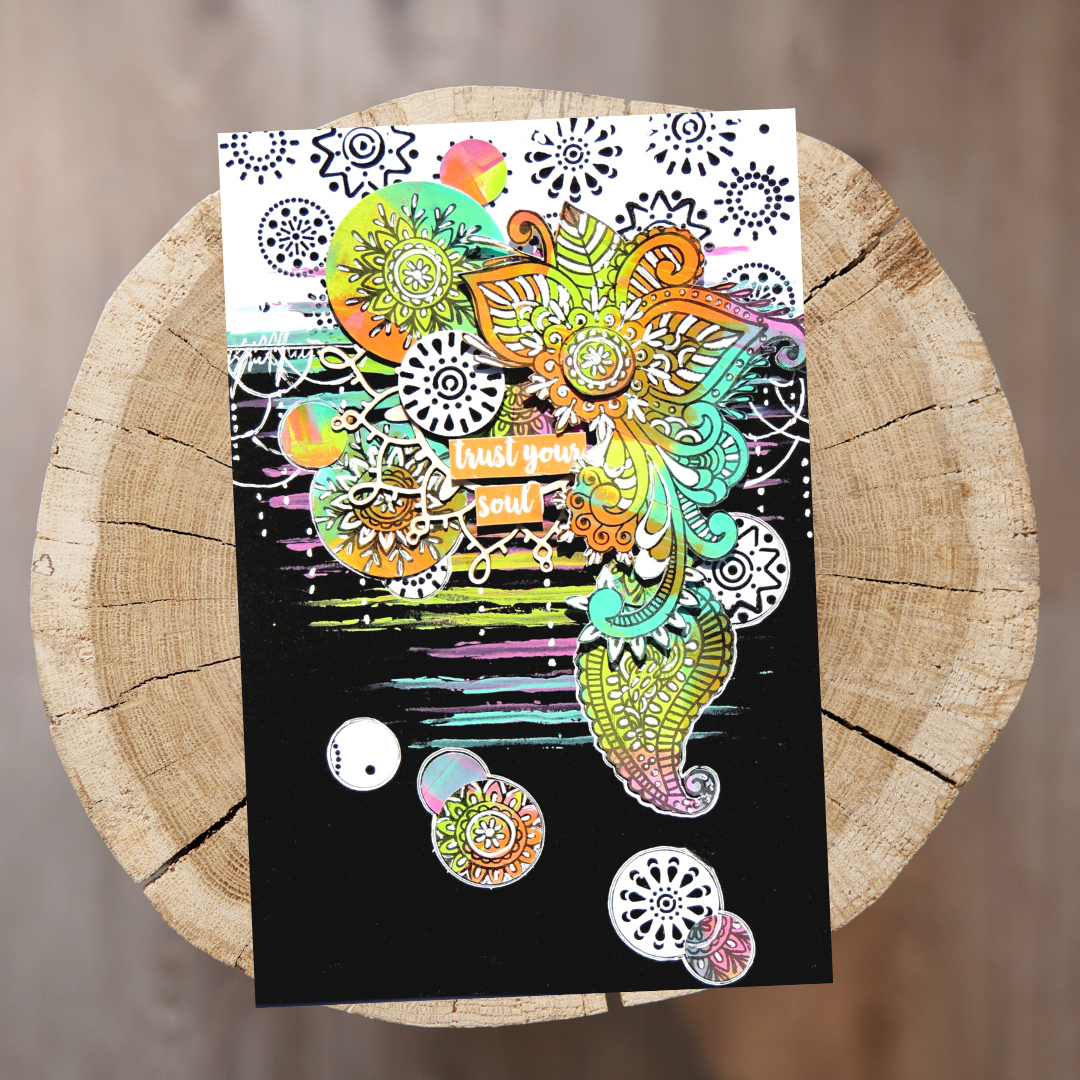
Trust Your Soul Art Journal Page - Elisa Ablett

Uniquely Creative Products Used
January Mixed Media Mini Kit including laser cut and cut-apart sheet
Other Products Used
Black Modelling Paste, Dina Wakely Acrylic Paint – Lime / Turquoise / Tangerine / Magenta, Versafine – Black inkpad, white gel pen, circle punches in various sizes (but you can improvise!), A5 piece of black cardstock, and 2 x A5 pieces of white cardstock, 3D foam mounting squares
Instructions
Step 1 – Choose your desired acrylic paint colours. I chose Lime, Tangerine, Turquoise and Magenta in the Dina Wakely range.

Step 2 – Using a craft spatula or a palette knife, spread your colours over your A5 sheet of white cardstock, overlapping your colours in some spots to fill the whole page. Let dry thoroughly.

Step 3 – On your second white A5 sheet, line your stencil as pictured on photo 3 to the left side of your cardstock and smooth black modelling paste through the stencil using a palette knife. Gently lift the stencil and set aside to dry.

Step 4 – Once your painted background has completely dried, stamp your desired stamps from the kit onto the painted surface using an archival ink pad such as Versafine. Set aside to dry or use a heat gun to dry the ink. Once dry fussy cut your stamped images and also using a ½ inch, 1 inch and 2 inch circle punches to punch a few circles out. If you do not have a circle punch, improvise using metal dies, or tracing around round objects such as a shot glass or lid.

Step 5 – Once your stenciled background has dried, cut a 2 ½ inch to 3 inch piece from the stenciled background and adhere to the top of your black cardstock as in the photos. Then using the stencil from the kit, a foam sponge or make up sponge and your chosen paints (from step 1), dab paint gently through your stencil, making sure some goes over the join of the two pieces of cardstock and down your page.

Step 6 – In photo 6, I used a ½ inch circle punch to punch circles with patterns on them from the left over pieces of your background papers including the white stenciled piece. Put them to the side with your fussy cut pieces.

Step 7 – Trim your laser cut mandala to about 2/3 the size and choose your desired quote from the cut-apart sheet and trim to size. Start assembling your page as shown.

Step 8 – Once you have assembled and glued all pieces as shown in the main photo. Come back over your page with a white gel pen or small paint pen and add your hand drawn doodles. I traced around circles and added accents to my fussy cut pieces.
