Our Warehouse is Now Closed for Christmas - All Orders will Ship from 7th January 2026
Our Warehouse is Now Closed for Christmas - All Orders will Ship from 7th January 2026
Add description, images, menus and links to your mega menu
A column with no settings can be used as a spacer
Link to your collections, sales and even external links
Add up to five columns
Add description, images, menus and links to your mega menu
A column with no settings can be used as a spacer
Link to your collections, sales and even external links
Add up to five columns
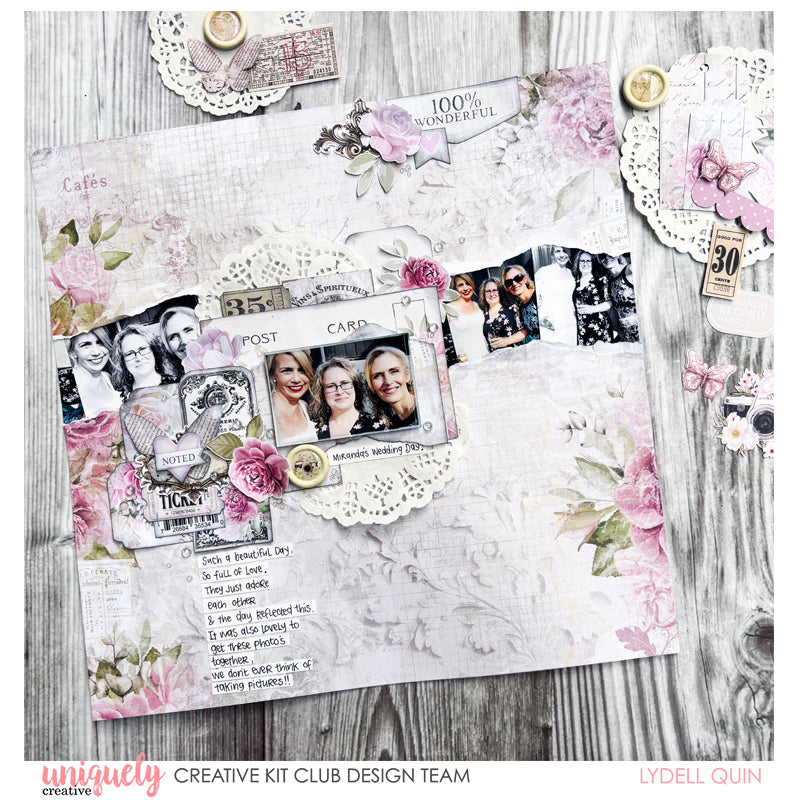
WEDDING LAYOUT TUTORIAL - LYDELL QUIN
June 01, 2025

Welcome to our June Collection - Dear Diary!
To recreate this beautiful layout created by Design Team member Lydell Quin you can follow the steps below:
Uniquely Creative Products Used:
· UCP2927 12x12 Collection Pack
· UCP2929 Dear Diary Creative Cuts
· UCE2100 Dear Diary Wooden Buttons
· UCE1807 Paper Doilies
· UCE2033 Pearl Tape Chantilly
· White Cardstock
· Foam Mounts
Other Products Used:
· Black Soot Distress Ink
· Tim Holtz Tiny Attacher (mini stapler)
Photo Size: 2x3 Landscape
Step 1:
Fussy cut elements from paper UCP2925 Remember and set aside pieces you’d like to include in your layout.
Step 2:
Tear off the top of Paper UCP2923 Wishing approximately 4 Inches down and set aside then tear again from the bottom piece, approximately 2 inches down. (Set aside the torn out piece for a layer on the photo mat) - See image 1
Step 3:
Use Paper UCP2919 Reminiscing and cut 4 inches from the top horizontally, to place in the background – See image 1 above
Step 4:
Use a ruler or the measurements on your cutting mat to reposition the torn apart page to 12 inches high, incorporating the woodgrain paper behind the torn pieces. Glue the torn edge to the woodgrain to secure (***TIP- Add the glue a little in from the edge so you can tuck in photos later) – See image 2
Step 5:
Cut a doily in half and position each half in place, just offset from one another, top and bottom. Add in the postcard element from UCP2925 Remember along with any other fussy cut pieces from the Cut-a-part Pieces on the reverse side of the collection pack cover – See image 3
Step 6:
Start adding in any fussy cuts, or UCP2929 Creative Cuts you wish– See image 4
Step 7:
Create little groupings of layered embellishments using all the fussy cut pieces and or Creative Cuts. Layer items together and add in staples to secure and foam tape for dimension– See image 5
Step 8:
Trim photos as needed and insert any that tell your story in behind the torn out piece - See image 6
Step 9:
Mount the main photo with foam tape and mat with a section of the discarded torn out piece. Tuck in any elements around your photo and photo mats. Add on journaling and any of the tiny pearls, cut apart from UCE2033 Pearl Tape Chantilly to finish the page. -See main image for possible placement
Leave a comment
Newsletter
Join our mailing list and never miss an update …
