WINGED GATEFOLD CARD TUTORIAL - SHARON BERNARDI
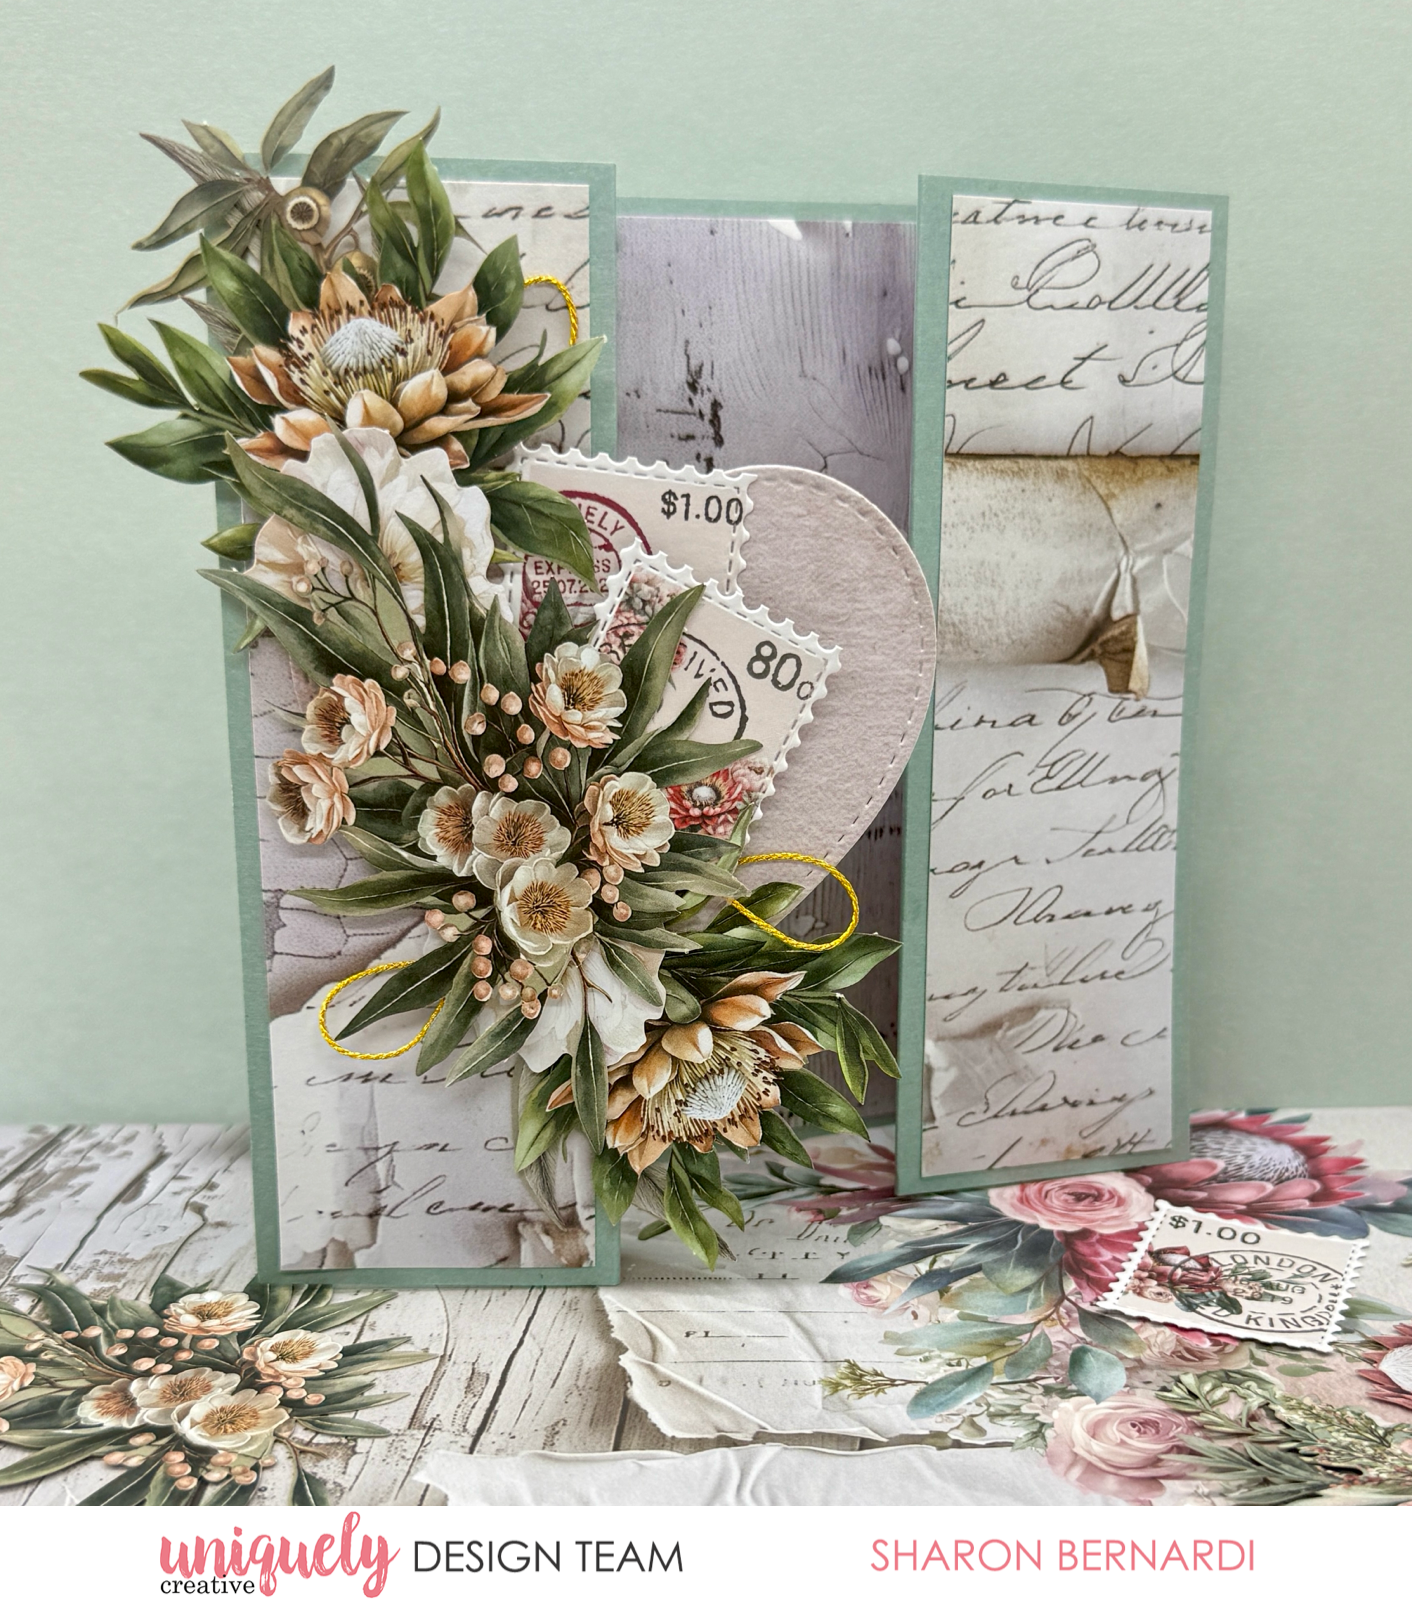

To recreate this gorgeous card created by Design Team member Sharon Bernardi you can follow the steps below:
Uniquely Creative Products Used:
· UCP3079 Written Home paper
· UCP3080 Layered Bloom paper
· UCP3084 Open Dreams paper
· UCP3088 Paperbark Blooms Floral Creative Cuts
· Gilded Threads Twine
· UCAA1795 Seafoam Cardstock
· UCD2117 Stitched Nesting & Scalloped Hearts Die
· UCD2226 Postage Stamp Strip Die
· UCE1803 Foam Mounts Squares & Strips
· UCE1859 6mm Double Sided Tape
· UCE1872 Fussy Cutting Scissors
Other Products Used:
· Paper Trimmer
· Score board in inches
Card size: 10.5cm x 15cm (approximately – folded size)
Step 1:
Cut a piece of Seafoam Cardstock to 28cm x 15cm. Score at 2”, 3¾”, 7¼” and 9”. Burnish the folds so that the two outside folds sit as mountain folds and the inner two folds as valley folds.
Step 2:
Cut the branding strip from Written Home paper and cut a 14.5cm panel from the bottom section. Turn the panel upside down in your trimmer to cut from the right of the design and cut panels at 4.5cm, 4cm, 8.5cm, 4cm and 4.5cm.
Step 3:
Flip the second and fourth panel to use the reverse side. Adhere to the card base.
Step 4:
From the Stitched Nesting & Scalloped Hearts Die set, cut a Stitched Heart die cut (approximately 8.5cm across) from the Layered Bloom paper. Using the Postage Stamp Strip Die, die cut one strip of the postage stamp elements from Open Dreams paper and trim the stamps to separate them. Gather a selection of floral and foliage elements from the Floral Creative Cuts.
Step 5:
Adhere half of the heart on the left panel so that it sits across the folded card front centrally.
Step 6:
Adhere the Creative Cuts so they sweep across the left of the heart up to the top and down to the lower section of the card ensuring no adhesive attaches to the right panel or is visible when the card is opened. Tuck in some of the stamps and finish with small loops of gold cord from the Gilded Threads Twine pack tucked in behind the floral clusters.