30 day change of mind returns available
30 day change of mind returns available
Add description, images, menus and links to your mega menu
A column with no settings can be used as a spacer
Link to your collections, sales and even external links
Add up to five columns
Add description, images, menus and links to your mega menu
A column with no settings can be used as a spacer
Link to your collections, sales and even external links
Add up to five columns
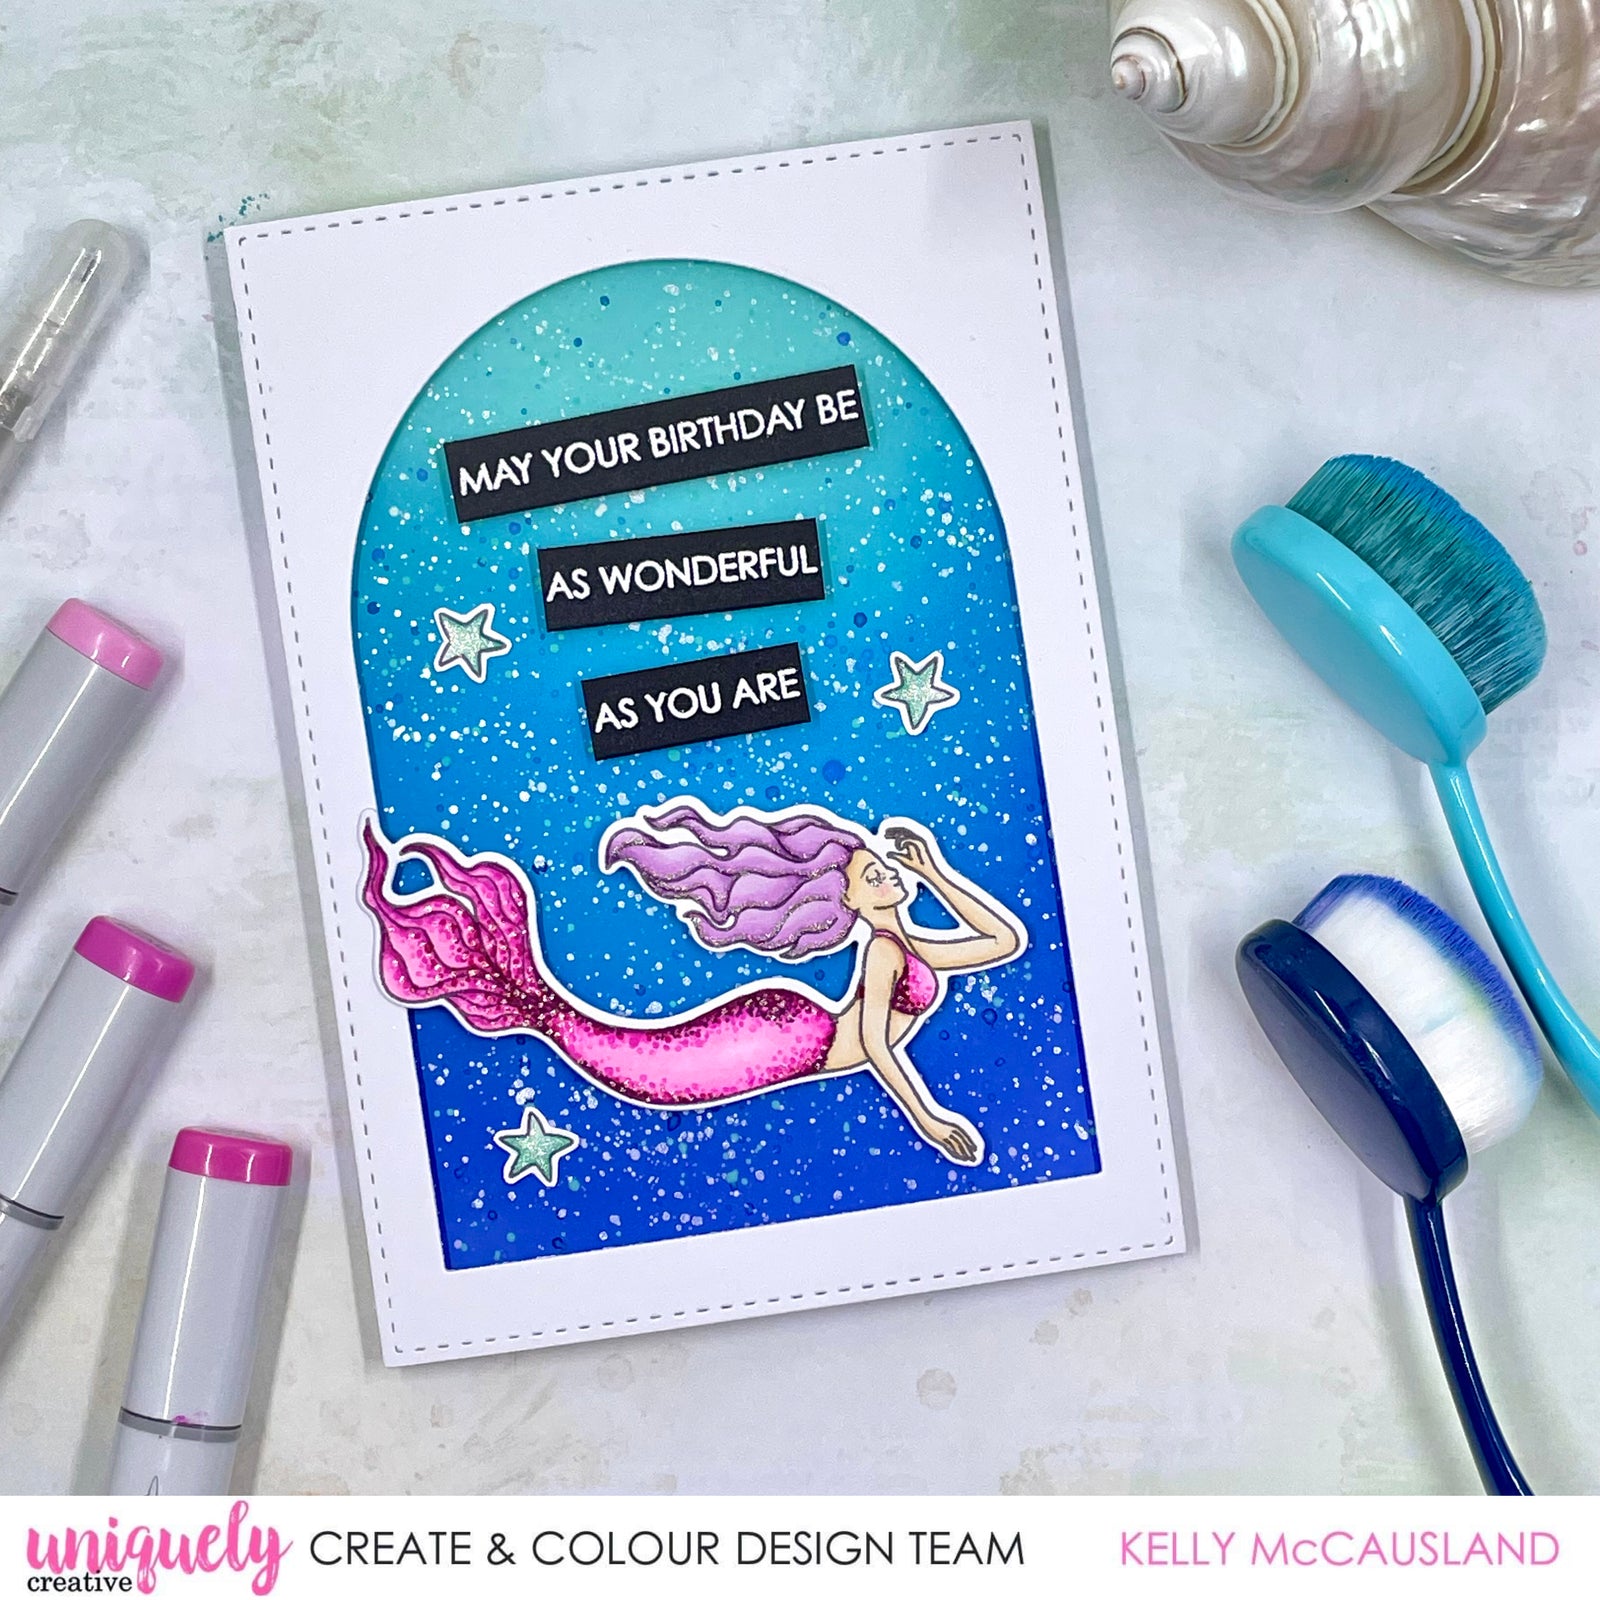
Wonderful Mermaid Tutorial - Kelly McCausland
November 25, 2023

Uniquely Creative Products Used:
- UC1905 Shades of Whimsy Stamp Set
- UCD2114 Shades of Whimsy Fussy Cutting Die
- UCD1902 Birthday Bundle Stamp
- UCD1974 Stitched Nesting Rectangle Dies
- UCD2105 Sentiments Surrounds Die
-
UCD2070 Stitched Arches Die
- Trimmer
- Scissors
- Adhesives
- Die cutting machine
-
Distress Oxide Ink Salvaged Patina, Salty Ocean, Blueprint Sketch
- Blue Watercolour paint
- Aqua & White Paint
- Metallic Shimmer watercolour paint
- White Cardstock
- Black Cardstock (for sentiment)
- Gelly Roll Stardust Pen or similar
- Your favourite grey copic friendly ink for stamping
-
Copics
Hair: V01, V12, V15
Skin: E50, E51, E53
Pink:
Stars: BG11, BG23, BG13
Instructions:
1. Die cut the largest stitched Rectangle from White cardstock and the largest stitched Arch from that die cut to create a window. Keep the inner arch for another project.

2. Cut a piece of cardstock a little bigger than the arch but smaller than your rectangle. Use your Oxide inks to blend from darkest at the bottom to the lightest at the top. Splatter with your favourite paints, Kelly used a dark blue watercolour paint, Aqua and White Acrylic paints and a white shimmer watercolour paint for some sparkle.

3. Colour your stamped mermaid image and die cut. Colour some stars from the Birthday Bundle stamp set and cut out. Heat emboss and die cut your sentiment (I have cut this into 3 pieces to fit in my arch).

4. Assemble your card by adhering your background down first then add some foam tape to the back of your arch and adhere. Add some foam tape to your mermaid and sentiment and adhere. Lastly add the stars with some glue as some sparkle with your Stardust (or similar) pen

Leave a comment
Newsletter
Join our mailing list and never miss an update …