You Are A Legend Tutorial - Kelly McCausland

Uniquely Creative Products Used:
- UC1878 Aussie Tradies Stamp
- UCD2060 Aussie Tradies Die
- UCMM1771 Wood Panelling Stencil
- UCD1907 Frames Die Set
- UCD1974 Stitched Rectangle Dies
- Kit Paper
- Whispering Wall Cardstock
- Aussie Tradies Cut Apart Sheet
- Uniquely Creative Enamel Dots
Other Products Used:
- Trimmer
- Scissors
- White Gel Pen
-
White, Green & Yellow Paints for splattering (or whatever colours you have)
- Lawn Fawn die ink or similar
-
Copics: Grey: C3, C5, C7, Blue: B32, B34, B37, Yellow: Y15, Y35, Y38, Orange: Y38, YR04, YR07, Light Brown: E42, E43, E44, Quokka Nose: E44, E47, Cheeks and Mouth: R30
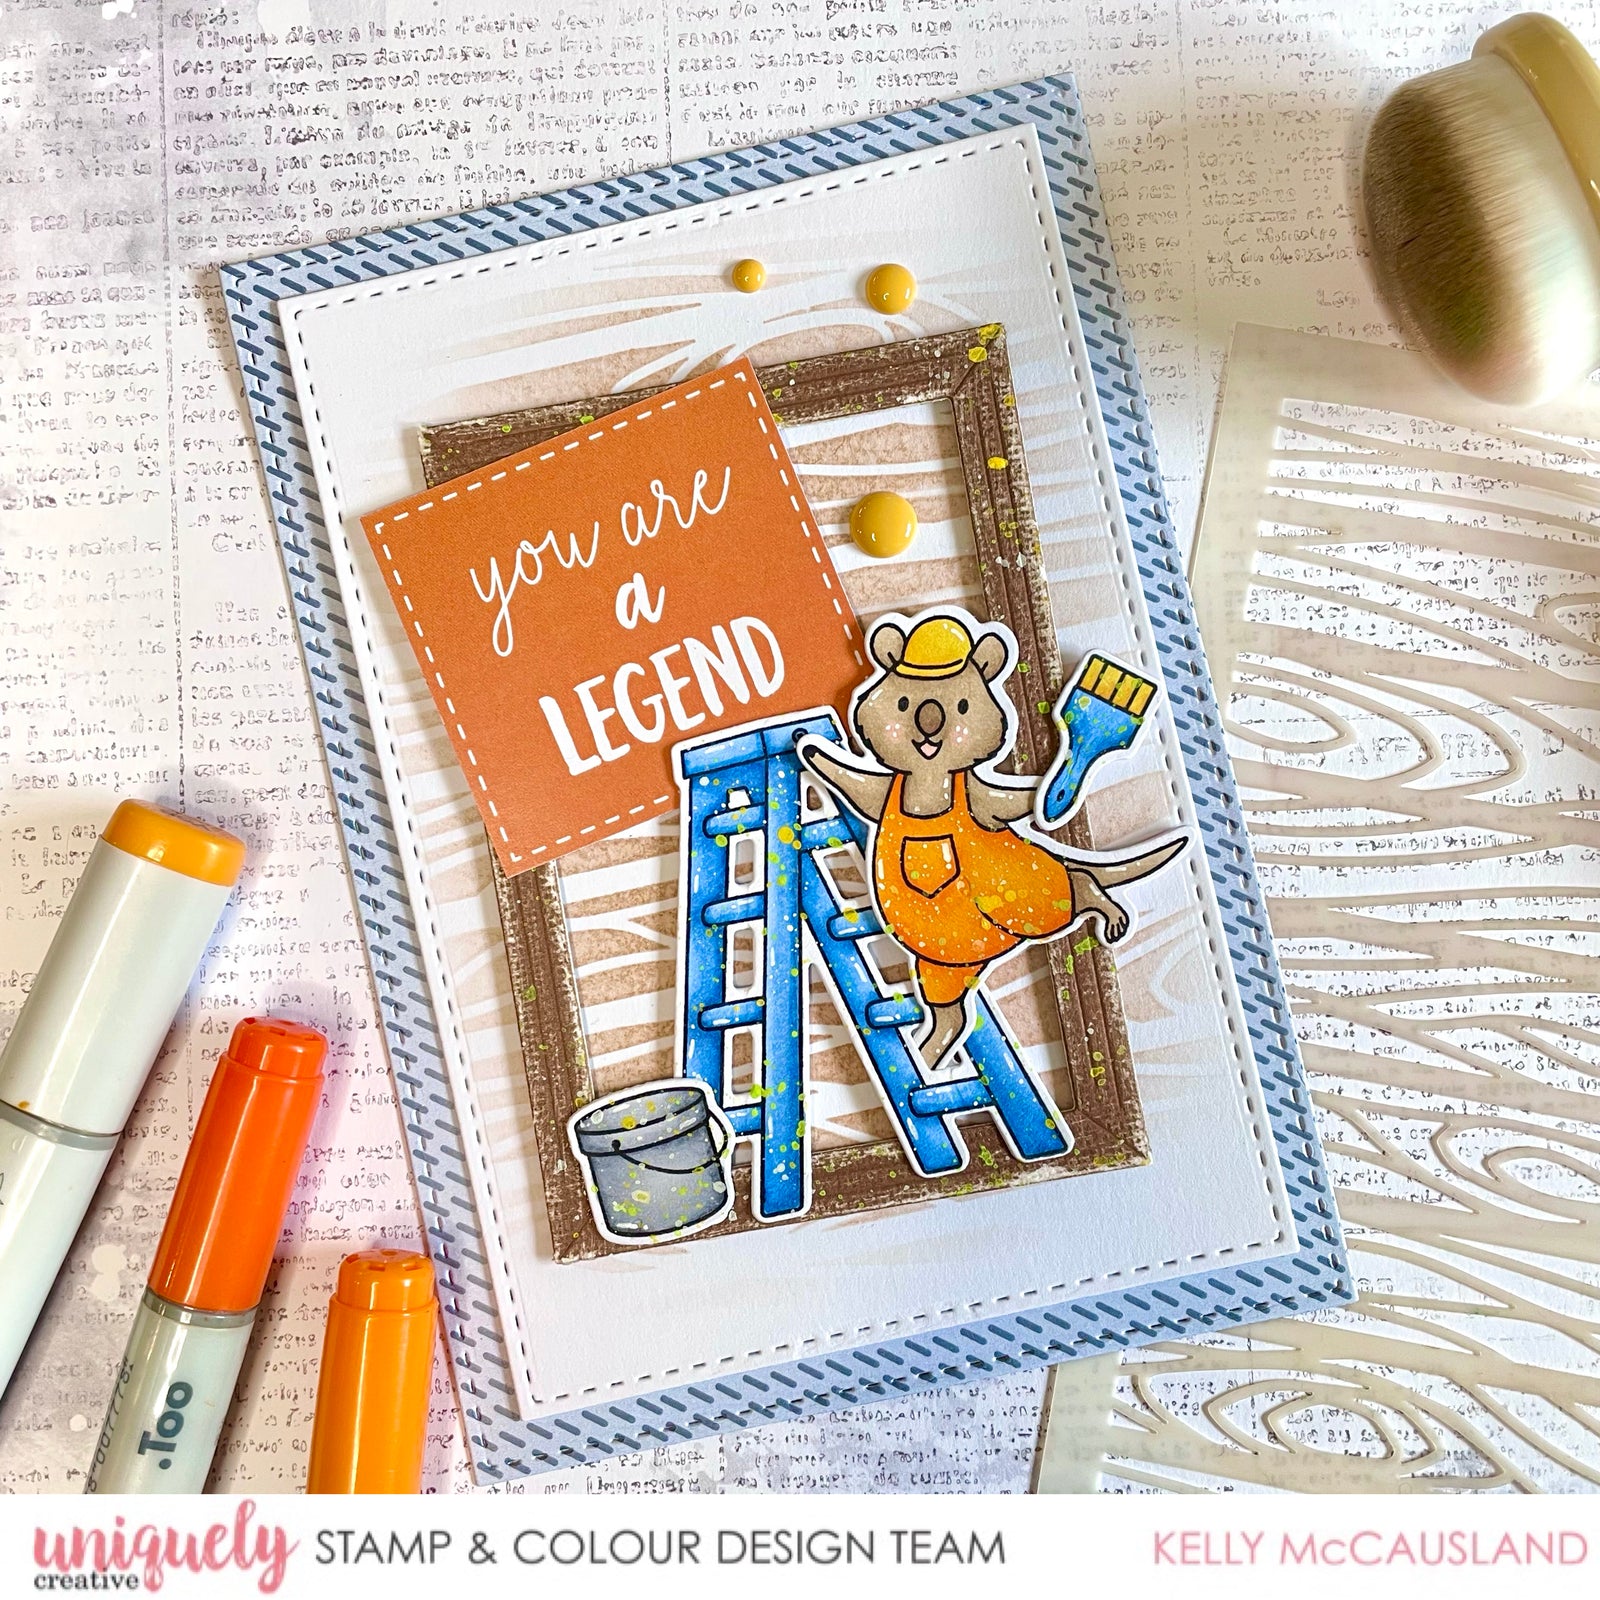
Instructions:
1. Cut the largest stitched rectangle from one of the kit papers. I chose the blue one for my card. Also cut the 2nd largest stitched rectangle from some white card stock.

2. Attach the wood panelling stencil in the middle of the white stitched rectangle and lightly apply brown ink. Work from the middle outwards so your edges fade out.

3. Die cut your frame from Uniquely Creative Whispering Wall cardstock. Use a sanding block to distress the edges.

4. Colour your images.

5. Cover everything but the overalls on your Quokka with a post it note. Using a little coloured paints and water splatter onto the Quokka overalls, ladder, paint tin, paint brush and your die cut frame.

6. Assemble your card by adhering the two rectangles together. Next use foam tape and squares to raise all the other items and adhere to the card front. Add some white gel pen highlights and a few enamel dots.

